iOS Configuration
Creating your iOS RainMaker Project
All the configuration related fields are kept in the property list file Configuration.plist. It can be found in the root directory of the project. Open it in Xcode and add value for properties described below.
AWS Configuration
RainMaker uses Amazon Cognito to provide authentication, authorization and user management in mobile apps. It also uses Amazon Web Services to provide RESTful APIs for communicating with devices. These settings need to be configured in the app and are clubbed into AWS Configuration key in Configuration.plist.
| Key | Type | Description |
|---|---|---|
| App Client ID | String, Required | Uniquely identifies an app in a user pool. To get this value: |
- Login to ESP dashboard with superadmin credentials.
- Go to Deployment settings, then from left navigation pane select "deployment details".
- Find app client Id in Cognito details section. |
| Authentication URL | String, Required | OAuth URL for third party login. Check Getting The Authentication URL |
| Base URL | String, Required | Consistent part of each API endpoint. Follow Get Base Url steps to fetch the endpoint. |
| Redirect URL | String | Add the following value here:
<Bundle ID>://success. For steps to create Bundle ID see What are app bundle IDs in iOS. For steps to create Redirect URL see below. | | Claim URL | String, Optional | API endpoint for assisted claiming. This is not applicable for customer deployments so it can be removed or kept empty. |
How to get ESP dashboard URL?
- ESP dashboard URL is in Cloudformation stack.
- Also, super admin gets the email after RM deployment.
- The mail gives the RM dashboard URL
App Configuration
| Key | Type | Description |
|---|---|---|
| Enable Schedule | Bool | Enable(Yes) or Disable(No) scheduling functionality in the app. |
| Enable Scene | Bool | Enable(Yes) or Disable(No) scene feature in the app. |
| Enable Local Control | Bool | Enable(Yes) or Disable(No) local control feature in the app. |
| Enable Grouping | Bool | Enable(Yes) or Disable(No) grouping feature in the app. |
| Enable Sharing | Bool | Enable(Yes) or Disable(No) sharing feature in the app. |
External links
Consist of links that open your project related documentation within the app browser. Please provide valid URLs for each document type in the plist.
- Terms of Use
- Privacy Policy
- Documentation
Provision Settings
Configuration related to the provisioning feature of the app.
| Key | Type | Description |
|---|---|---|
| BLE Device Prefix | String | App will search for BLE devices with this prefix in the name. |
| ESP Allow Prefix Search | Bool | App will allow filtering by prefix search if this value is set to true. Filtering by prefix is not allowed otherwise. |
| ESP Security Mode | String | Possible values secure: for secure/encrypted communication between device and app. unsecure: for unsecured/unencrypted communication between device and app. |
| ESP Transport | String | Possible values BLE: supports only BLE device provisioning. SoftAP: supports only SoftAP device provisioning. Both: supports both BLE and SoftAP device provisioning. |
| ESP Scan Enabled | Bool | Enables or disables scanning feature in the app. |
App Group
App groups allow multiple apps produced by a single development team to maintain shared container (storage space). In this particular case this container is shared between the app and the notification service extension. It is used to store Node details which is required by Notification service to customise notification message. Find more information on app groups here.
Configuring App Group
- Go to apple developer console and into identifiers: https://developer.apple.com/account/resources/identifiers/list.
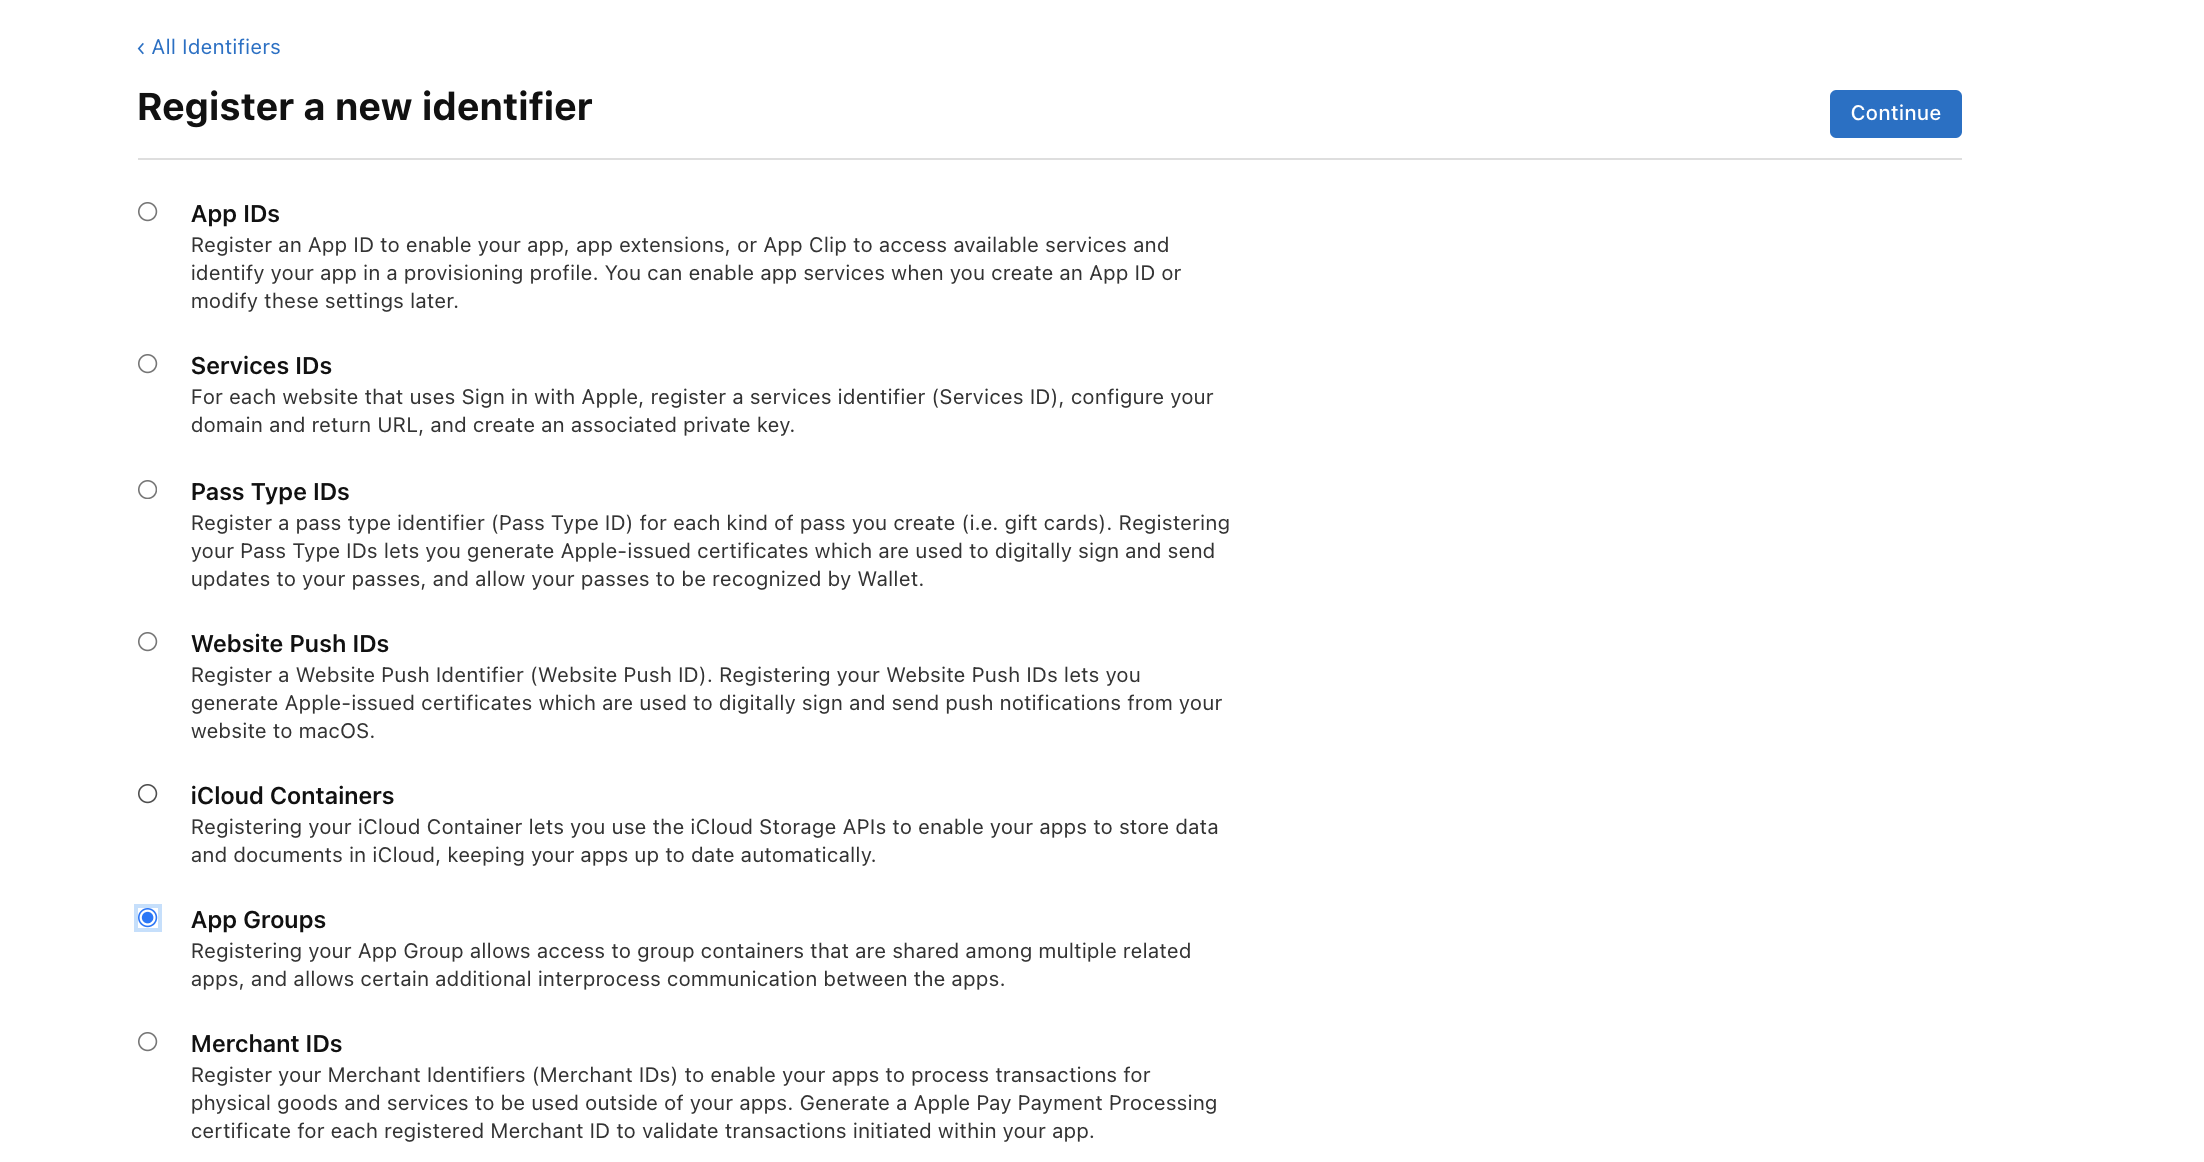
- Add a new identifier by clicking on
+button. - Select
App Groupsfrom the list and click on continue.
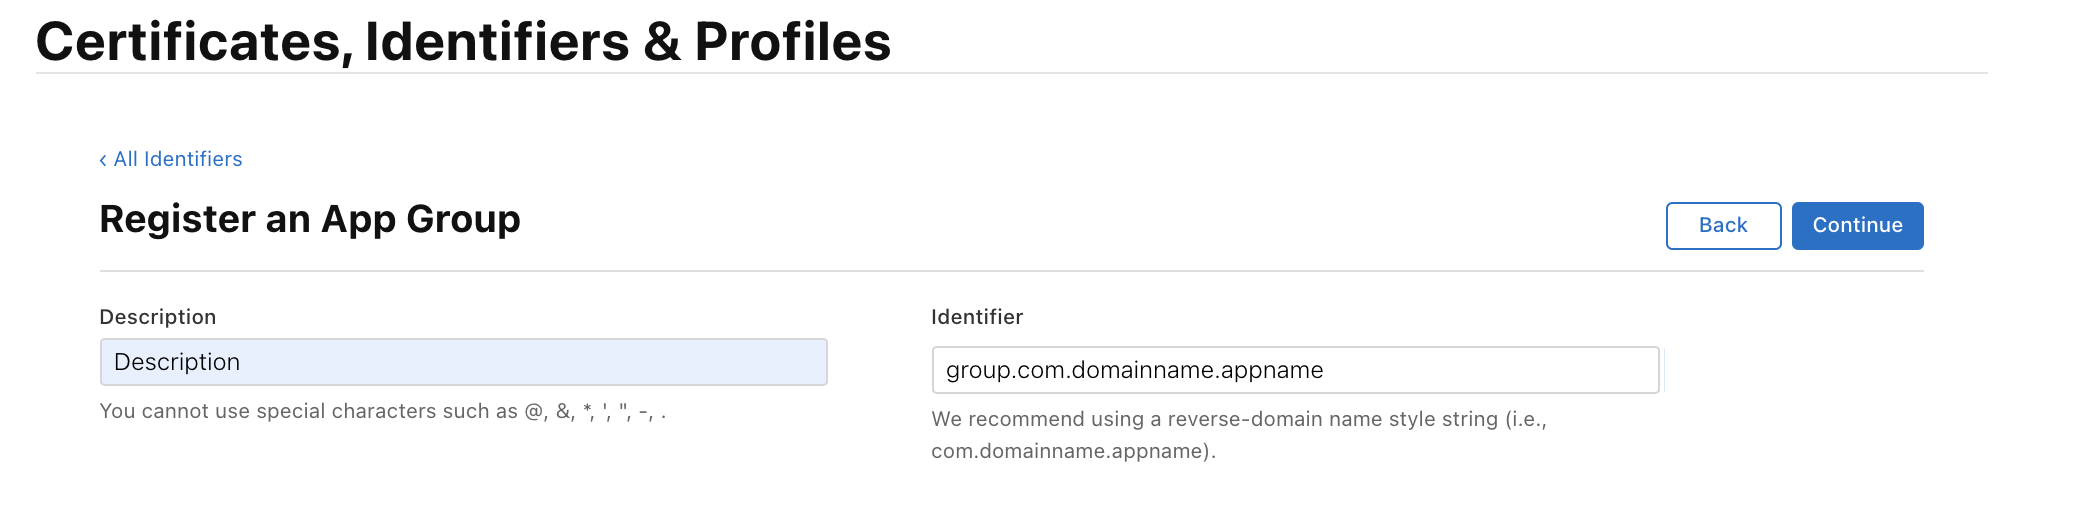
- Add
DescriptionandIdentifierfor your app group and continue.
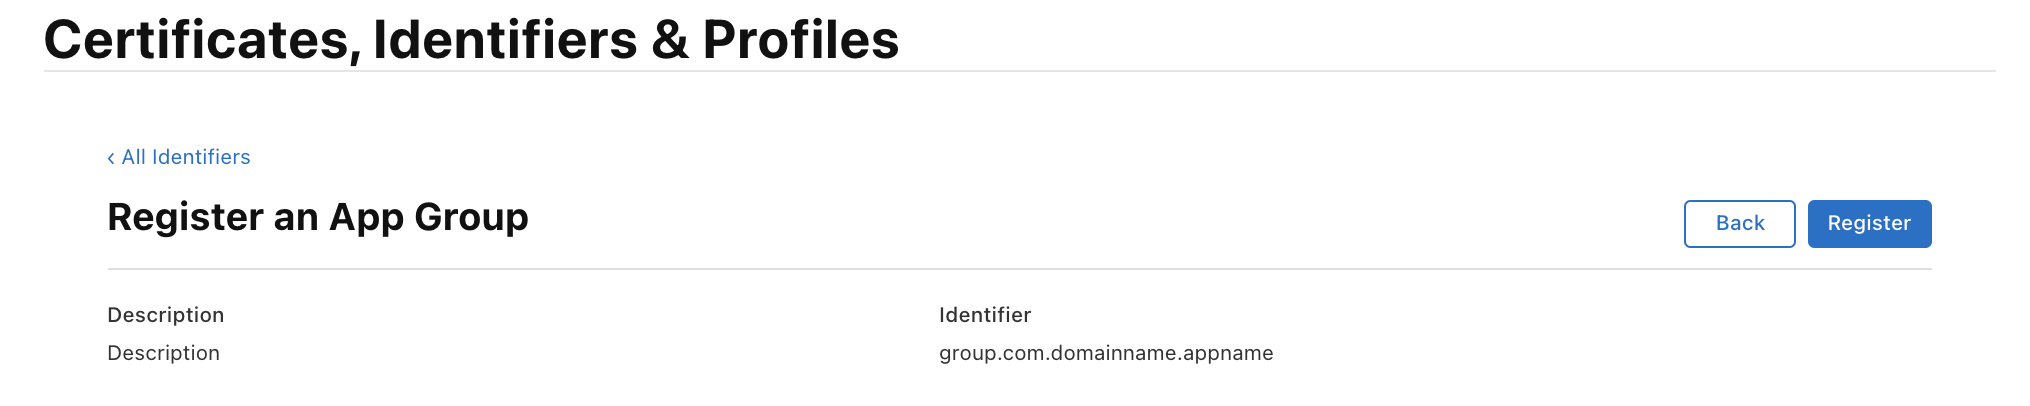
- Review your changes and click on register to save it.
Configure App Group in Xcode
- Open your Xcode project and go to
Signing and Capabiltiesin main app target. - Under
App Groupscapabilities select the app group that you have configured earlier.

- Repeat steps 1 and 2 for PushNotificationExtension target in app.
- Open
Configuration.plistfile inside the project. - Provide your app group id as the value of the key
App Group.

Push Notification Settings
Push notifications are enabled by default in the project. However, if you want to test notification at the time of development you need to change the endpoint from APNS to APNS_SANDBOX in the below method:
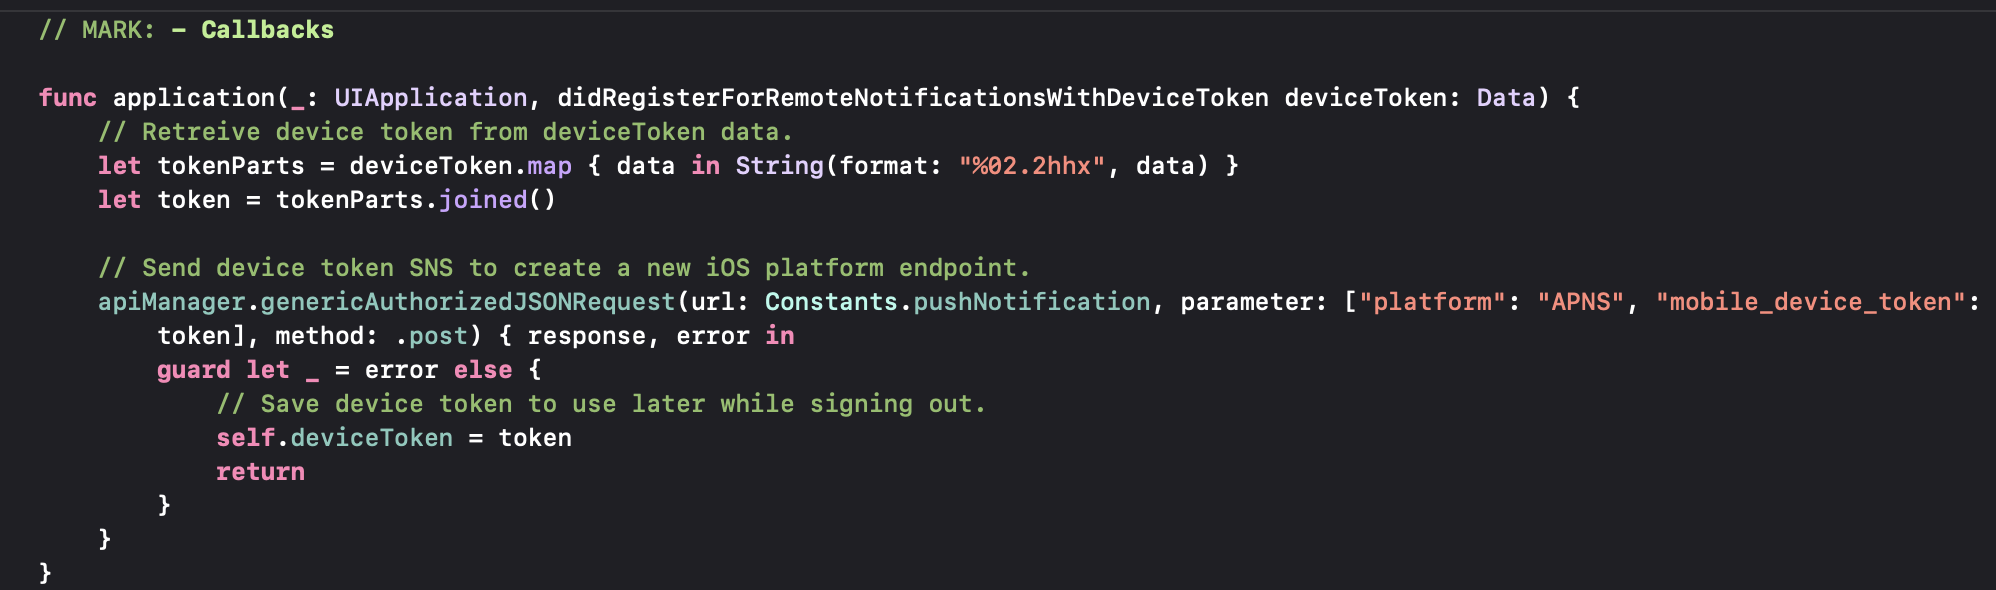
Note: Remember to change the platform back to APNS when you distribute your app or upload it to App Store.
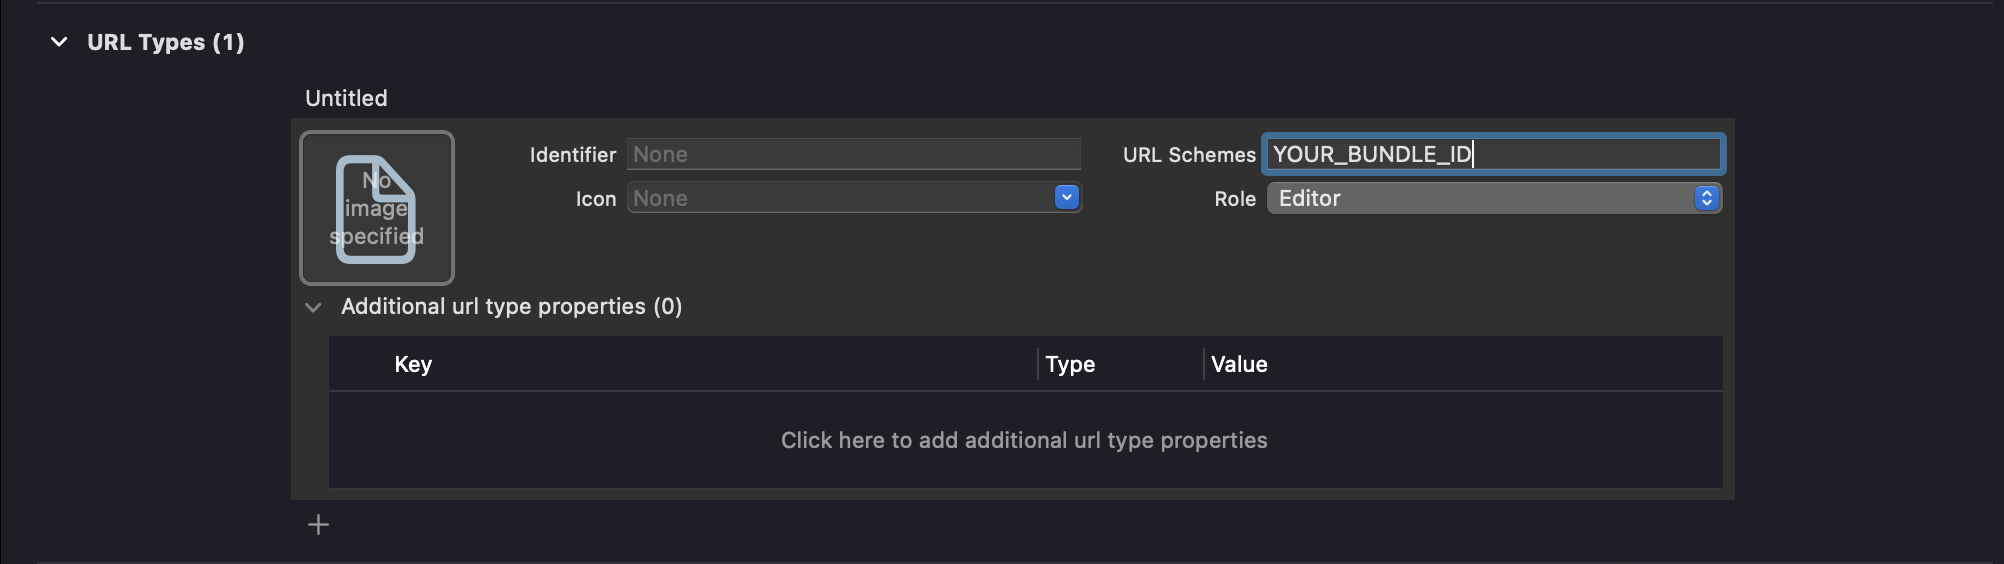
Add URL Scheme
App Bundle ID should be included in the Info.plist file of the RainMaker Project. Click on ESPRainMaker -> Info Tab. Scroll down to URL Types and expand. Add your URL scheme as shown below.
Creating Redirect URL
Redirect URL for ESP RainMaker app will be
com.espressif.rainmaker.softap://success
Replace com.espressif.rainmaker.softap with your application Bundle ID in the above data. So Redirect URL for your app will be
com.your_application_id.app://success
Additional Setting
You can also provide a theme colour to your application by setting the value of App Theme Color key in Configuration.plist. Provide it with a hex value of the intended colour, for e.g. #FFFFFF.
Alexa Account Linking
This account linking flow enables users to link their Alexa user account with their account in another service by starting from app. The following sections cover the app side configuration for alexa account linking.
Note: For more information on account linking and the cloud configuration please go here.
Creating iOS Universal Links:
When you support universal links, iOS users can tap a link to your website and get seamlessly redirected to your installed app without going through Safari. If your app isn't installed, tapping a link to your website opens your website in Safari.
Please check iOS documentation for Universal Links.
You can go through the following steps in order to create a universal link for your app:
- In your app's Xcode project select the .xcodeproj file in the project navigator. In the Signing and Capabilites section, there is an Associated Domains section. Click on the + sign in the Domains section. Add the following information in that section: applinks:domain name of the associated website
2. Create the apple-app-site-association File
Create a file named apple-app-site-association. This file will contain the following JSON structure:
    {
    "applinks": {
     "apps": [],
        "details": [
        {
            "appID": "ABCD1234.com.apple.wwdc",
            "paths": ["*"]
        }
        ]
    }
    }
Do not add .json to the apple-app-site-association file.
-
The appID in the above file has the following format: TEAMID.Bundle ID of your app. Find more information on Team ID here and more information on app Bundle ID here.
-
The paths array contains the list of paths for your website for which the app supports universal links. The * value for paths means that all possible paths for your website are supported.
-
This apple-app-site-association file has to be placed in the root directory of your server or in the .well-known folder in the root directory of your server.
-
The file needs to be accessible via HTTPS—without any redirects—at
https://<domain>/apple-app-site-associationorhttps://<domain>/.well-known/apple-app-site-association. -
You can validate your universal link using https://branch.io/resources/aasa-validator
Configuring Account Linking
In the Configuration.plist file, under the AWS Configuration section please ensure the following value is added:
| Key | Type | Description |
|---|---|---|
| Authentication URL | String | OAuth URL. To get this value please refer here. |
In the Configuration.plist file, under the ESP Alexa Configuration section the following values need to be added:
| Key | Type | Description |
|---|---|---|
| Alexa Client Id | String | Alexa client ID. This can be found in: - Go to Alexa dev console. - Click on your skill - Go to build tab - Go to Permissions section - Under permissions the alexa client ID can be found. |
| Alexa Client Secret | String | Alexa client secret. This can be found in: - Go to Alexa dev console. - Click on your skill - Go to build tab - Go to Permissions section - Under permissions the Alexa client secret can be found. |
| Alexa RM Client Id | String | Refer section Steps to get Alexa and GVA client ID and copy the esp-rainmaker-alexa-skill client id |
| Skill Id | String | Skill id of skill to be linked. This can be found in: - Go to Alexa dev console. - Click on your skill - Go to Smart home section, where the skill ID can be found. |
| Skill Stage | String | Possible value: live: for live skill development: for a skill under development. |
| Redirect URL | String | This URL is provided in the calls to get alexa auth code and RainMaker (or custom user auth service) auth code. This is also used as the universal link for the iOS app. In order to find out how to configure universal link please check this link. |
| Alexa Access Token URL | String | API endpoint used to fetch Alexa access token from Alexa auth code. Check link for steps to get the value of the Alexa Access Token URL. |
Apple Developer Settings
Creating App ID in Apple Developer Console
-
Go to the Apple Developer portal: https://developer.apple.com/account/resources
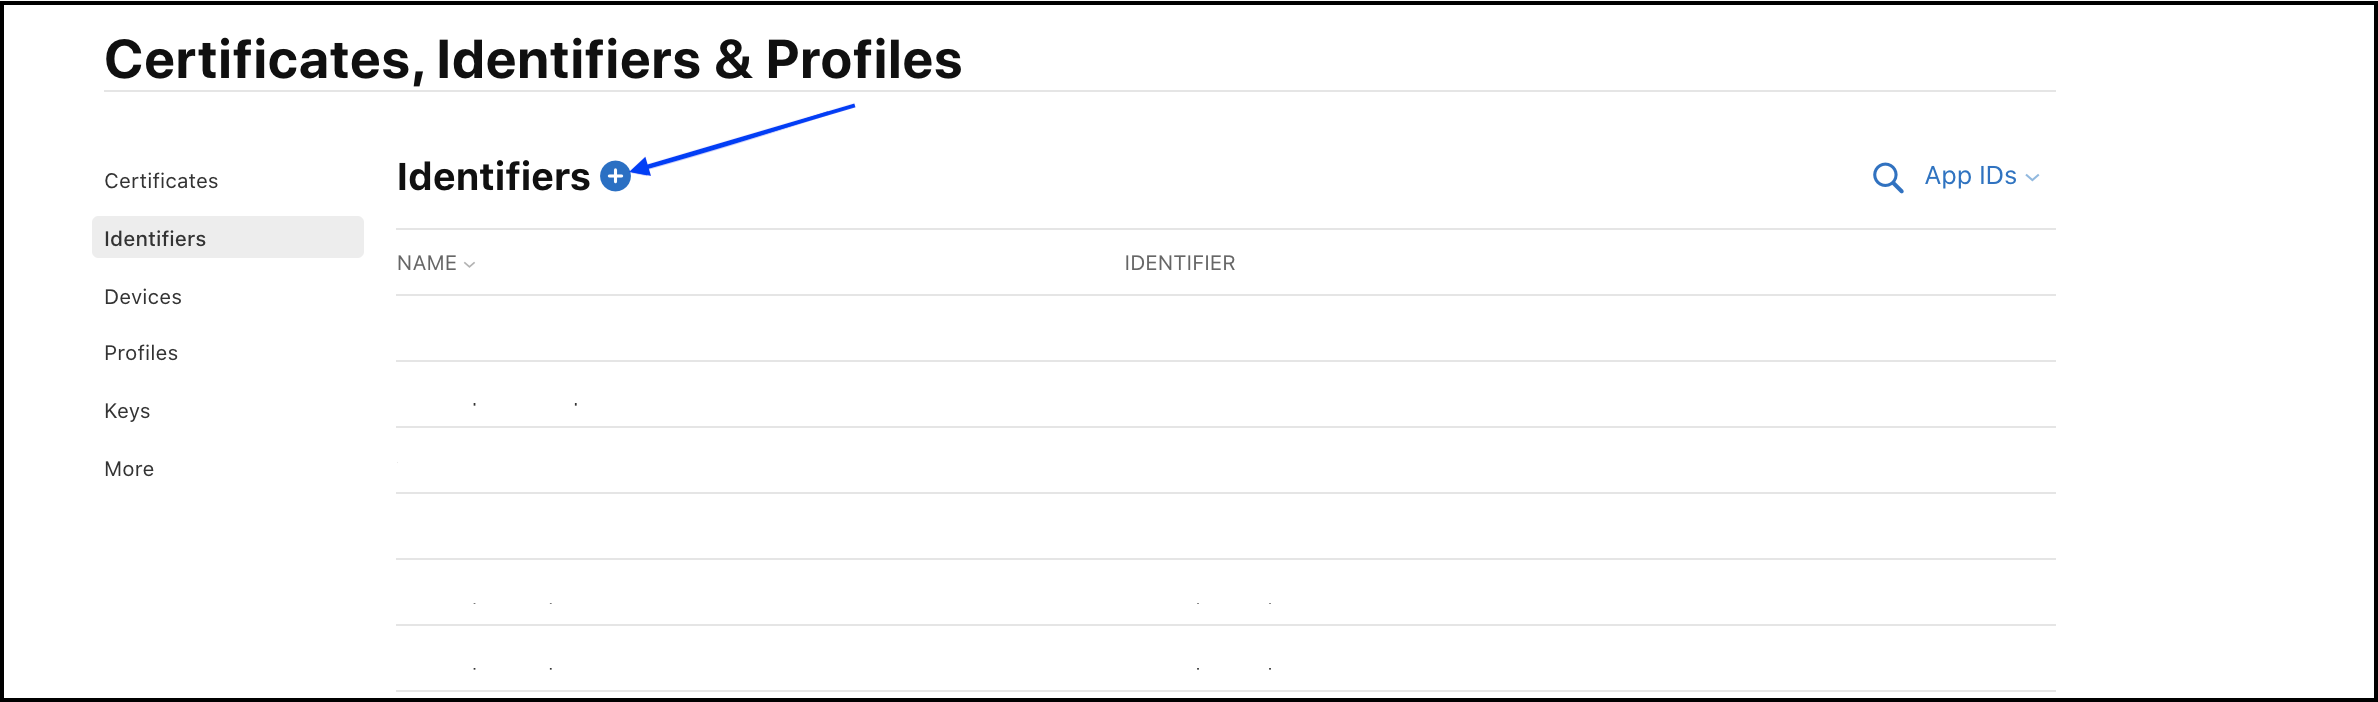
-
Click on Identifiers from the left menu. Click on the + button to register a new identifier.
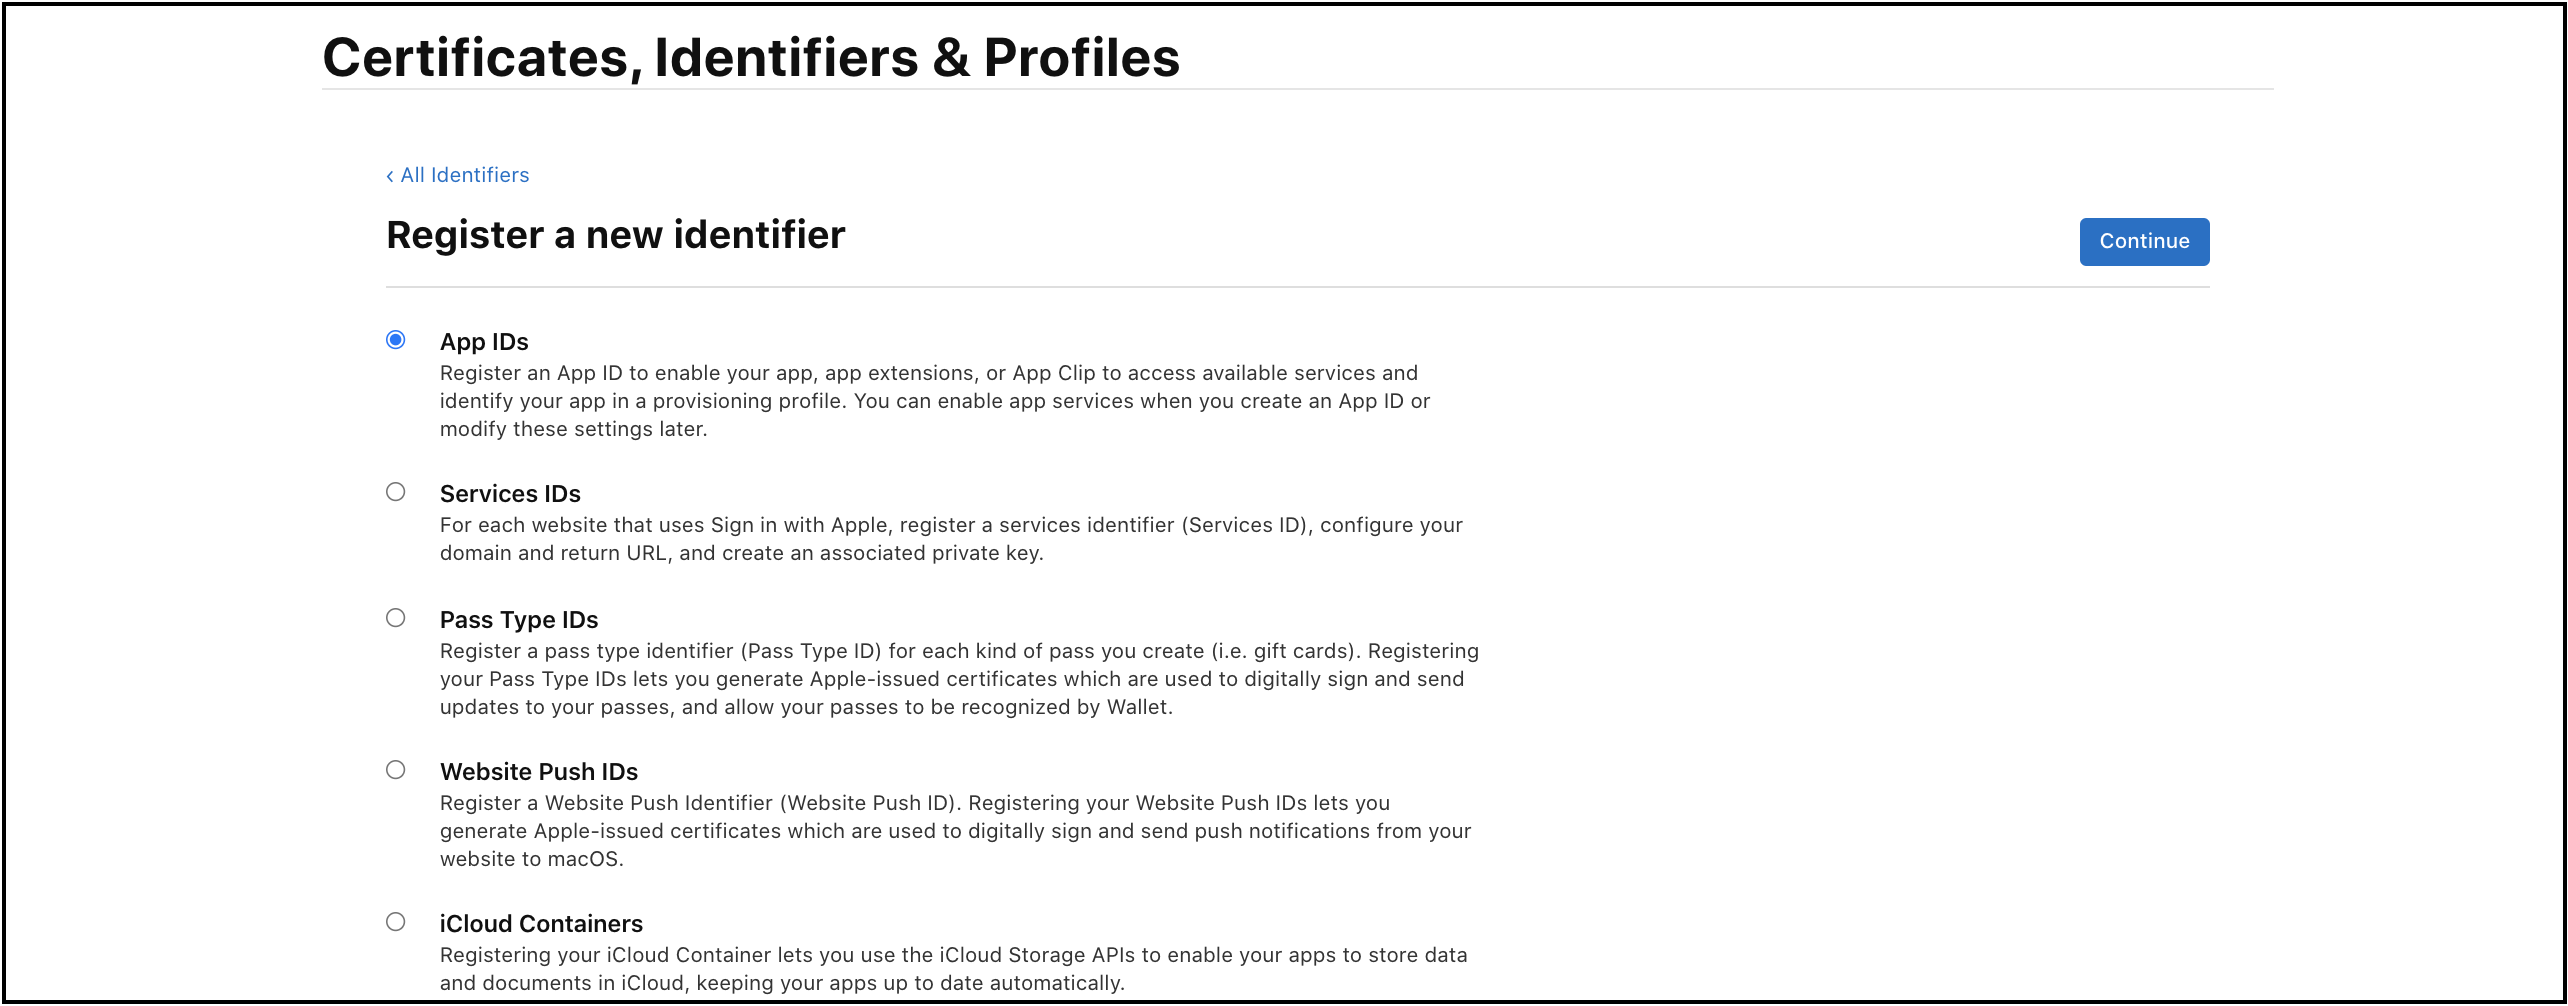
-
Select App IDs from the list and Continue.
-
Select App from the type.
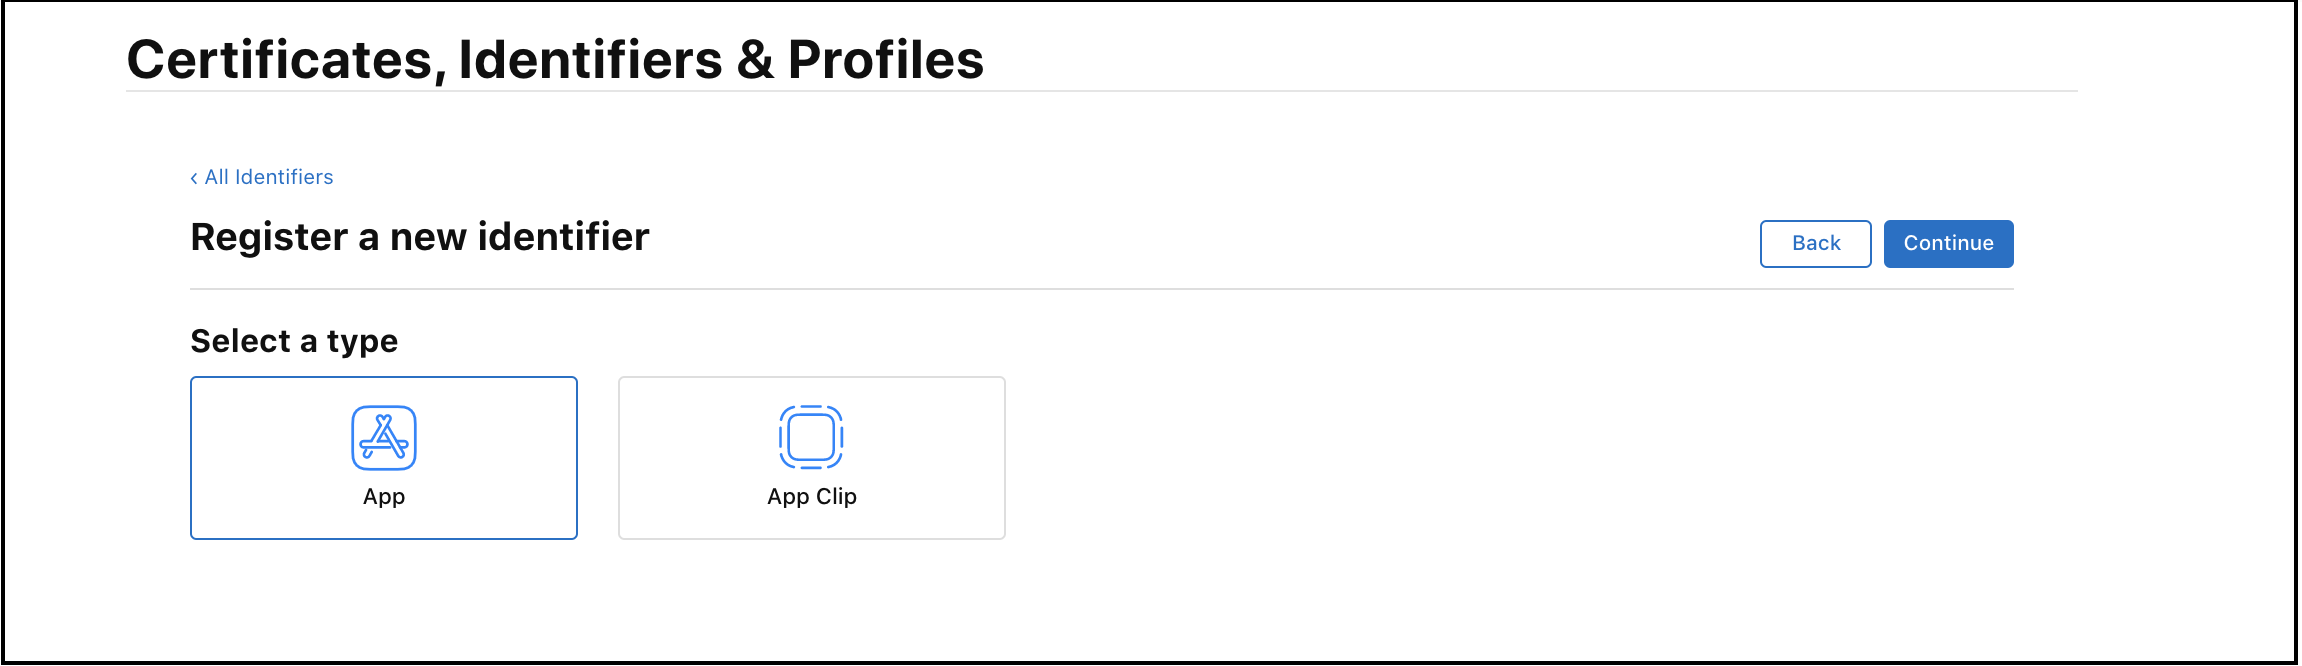
-
Add Bundle ID and Description for your app. Keep this Bundle ID the same as the one used in your RainMaker iOS app project.

-
Scroll down the page. Select Push Notifications and Sign in with Apple as capabilities. Click Continue.
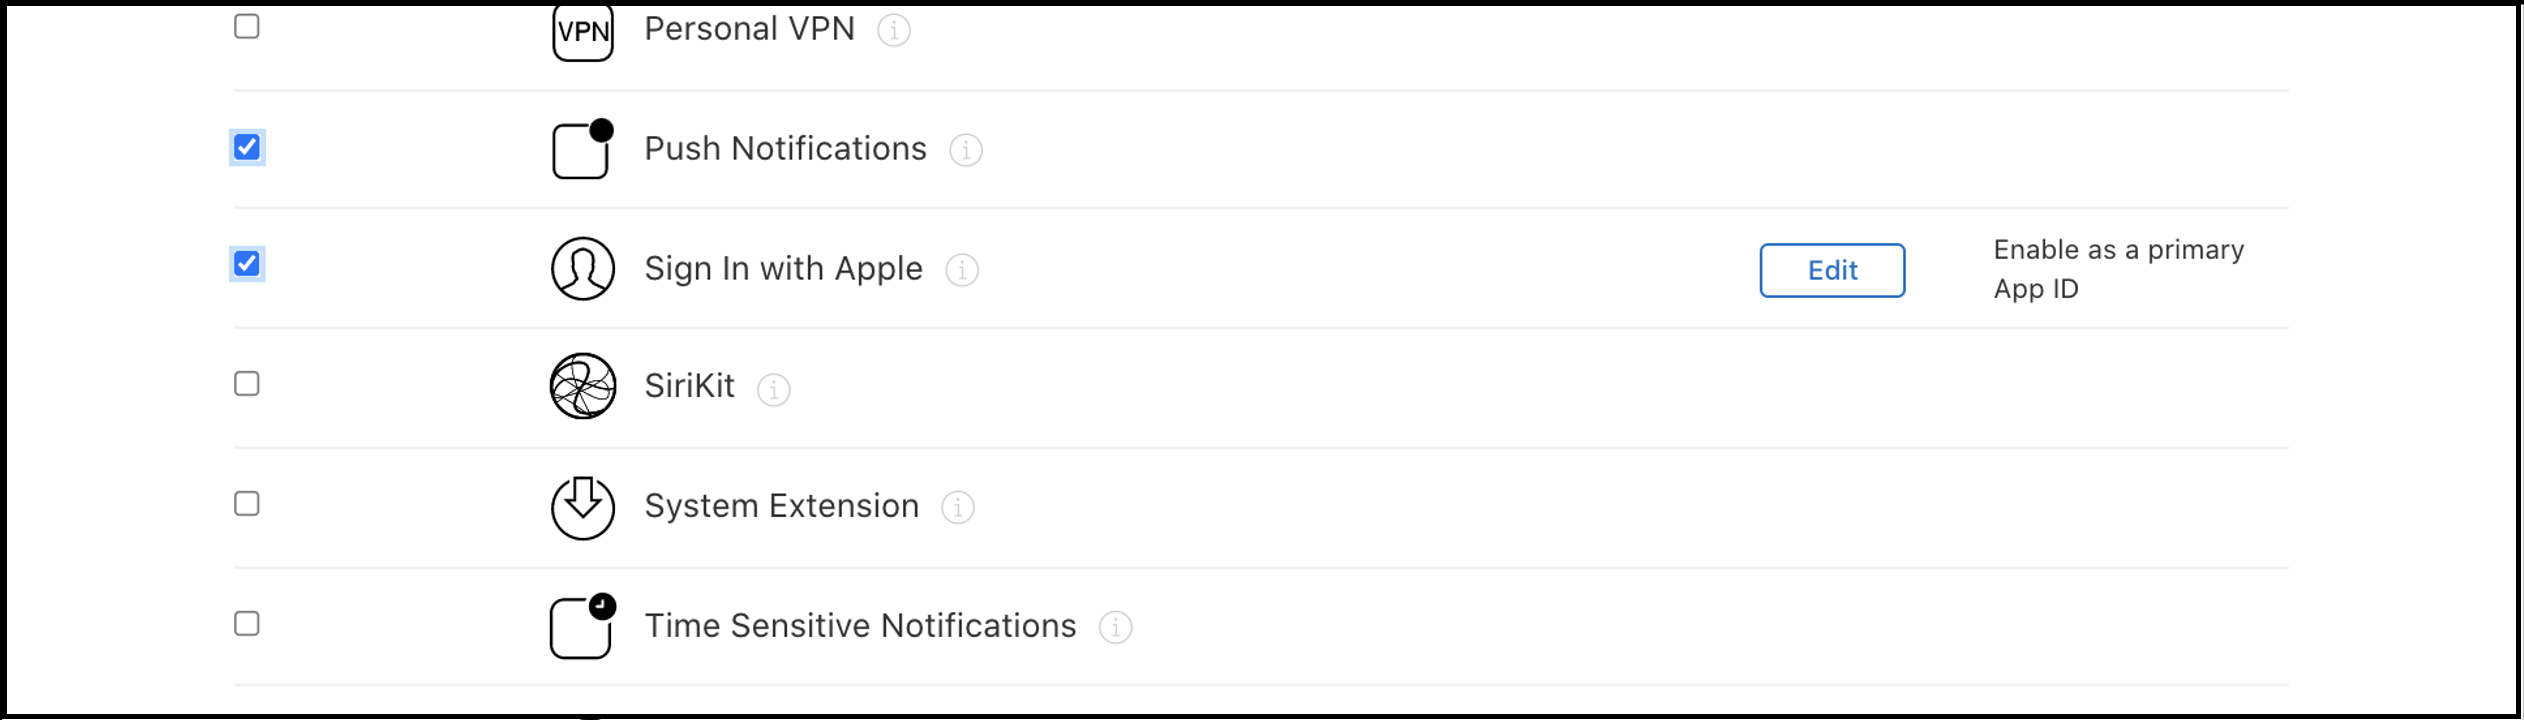
-
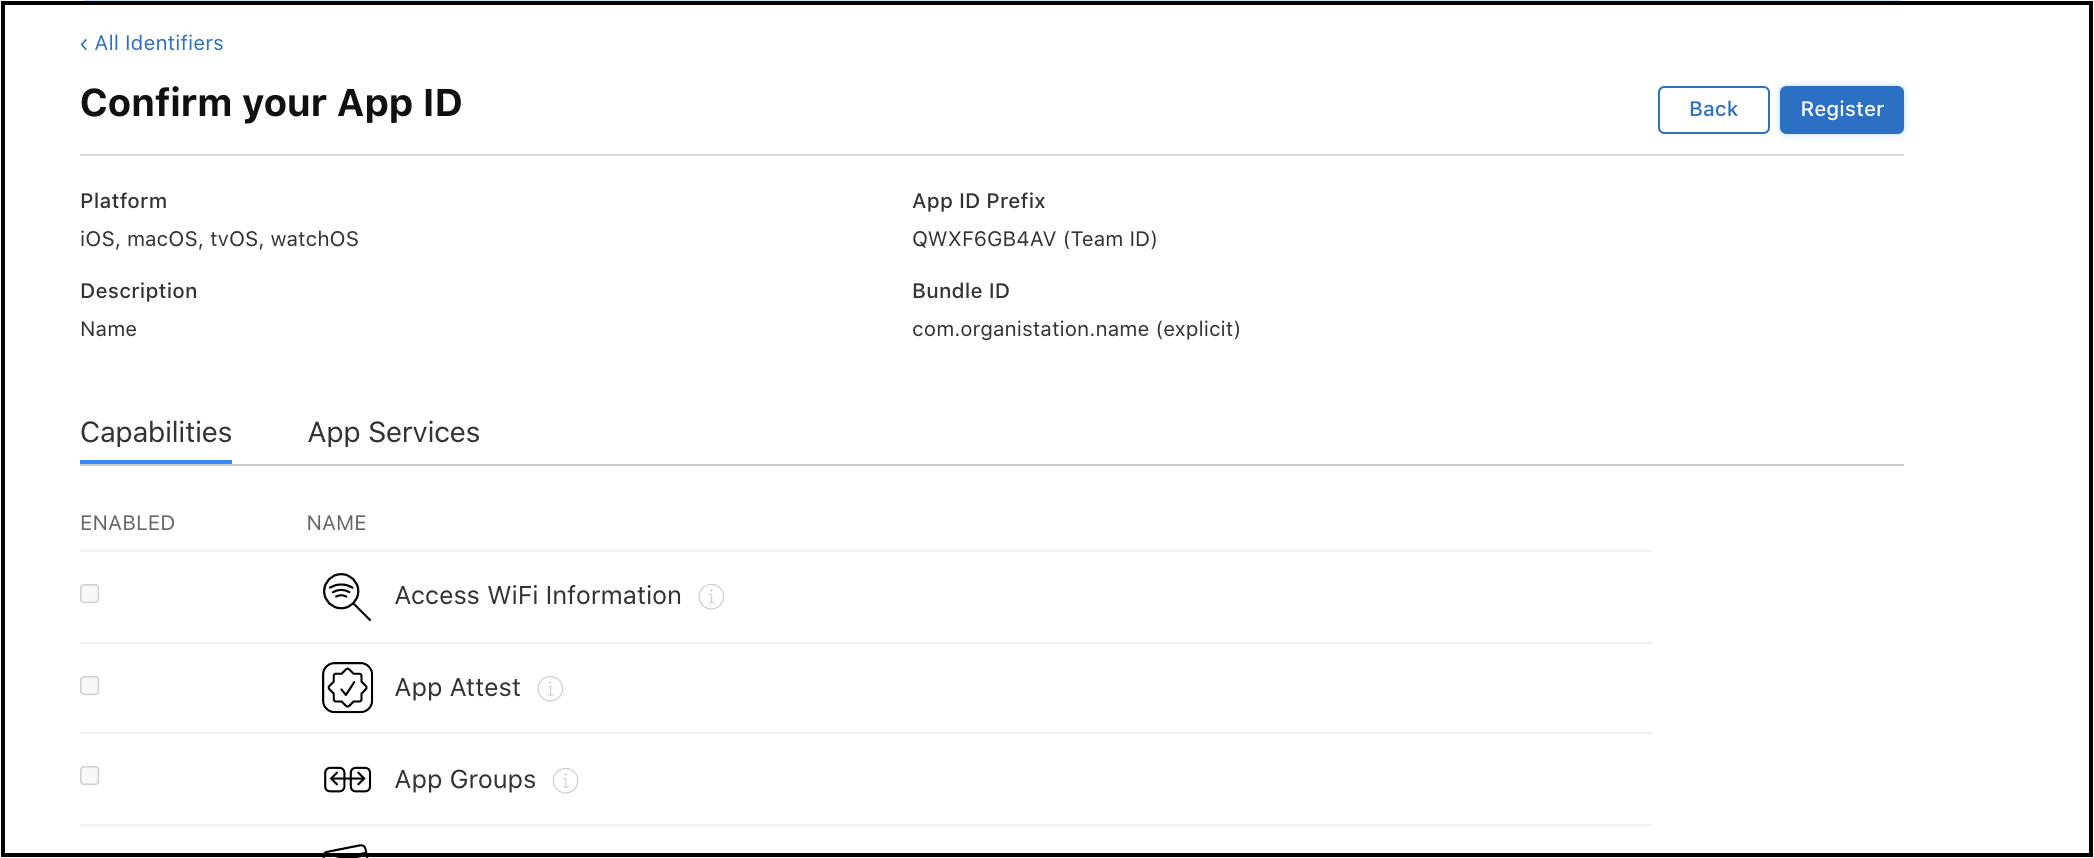
Review and confirm the configurations.
-
Take note of Team ID(App ID prefix) and Bundle ID value. Click on Register.