Android Configuration
Creating your Android RainMaker Project
All the configuration related fields can be changed from local.properties file. Open the project in Android Studio and local.properties file will be generated. Add value for properties described below.
App Configuration
| Key | Type | Description |
|---|---|---|
| isScheduleSupported | boolean | Enable(true) or Disable(false) scheduling functionality in app. |
| isNodeGroupingSupported | boolean | Enable(true) or Disable(false) noode grouping feature in app. |
| isNodeSharingSupported | boolean | Enable(true) or Disable(false) node sharing feature in app. |
| isLocalControlSupported | boolean | Enable(true) or Disable(false) local control feature in app. |
Cloud Configuration
RainMaker uses Amazon Web Services to provide RESTful APIs which provides authentication, authorization and user management in mobile apps. APIs are also useful to communicate with devices. These settings need to be configured in the app using local.properties file.
| Key | Type | Description |
|---|---|---|
| baseUrl | String | Consistent part of each API endpoint. Follow Get Base Url steps to fetch the endpoint. |
Note: "claimBaseUrl" key is available for assisted claiming API endpoint. It will not be applicable in production devices so please set it blank or NA by adding claimBaseUrl= or claimBaseUrl=NA in local.properties file.
3rd Party Login
RainMaker uses Amazon Web Services to provide RESTful APIs which provides authentication, authorization and user management in mobile apps. APIs are also useful to communicate with devices. These settings need to be configured in the app using local.properties file.
| Key | Type | Description |
|---|---|---|
| clientId | String | Uniquely identifies an app in a user pool. Check steps to get the Client ID |
| authUrl | String | OAuth URL for third party login. Check steps to get the Authentication URL |
| redirectUri | String | Custom URI schemes needed for redirecting user back to your app after third party login is completed. You also need to copy this value into local.properties file, see below. |
External links
Consist of links that open your project related documentations within app browser. Please provide valid URLs for each document type in the local.properties file.
| Key | Type | Description |
|---|---|---|
| docUrl | String | Documentation link. |
| privacyUrl | String | Privacy Policy link. |
| termsOfUseUrl | String | Terms of Use link. |
Setup Redirect URI
To setup redirect URI for your app, need to write your application ID as a host available in data tag in AndroidManifest.xml file.
Here is the example of redirect URI of ESP RainMaker app.
Redirect URI for ESP RainMaker app will be
rainmaker://com.espressif.rainmaker/success
Replace com.espressif.rainmaker with your application ID in above data. So redirect URI for your app will be
rainmaker://your_application_id/success
Push Notifications Settings
-
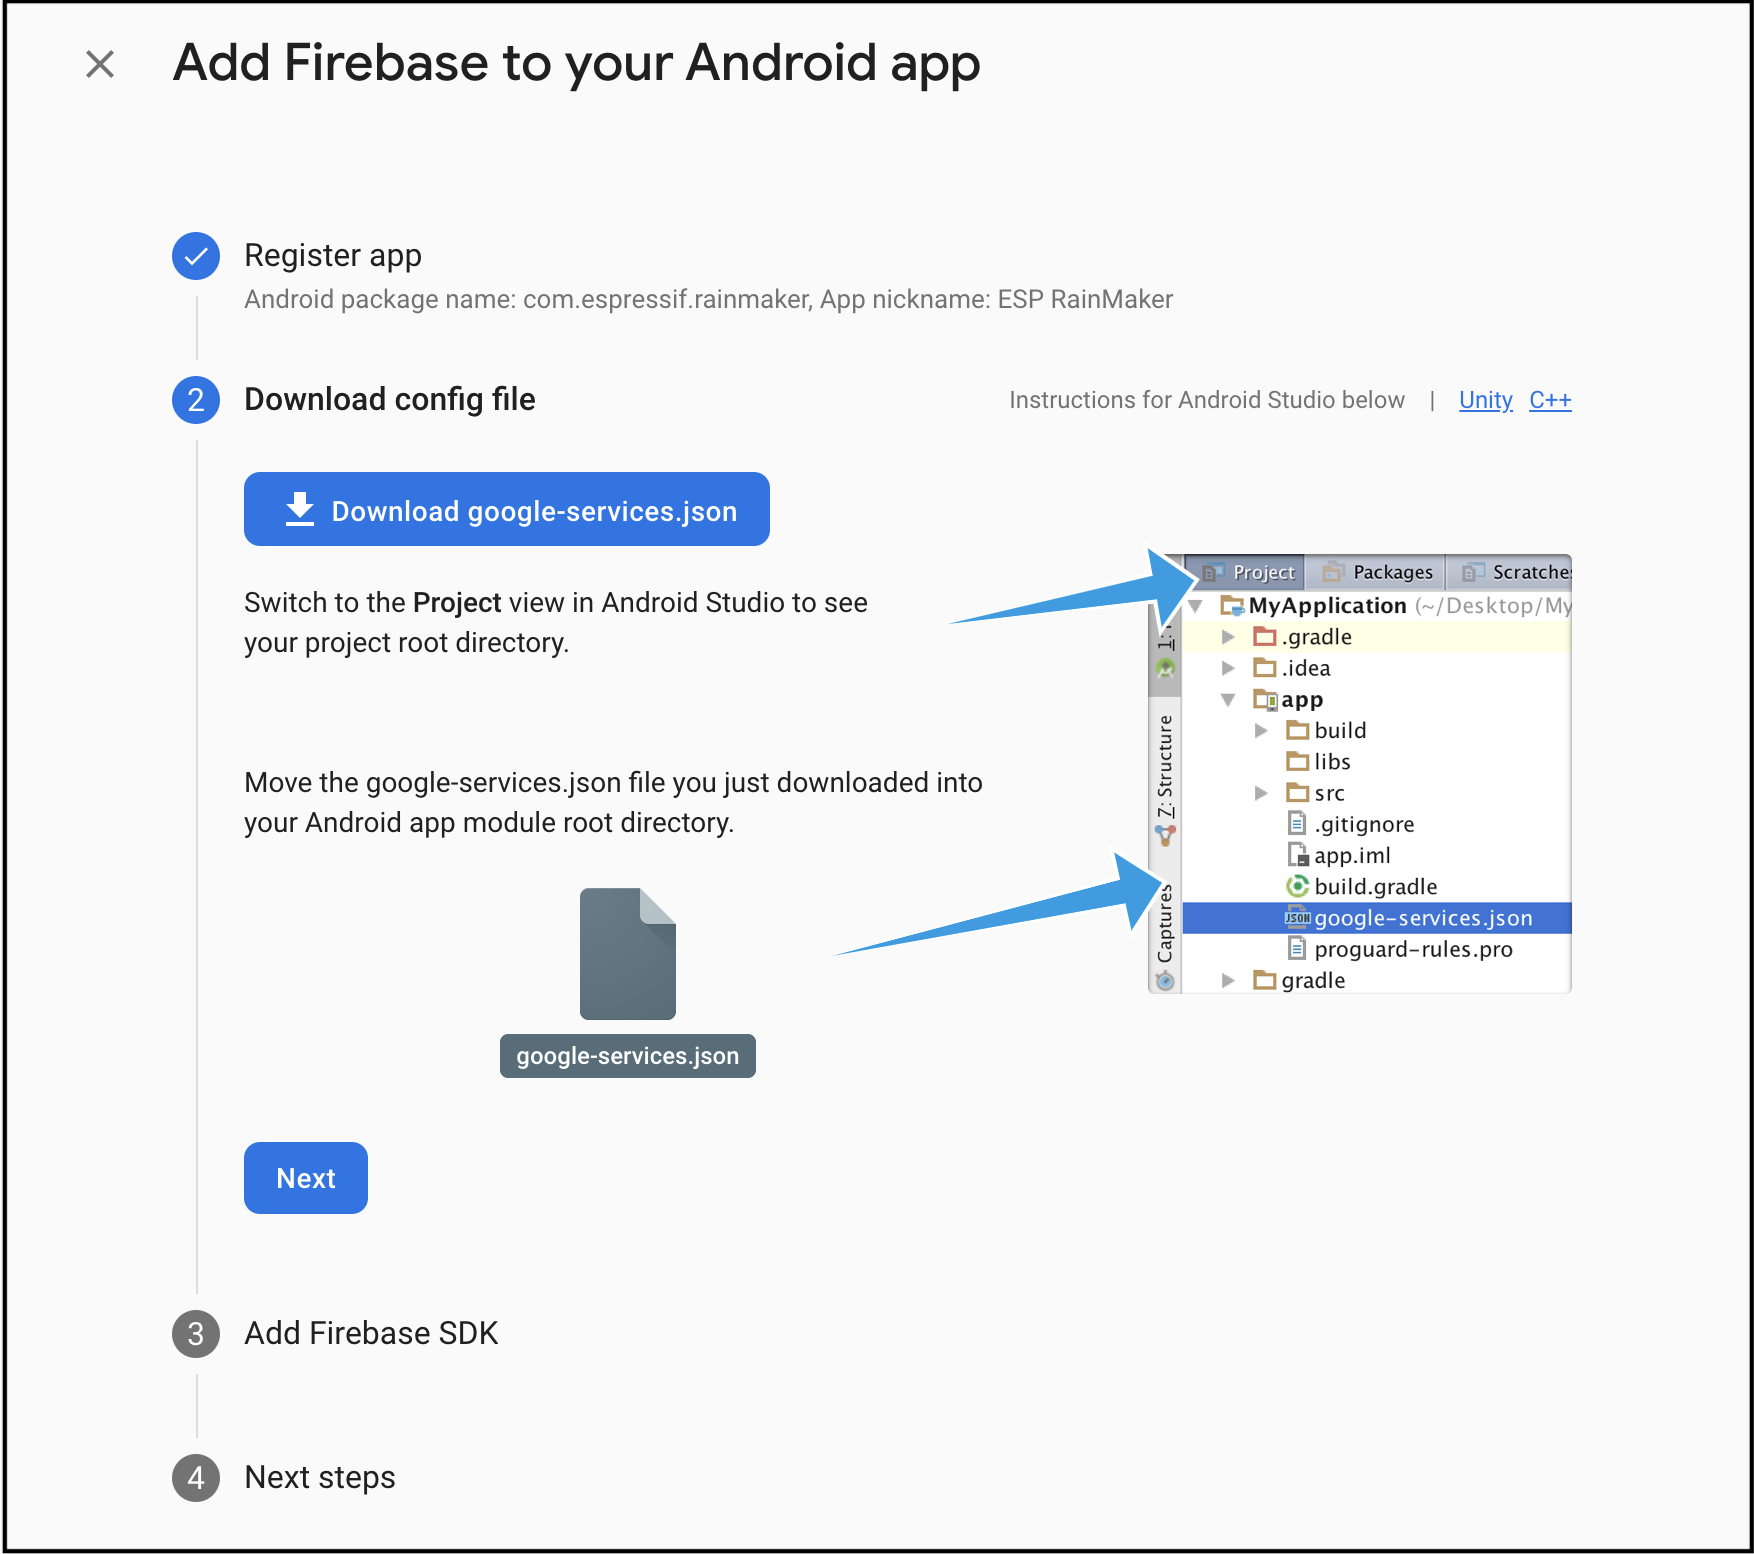
Your android application must be registered with Firebase for push notifications to work. You can Register using these steps if not done already.
-
Click "Download" google-services.json to obtain your Firebase Android config file (google-services.json). Replace existing google-services.json file with your downloaded file in the app module (app-level) directory of your app.
-
Keep the remaining settings as it is.
-
Continue with the Push Notifications Configuration
Alexa Account Linking
This account linking flow enables users to link their Alexa user account with their account in another service by starting from app. The following sections cover the app side configuration for Alexa account linking.
For more information on account linking and the cloud configuration please go here.
Creating Android App Links:
In Alexa account linking process, we need to allow the Alexa app or browser to redirect the user to your app. To allow this redirection, you must enable App Links for your Android app.
Please check Android documentation to enable App Links in Create Deep Links to App Content and in Verify App Links.
Here are the steps for creating and configuring App Link for your Android app which uses ESP RainMaker deployment.
-
Create App Link for ESP RainMaker deployment using these steps and take redirectURL which is created from those steps (you will get redirectURL from step-12). This will be your "App Link".
-
Follow below steps to create assetlinks.json file.
-
Download this assetlinks.json file.
-
Write your application id in place of "your_application_id".
-
Add your sha256_cert_fingerprint of your keystore file in place of "add_your_sha256_fingerprint_here" in JSON array.
note- If you don't have keystore for App Signing, please create using these steps.
- Run
./gradlew signingReportcommand to get SHA-256 fingerprint. - To make "App Link" work, you need to install app with same signing for which SHA-256 fingerprint added.
-
-
Upload assetlinks.json file in ".well-known" folder by using these steps.
-
Modify host value in data tag of
AlexaAppLinkingActivityinAndroidManifest.xmlfile. You can get host value by removing "https://" from your redirectURL and add it in place of "your_host_value" in AndroidManifest.xml file.
Here is the example of Android App Link setup.
- Let's assume you have followed 1st step and got redirectURL as below.
https://my-app-link.s3.amazonaws.com/
-
Download assetlinks.json file. Replace "your_application_id" with "com.example.my_app" which is an application ID of the Android app. After that run
./gradlew signingReportcommand and get SHA-256 fingerprint and add it in file.After these changes assetlinks.json file looks as below.
[{
  "relation": ["delegate_permission/common.handle_all_urls"],
  "target": {
    "namespace": "android_app",
    "package_name": "com.example.my_app",
    "sha256_cert_fingerprints":[
         "E6:B5:DD:AF:62:90:93:3E:63:52:6B:C6:15:CC:DC:A3:1E:DE:AF:20:D2:07:3F:A4:89:CB:8C:78:D2:AE:CC:0D"
    ]
  }
}]
- Upload assetlinks.json file in ".well-known" folder.
- Replace
"your_host_value"with your host value from redirect URL inAndroidManifest.xmlas below.
<activity
    android:name="com.espressif.ui.activities.AlexaAppLinkingActivity"
    android:label="@string/title_activity_amazon_alexa"
    android:launchMode="singleTask"
    android:screenOrientation="portrait"
    android:theme="@style/AppTheme.NoActionBar">

    <intent-filter android:autoVerify="true">
         <action android:name="android.intent.action.VIEW" />

         <category android:name="android.intent.category.DEFAULT" />
         <category android:name="android.intent.category.BROWSABLE" />

         <data
            android:host="my-app-link.s3.amazonaws.com"
            android:scheme="https" />
    </intent-filter>
</activity>
You can also use Digital Asset Links Generator or the App Links Assistant in Android Studio to create Android App Links and test links.
Configuring Account Linking:
All the configuration parameters for Alexa account linking can be set from local.properties file.
Open the project in Android Studio and local.properties file will be generated. Please add values for following configuration fields.
| Configuration key | Type | Description |
|---|---|---|
| authUrl | String | OAuth URL. To get this value please refer here. |
| alexaClientId | String | Alexa client ID. This can be found in: - Go to Alexa dev console - Click on your skill - Go to Build tab - Go to Permissions section - Under permissions the "Alexa Client Id" can be found. |
| alexaClientSecret | String | Alexa client secret. This can be found in: - Go to Alexa dev console - Click on your skill - Go to Build tab - Go to Permissions section - Under permissions the "Alexa Client Secret" can be found. |
| alexaRedirectUrl | String | Redirect URL is provided in the calls to get alexa auth code and RainMaker (or custom user auth service) auth code. This is also used as the App Link for the Android app. In order to find out how to configure App Link please check this link. |
| alexaRMClientId | String | Refer section Steps to get Alexa and GVA client ID and copy the esp-rainmaker-alexa-skill client id |
| skillId | String | Skill id of skill to be linked. This can be found in: - Go to Alexa dev console - Click on your skill - Go to Build tab - Go to Smart Home section - Under Smart Home section, "Skill Id" can be found. |
| skillStage | String | Possible values: live: for live skill development: for a skill under development. |
| alexaAccessTokenUrl | String | API endpoint used to fetch Alexa access token from Alexa auth code. Check link for steps to get the value of the Alexa access token URL. |
Firebase Settings
To configure this further, you must login with your Google account on the Firebase console.
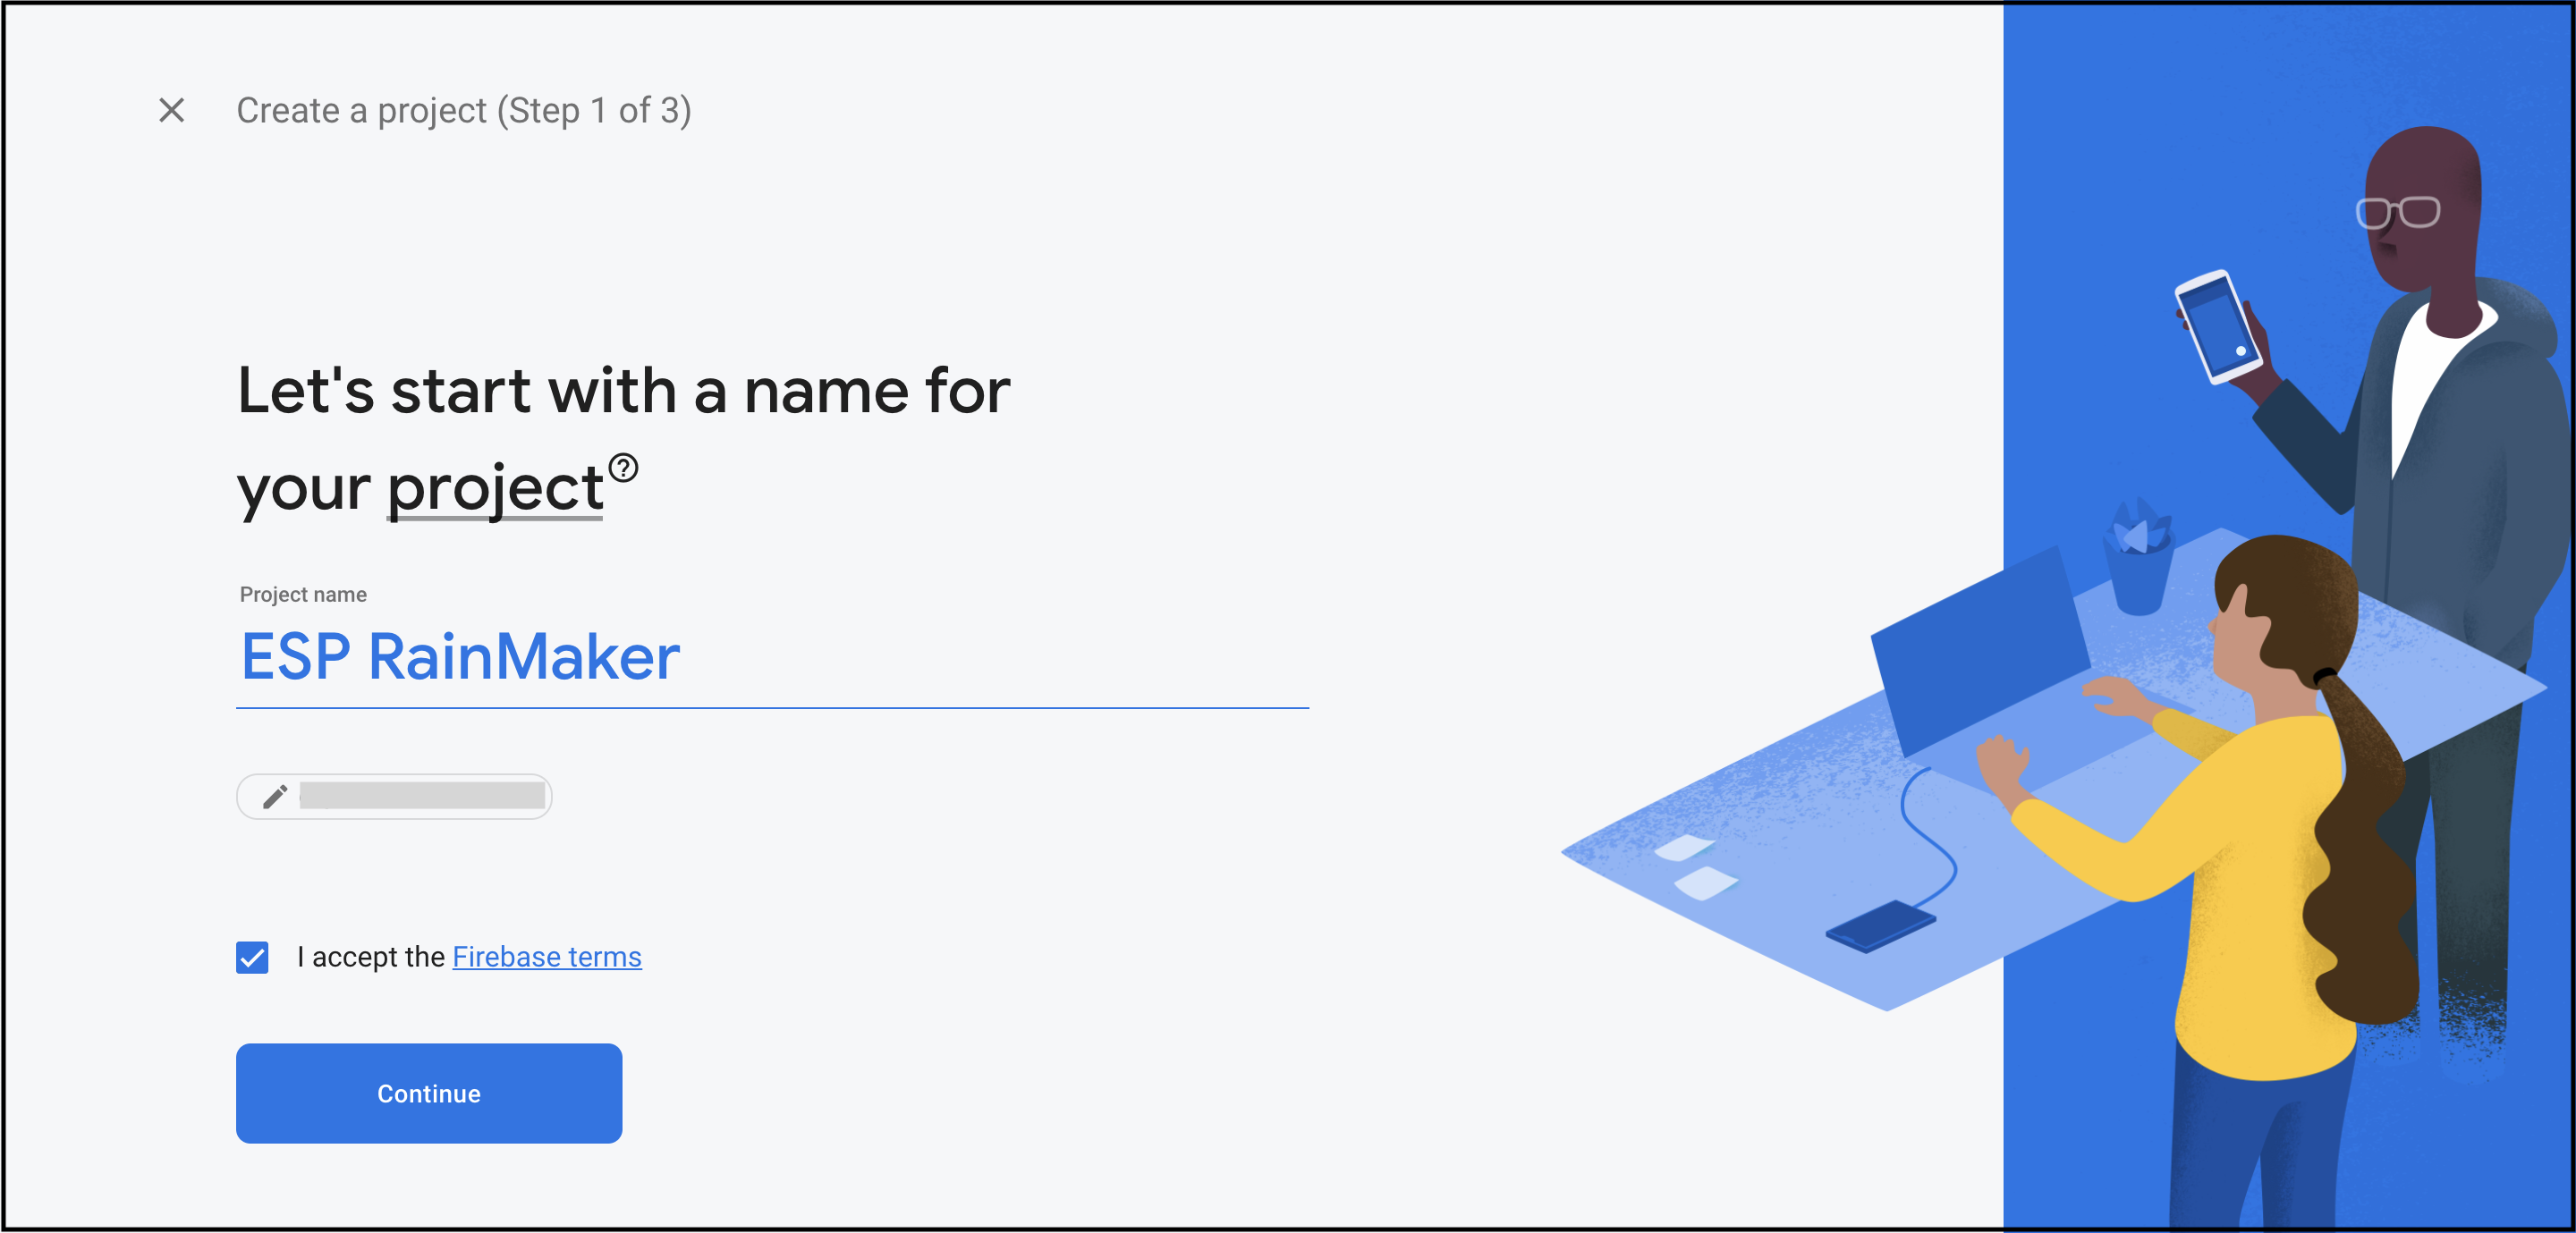
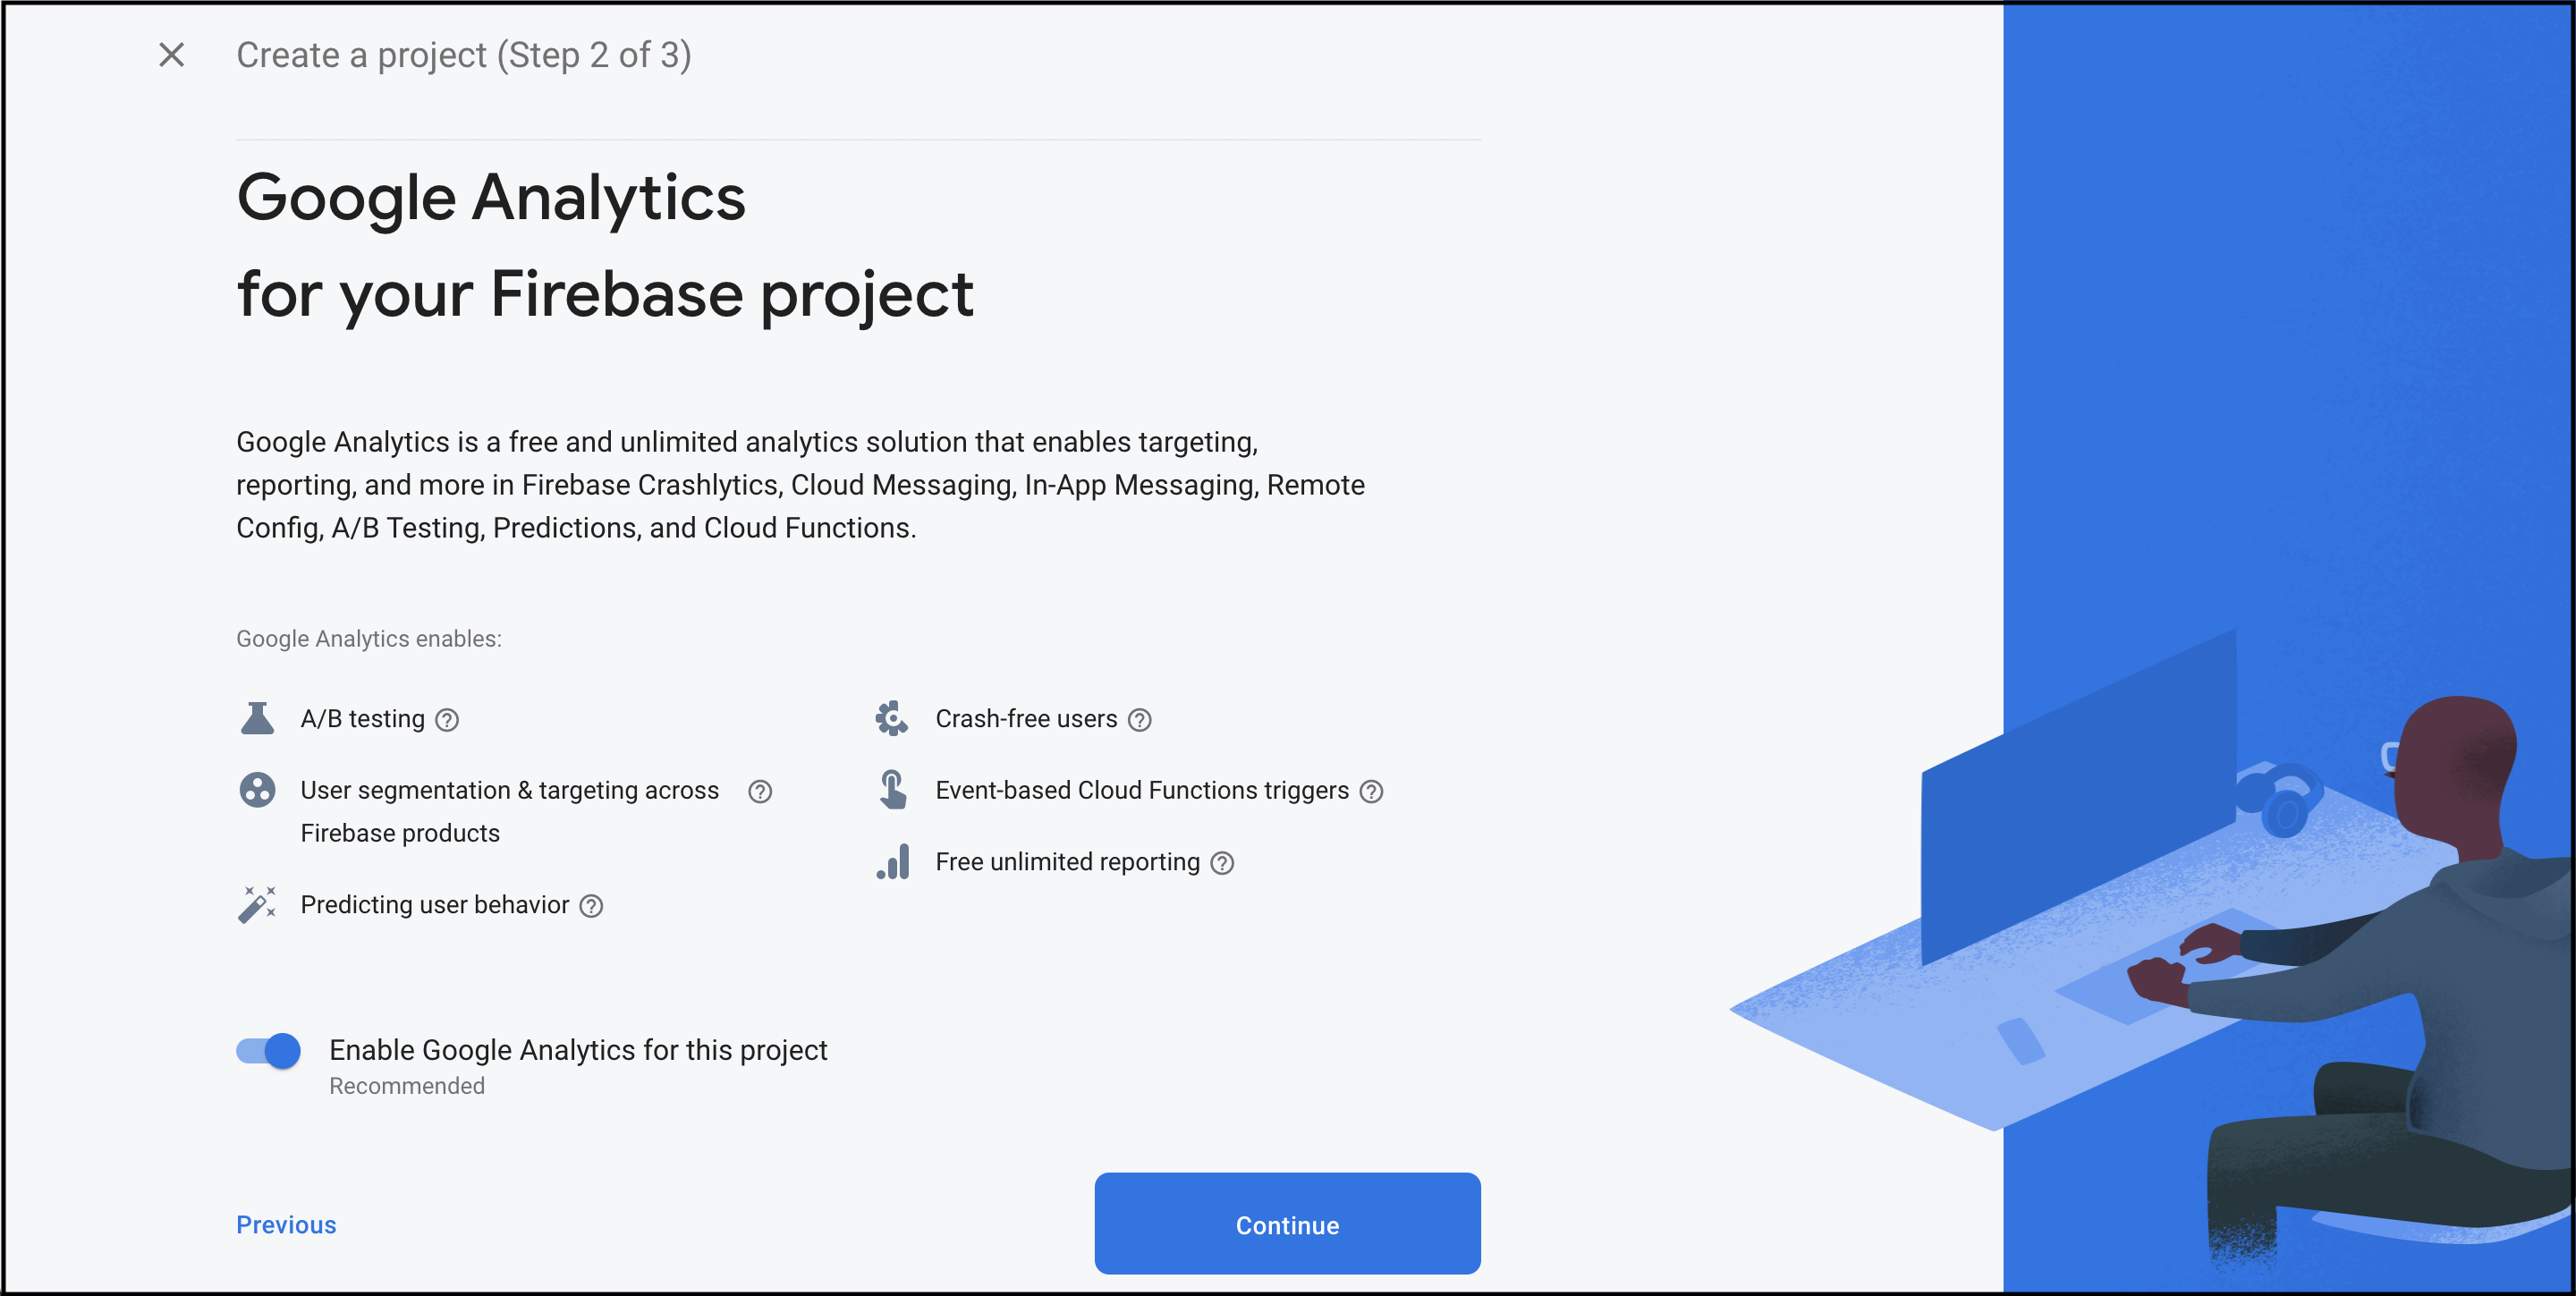
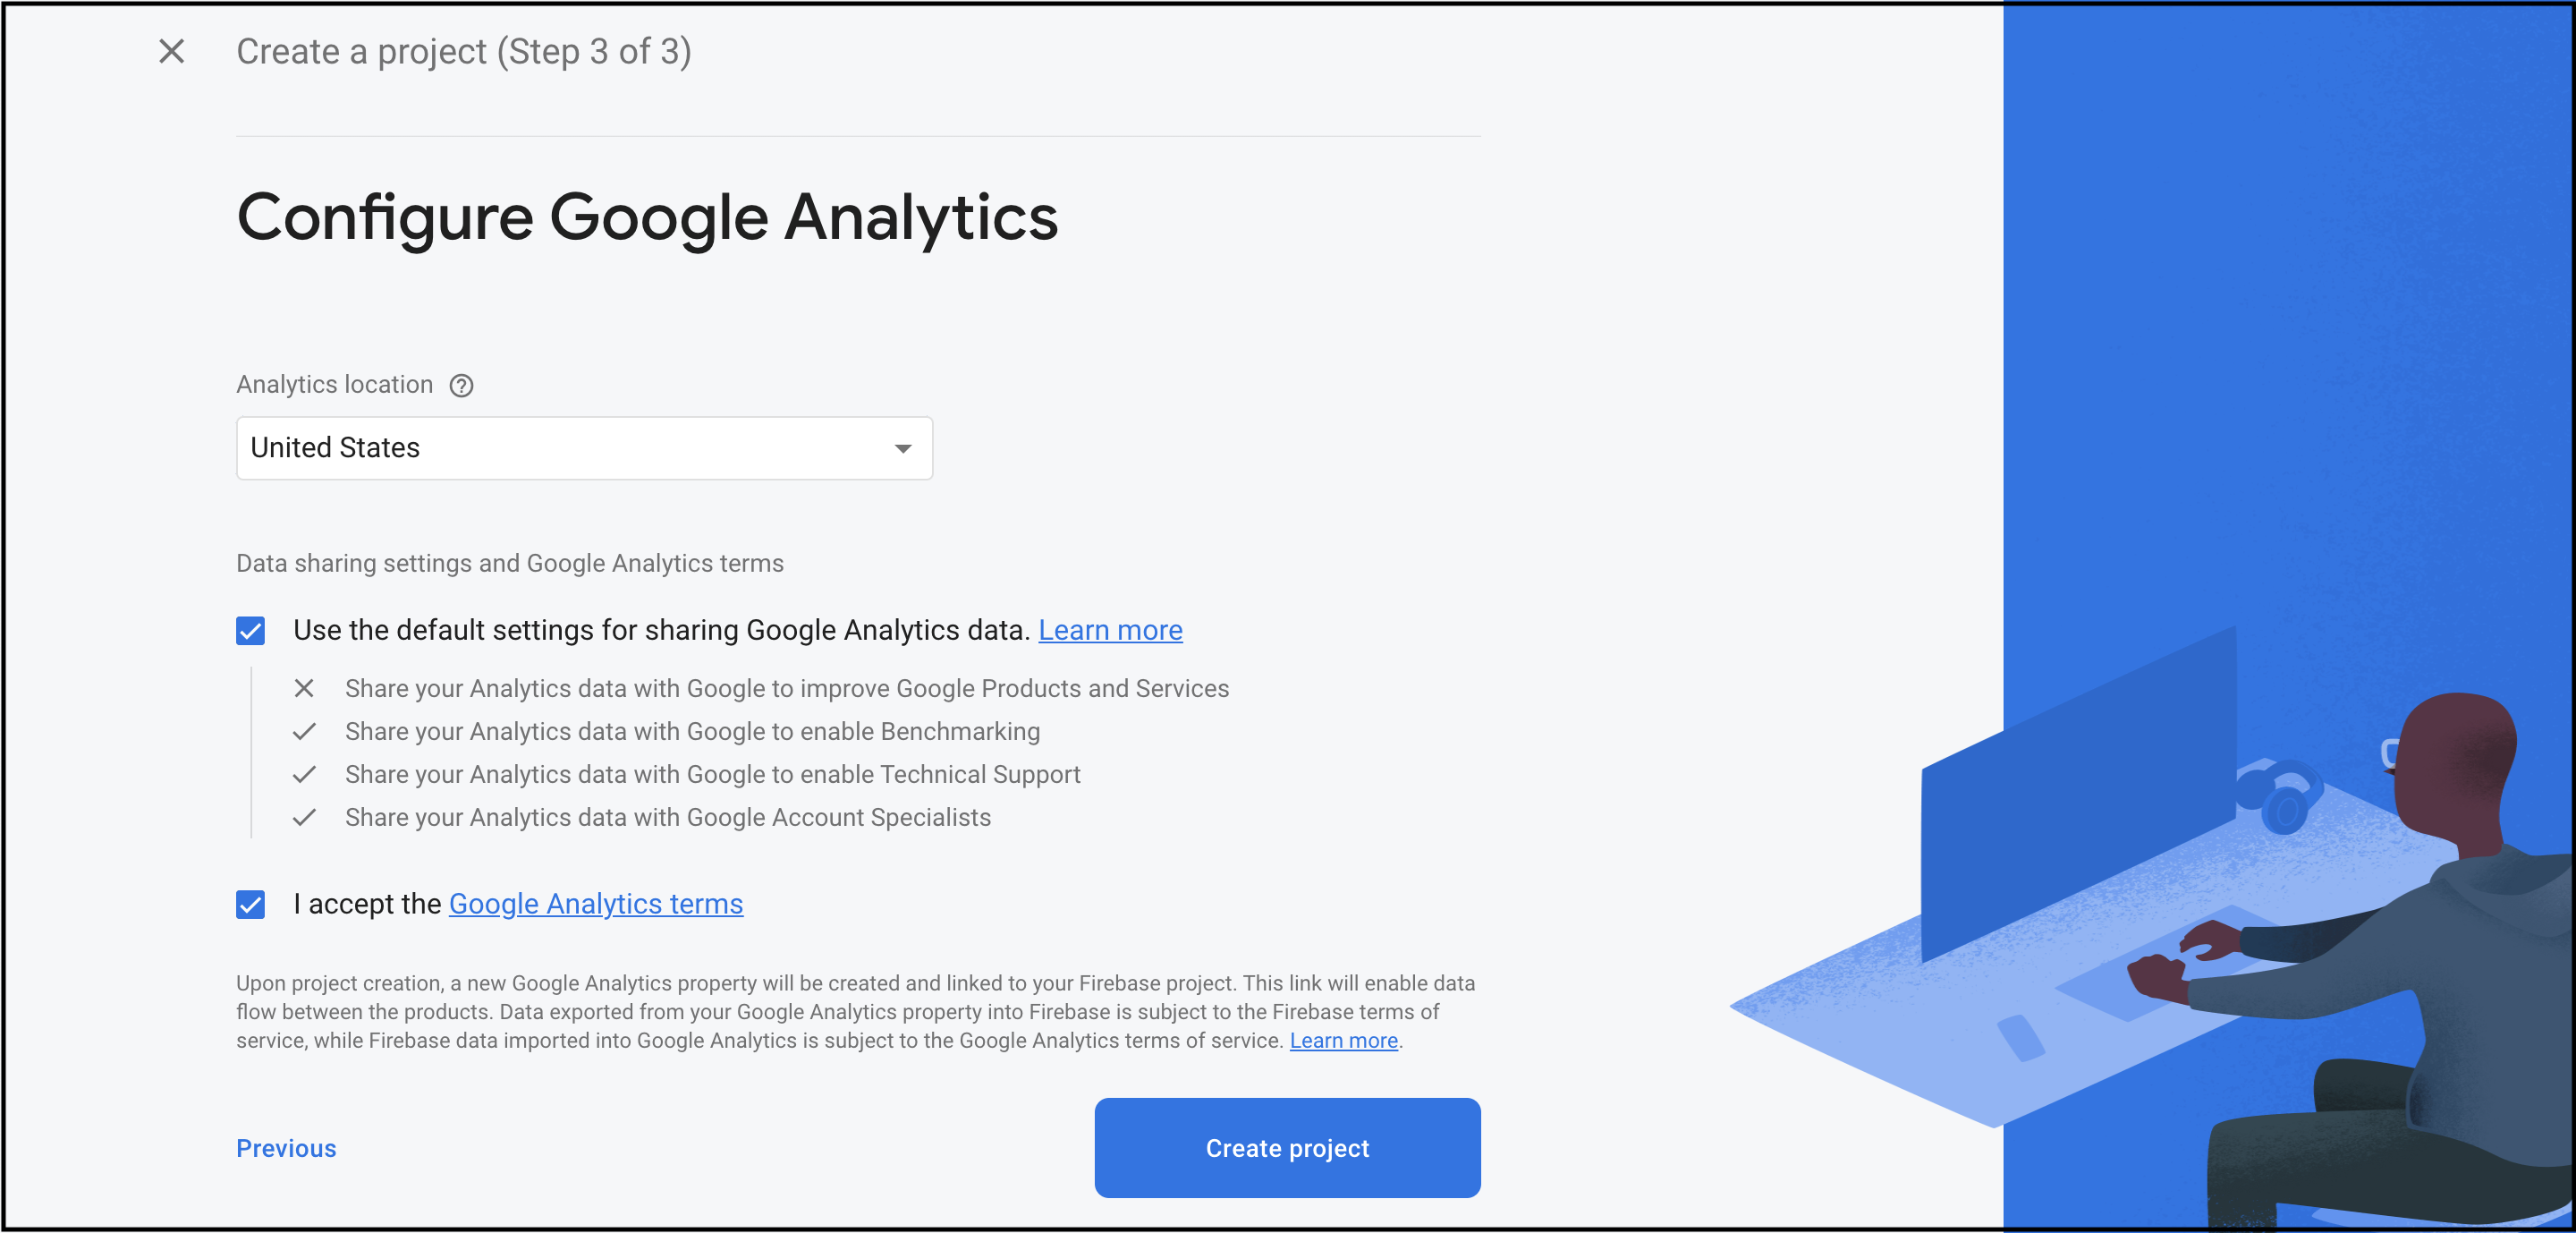
Create a Firebase project
-
In the Firebase console, click Add project, then select or enter a Project name.
If you have an existing Google Cloud project, you can select the project from the dropdown menu to add Firebase resources to that project.
- (Optional) If you are creating a new project, you can edit the Project ID. To use a specific identifier, you must edit your project ID during this setup step. Firebase automatically assigns a unique ID to your Firebase project.
After Firebase provisions resources for your Firebase project, you cannot change your project ID.
-
Click Continue.
-
Click Create project (or Add Firebase if you're using an existing Google Cloud project).
For more information, see Create a Firebase project on the Firebase website.
Register your app with Firebase
To use Firebase in your Android app, you need to register your app with your Firebase project. Registering your app is often called "adding" your app to your project.
Visit Understand Firebase Projects to learn more about best practices and considerations for adding apps to a Firebase project, including how to handle multiple build variants.
-
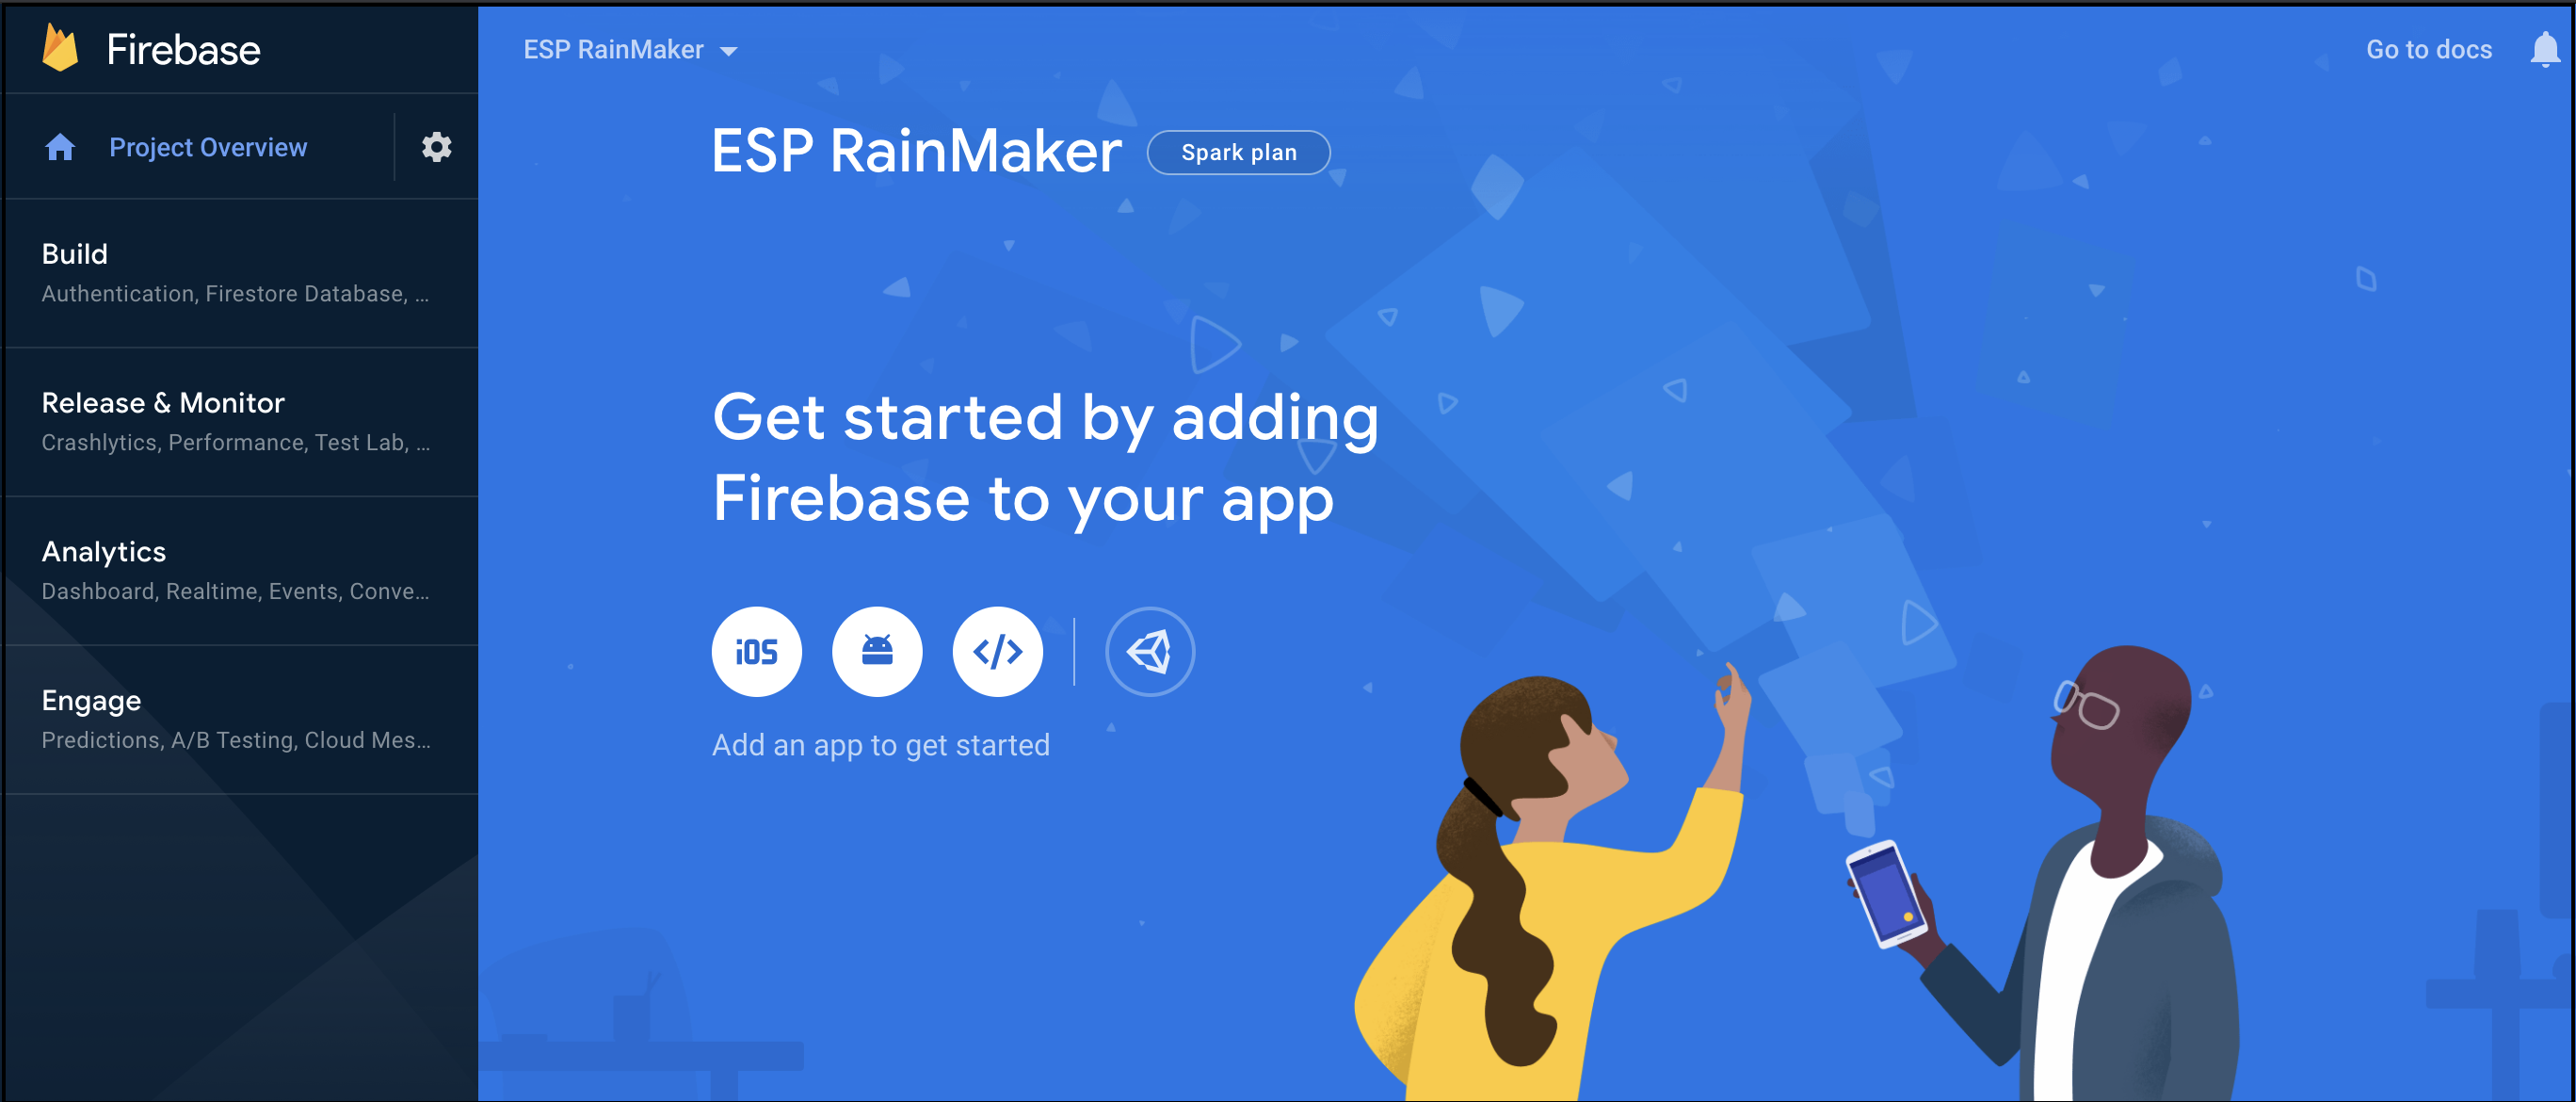
Go to the Firebase console.
-
In the centre of the project overview page, click the Android icon (plat_android) or Add app to launch the setup workflow.
-
Enter your app's package name (application id) in the Android package name field. Click Register app.
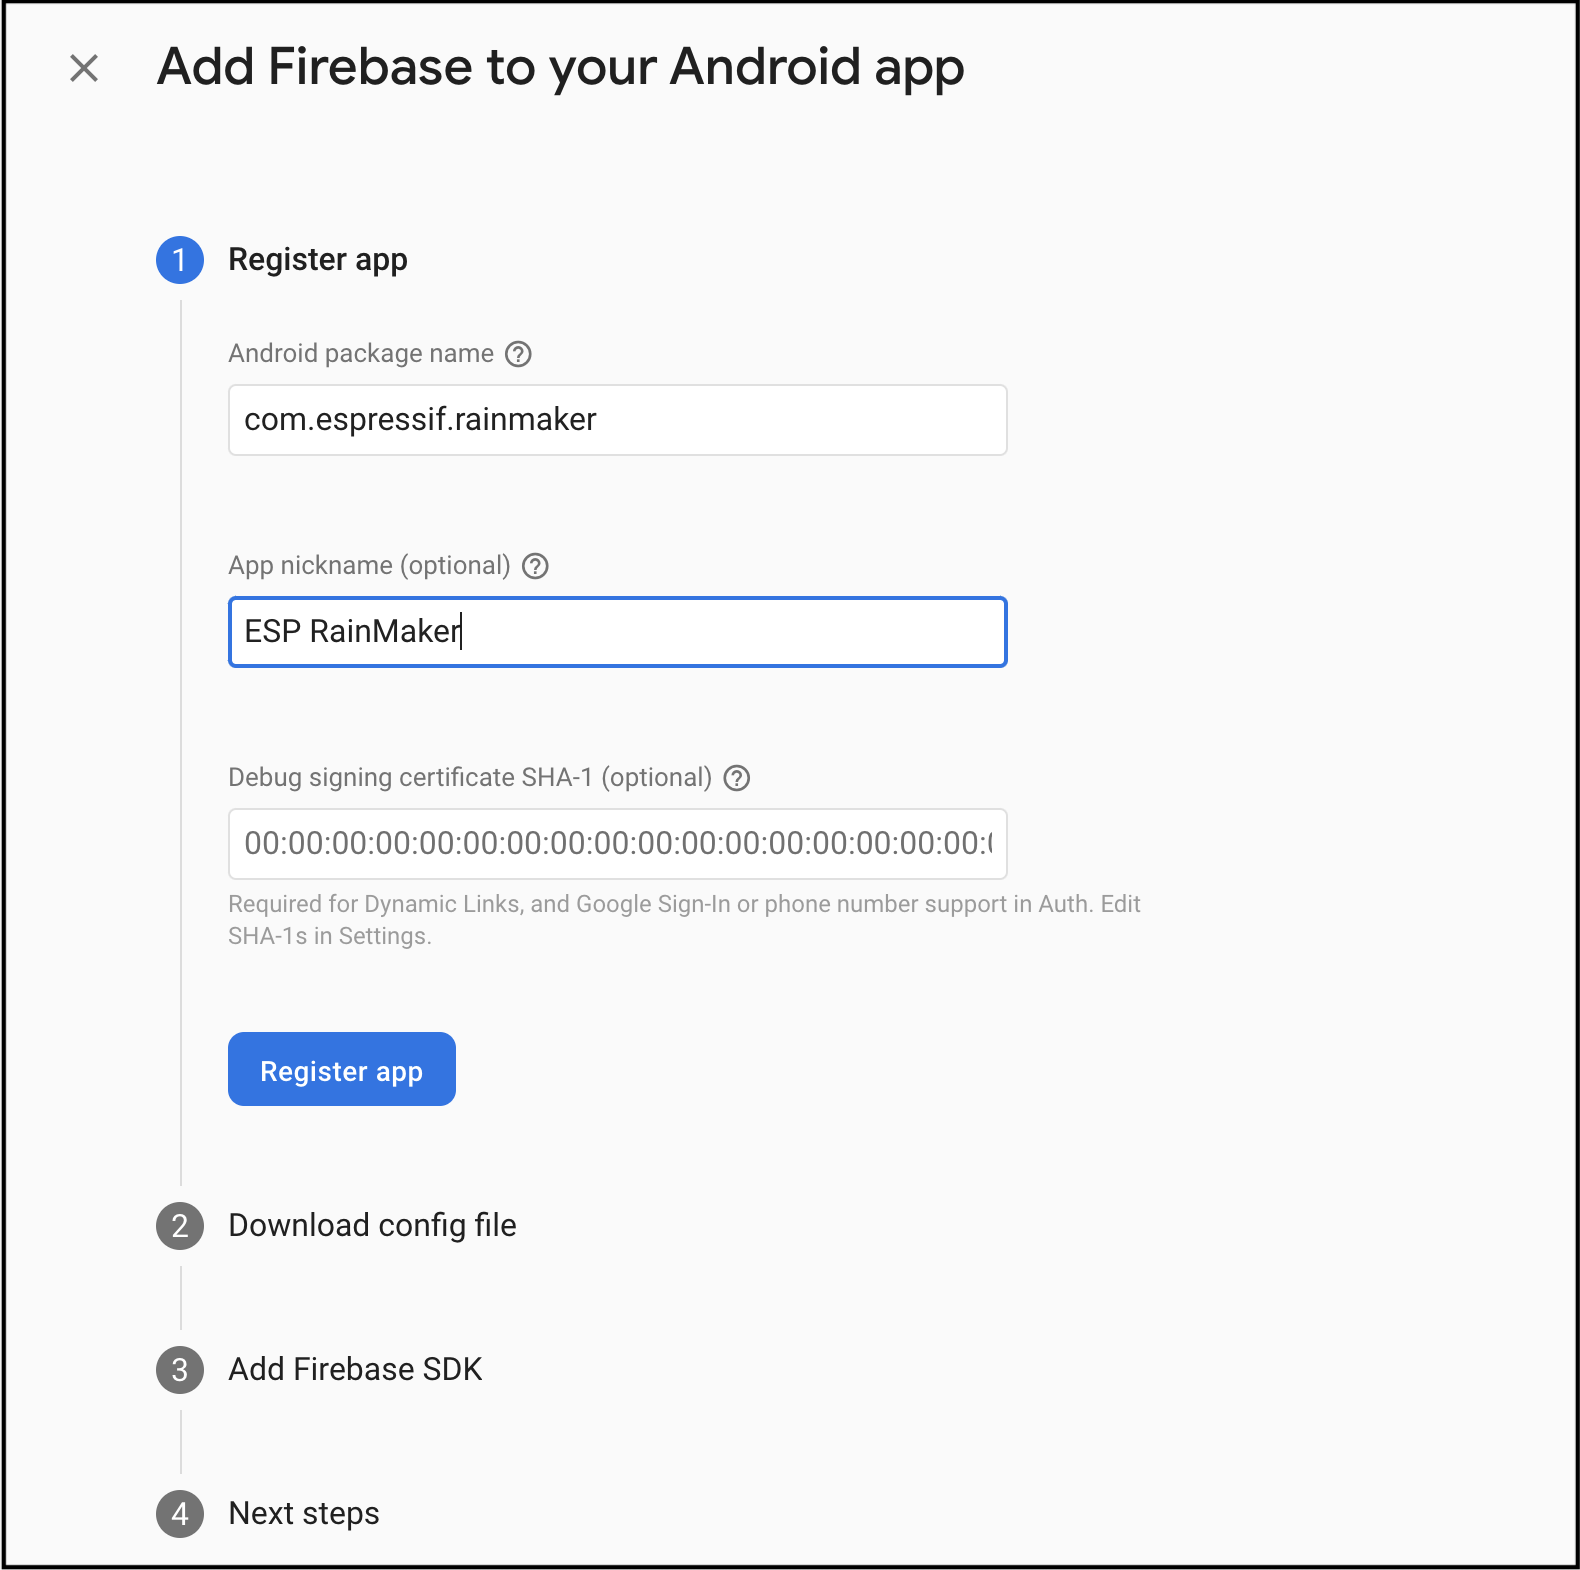 note
noteMake sure to enter the package name that your app is using. The package name value is case-sensitive, and cannot be changed for this Firebase Android app after registering with your Firebase project.
noteFor more information, see Register your app on the Firebase website.