Rainmaker Backend
Overview
To deploy ESP-Rainmaker with the SAM model, use the AWS CloudFormation stack creation wizard to set up various components. Ensure consistent Rainmaker versions and regions throughout the deployment.
This section contains the deployment for all the required components for the ESP-Rainmaker.
Deploy ESP-Rainmaker Components
S3 URL Template and Usage
This section contains the deployment URLs for the various ESP-Rainmaker components.
S3 URL Template:
https://esp-rainmaker-sam-deployments-<MASKED_ACCOUNT_ID>-<REGION>.s3.<REGION>.<DOMAIN>/<VERSION>/packages/<PACKAGE_NAME>.yml
Usage Instructions:
-
Replace
<MASKED_ACCOUNT_ID>with:192622e2680ffor Non-China regions.
https://esp-rainmaker-sam-deployments-192622e2680f-<REGION>.s3.<REGION>.<DOMAIN>/<VERSION>/packages/<PACKAGE_NAME>.ymla7c02756c325for China regions.
https://esp-rainmaker-sam-deployments-a7c02756c325-<REGION>.s3.<REGION>.<DOMAIN>/<VERSION>/packages/<PACKAGE_NAME>.yml -
Choose the Rainmaker version and region you want to use. Replace
<REGION>and<VERSION>in the deployment links with your selections. You can find the available versions and regions here -
Replace
<DOMAIN>with:amazonaws.comfor Non-China regions.amazonaws.com.cnfor China regions.
-
Replace
<PACKAGE_NAME>with the appropriate package name:- ESP-Rainmaker-Base
esprainmakersambase_package.yml - ESP-Rainmaker-Core
esprainmakersamcore_package.yml - ESP-Nested-AddOns
espnestedaddons_package.yml - ESP-TimeSeries
esptsdata_package.yml - ESP-Rainmaker-Skills
deploy-3p-integration-all-regions-add-ons_package.yml
- ESP-Rainmaker-Base
Example URLs
For Non-China Region, Refer below sample URLs, you need to replace the region & version.
https://esp-rainmaker-sam-deployments-192622e2680f-<region>.s3.<region>.amazonaws.com/<version>/packages/esprainmakersambase_package.yml
https://esp-rainmaker-sam-deployments-192622e2680f-<region>.s3.<region>.amazonaws.com/<version>/packages/esprainmakersamcore_package.yml
https://esp-rainmaker-sam-deployments-192622e2680f-<region>.s3.<region>.amazonaws.com/<version>/packages/espnestedaddons_package.yml
https://esp-rainmaker-sam-deployments-192622e2680f-<region>.s3.<region>.amazonaws.com/<version>/packages/esptsdata_package.yml
https://esp-rainmaker-sam-deployments-192622e2680f-<region>.s3.<region>.amazonaws.com/<version>/packages/deploy-3p-integration-all-regions-add-ons_package.yml
For China Region, Refer below sample URLs, you need to replace the region & version.
https://esp-rainmaker-sam-deployments-a7c02756c325-<region>.s3.<region>.amazonaws.com.cn/<version>/packages/esprainmakersambase_package.yml
https://esp-rainmaker-sam-deployments-a7c02756c325-<region>.s3.<region>.amazonaws.com.cn/<version>/packages/esprainmakersamcore_package.yml
https://esp-rainmaker-sam-deployments-a7c02756c325-<region>.s3.<region>.amazonaws.com.cn/<version>/packages/espnestedaddons_package.yml
https://esp-rainmaker-sam-deployments-a7c02756c325-<region>.s3.<region>.amazonaws.com.cn/<version>/packages/esptsdata_package.yml
https://esp-rainmaker-sam-deployments-a7c02756c325-<region>.s3.<region>.amazonaws.com.cn/<version>/packages/deploy-3p-integration-all-regions-add-ons_package.yml
Common Steps for Creating a CloudFormation Stack
-
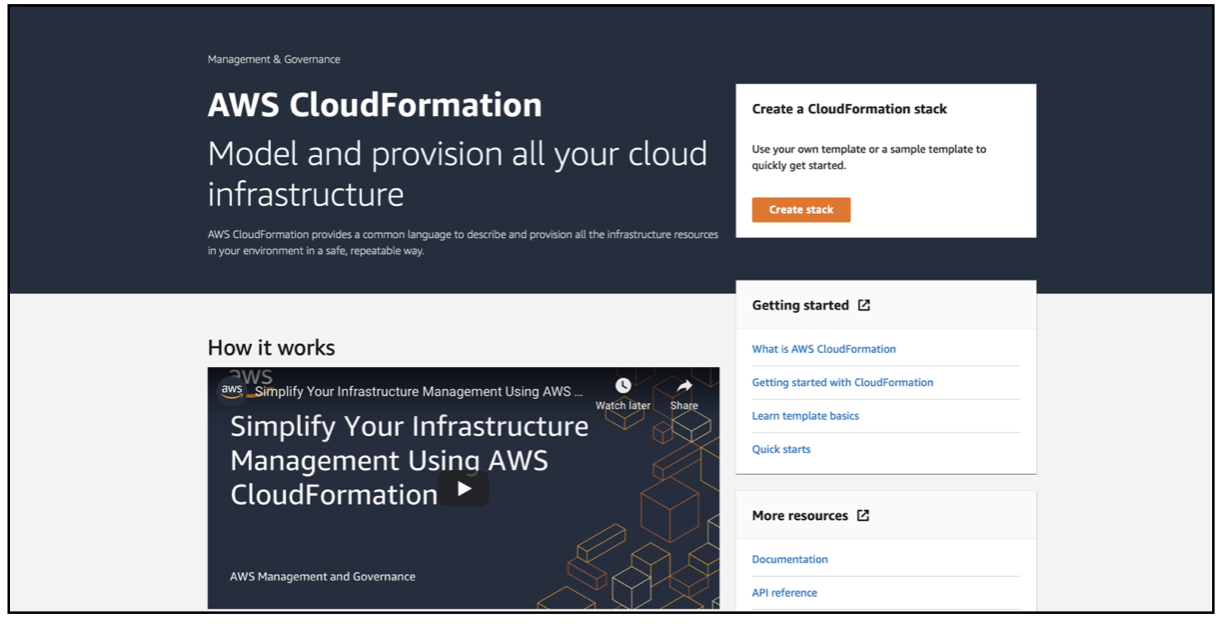
Go to AWS Management Console
- In the Services, search for CloudFormation and click on CloudFormation.

-
Create a Stack
- Click on "Create stack" in the CloudFormation service.
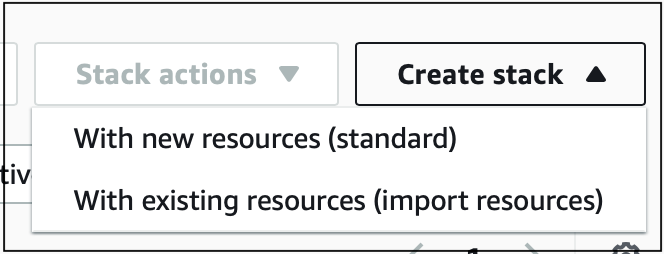
- Alternative Step: If you are on the stacks page, click on "Create stack" and select "With new resources (standard)".
-
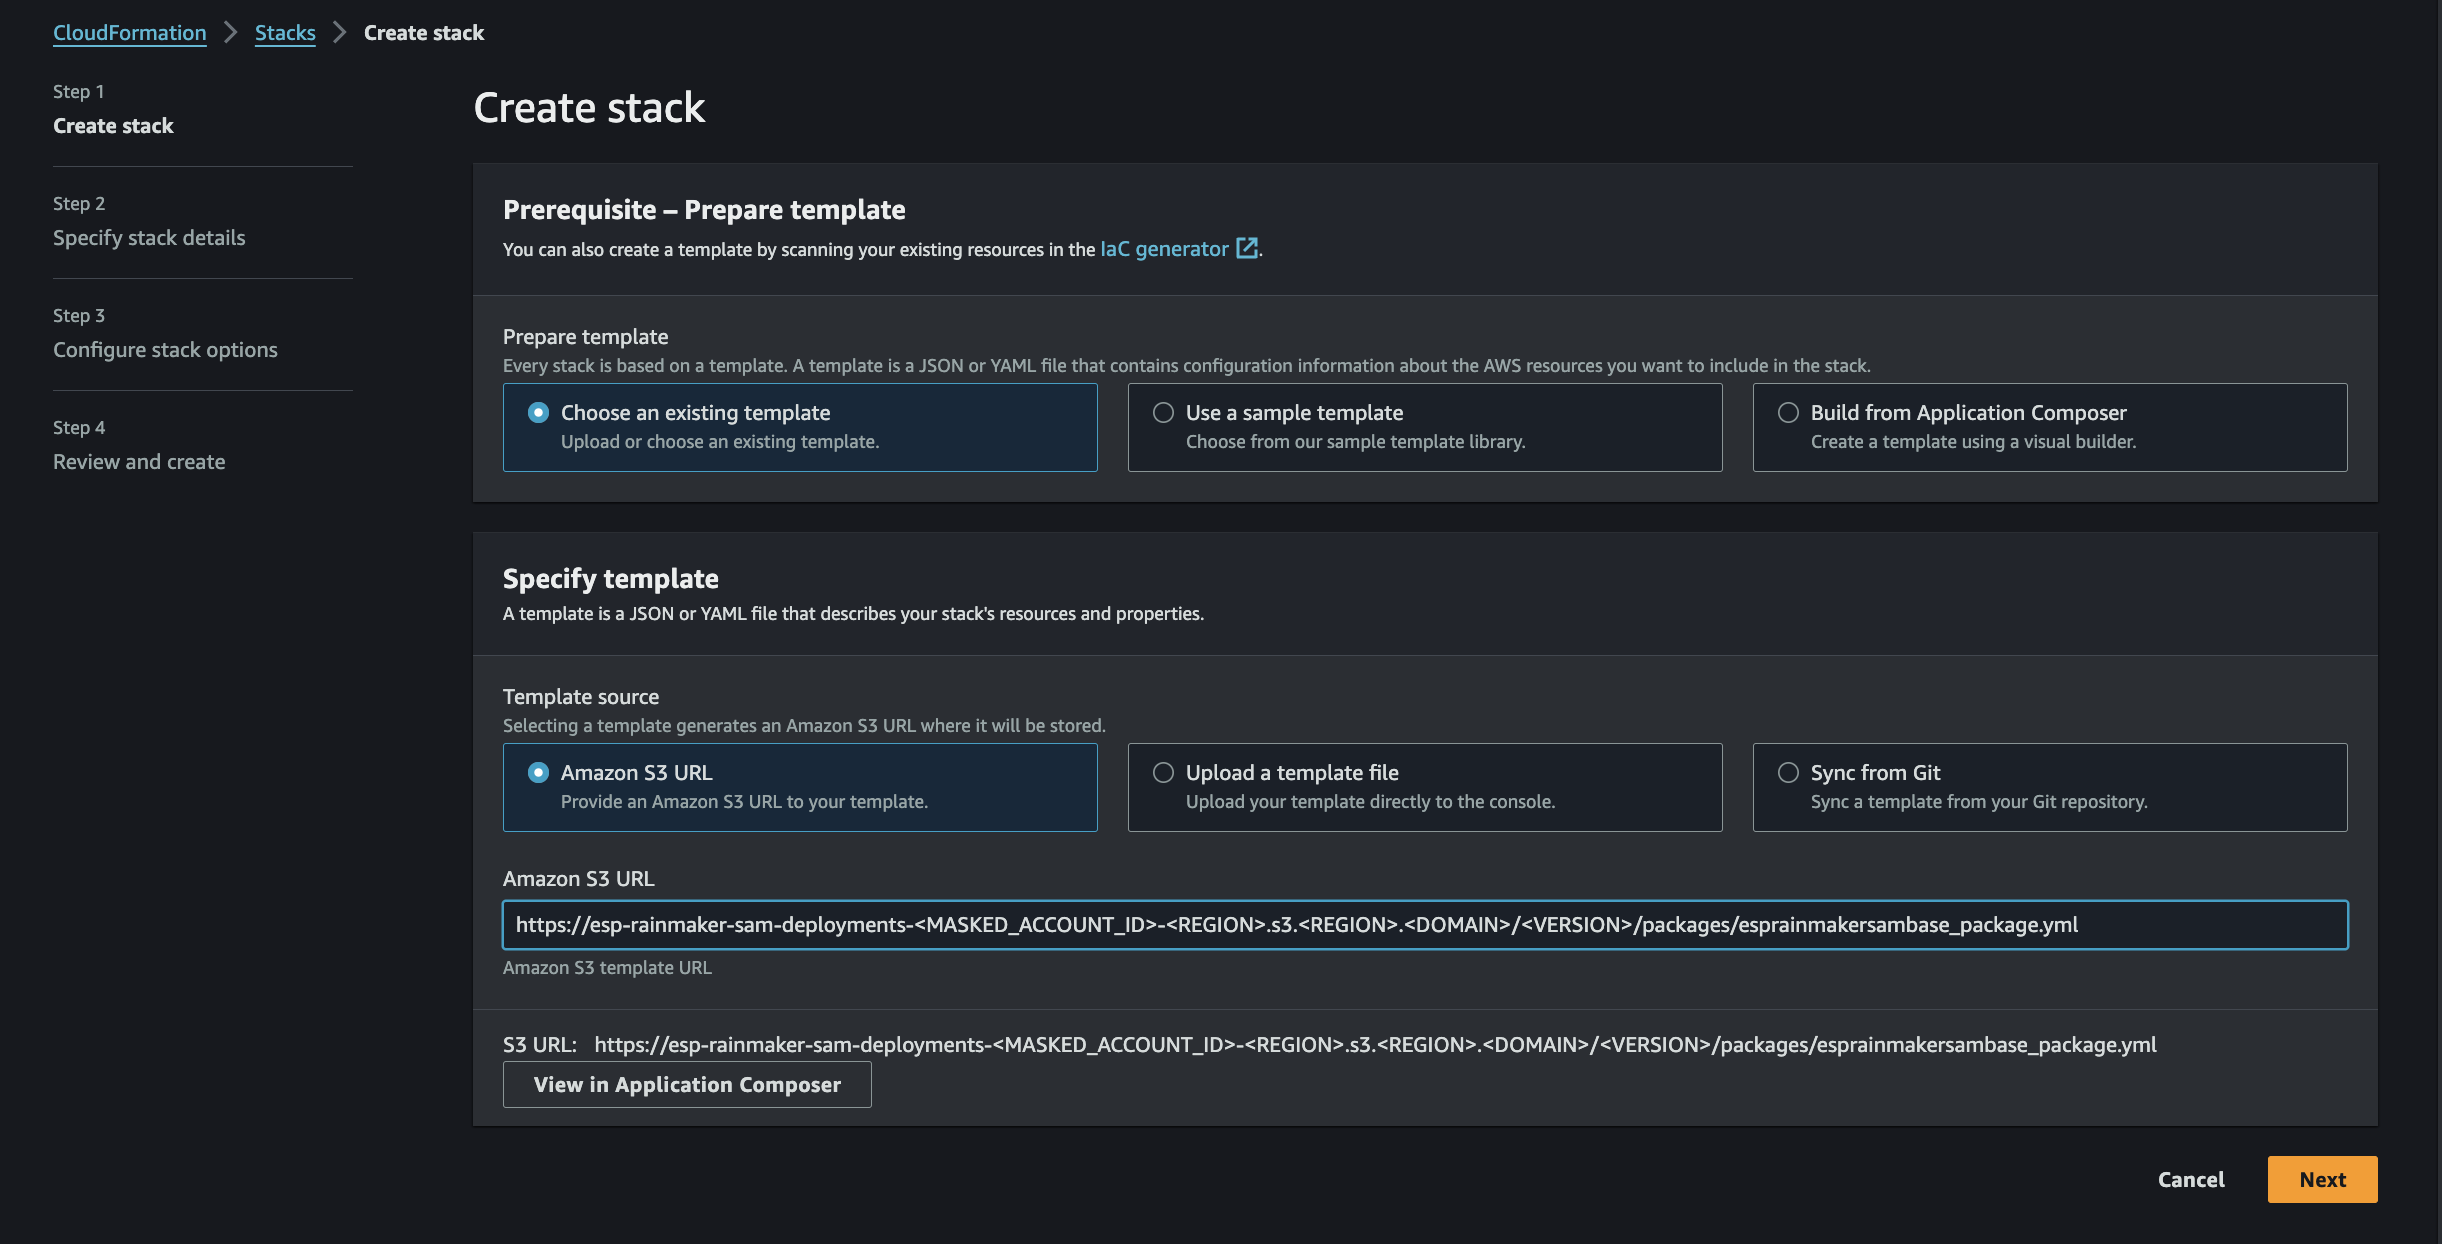
Select Template
- Select the option "Choose an existing template".
- Paste the specific S3 URL for the stack you are creating in the field Amazon S3 URL by referencing the section above and click on Next.
- For Screenshots and link, refer the specific stack sections.
-
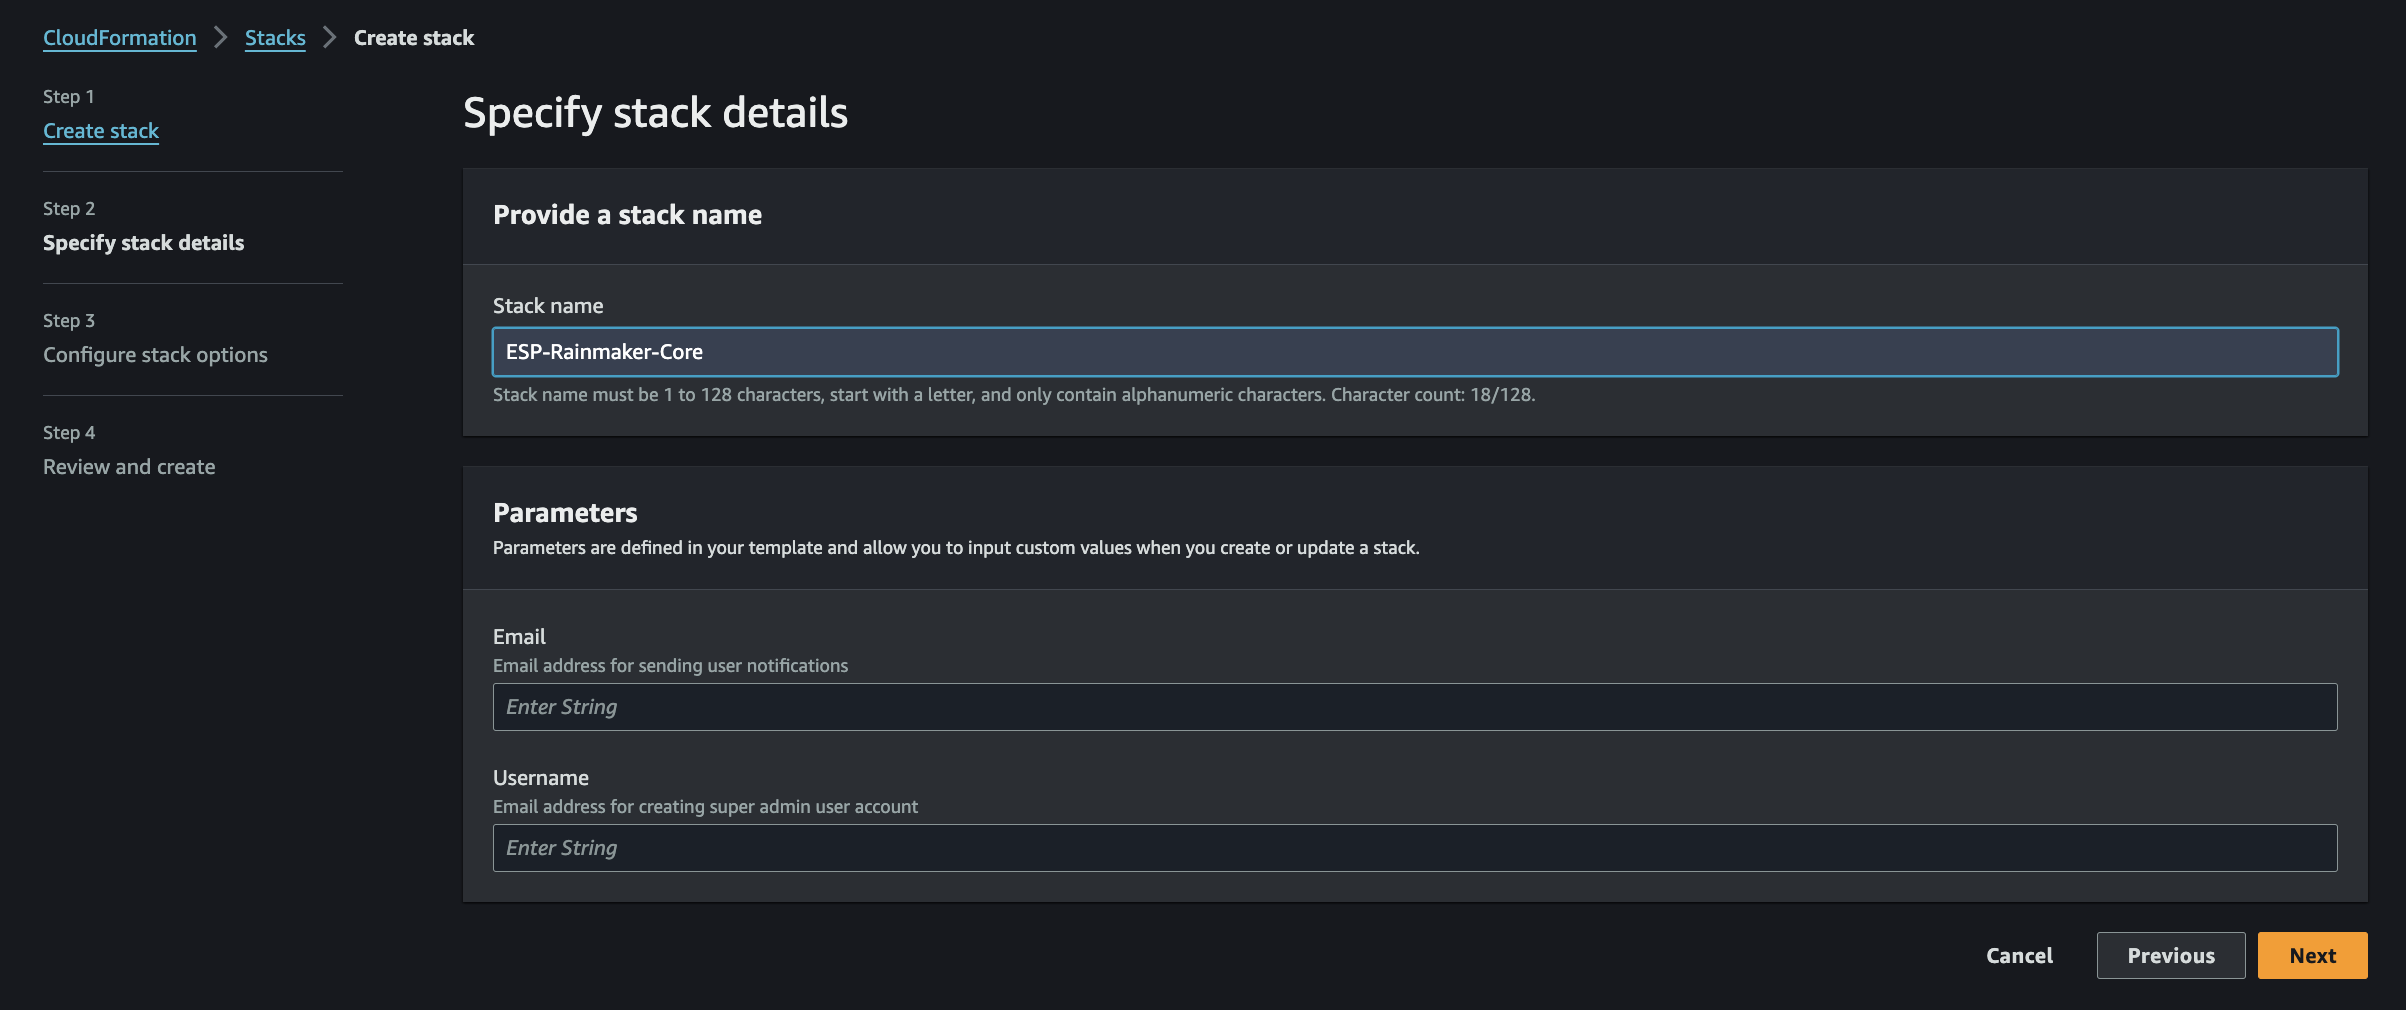
Configure Stack
- Enter the stack name.
- Fill in the required parameters.
- Click Next.
- For Screenshots, stack name and parameter descriptions, refer the specific stack sections.
-
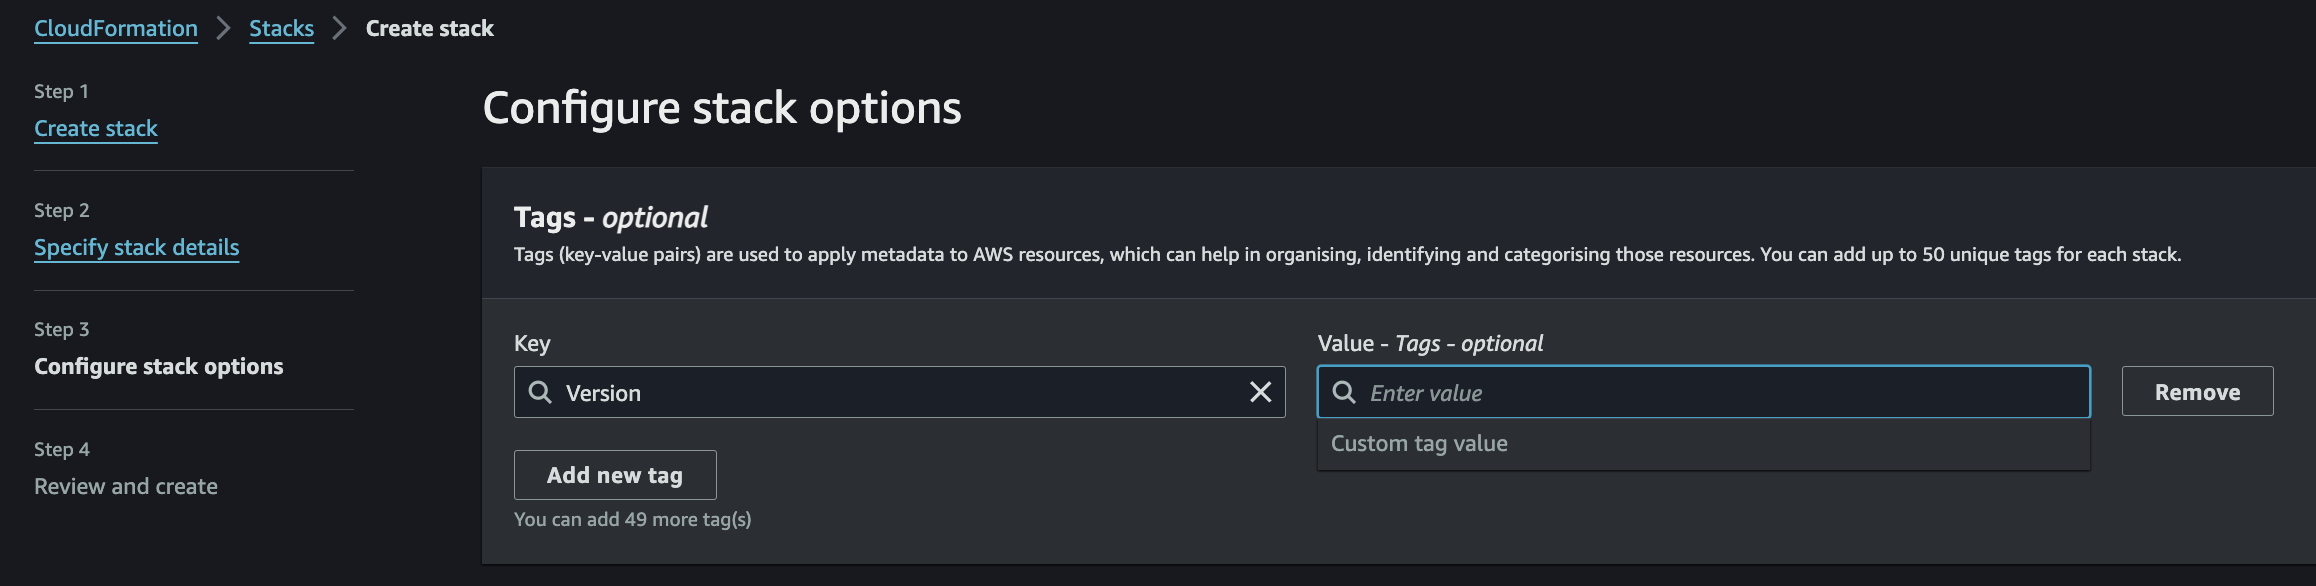
Add Tags
- Enter the version tag as shown below:
- Key: Version
- Value:
<VERSION>(replace<VERSION>with your selected version)
- Click on Add new tag button, leave the rest as default, and click Next.
- Enter the version tag as shown below:
-
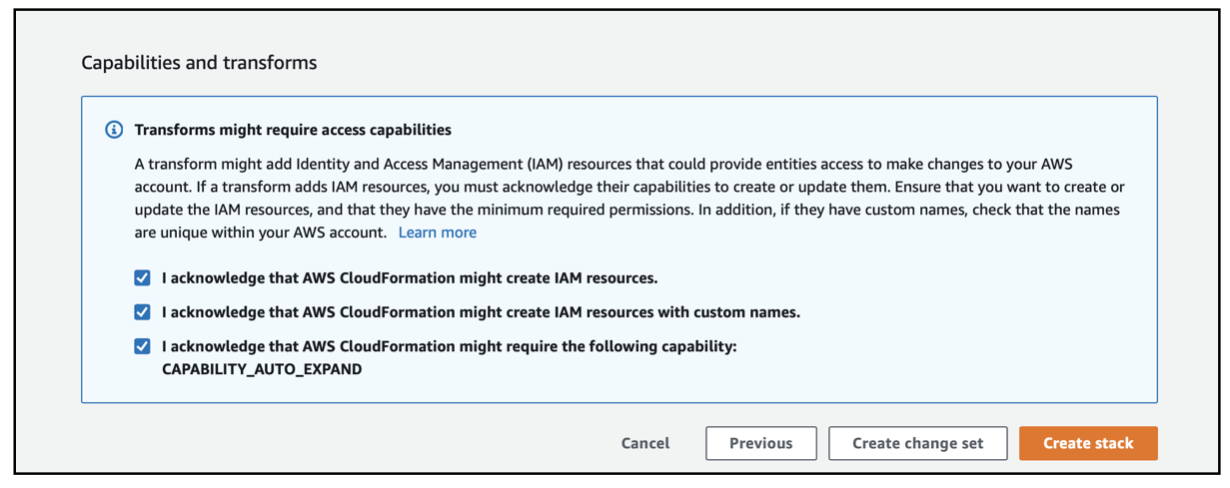
Review and Create
- Select the following options:
- I acknowledge that AWS CloudFormation might create IAM resources.
- I acknowledge that AWS CloudFormation might create IAM resources with custom names.
- I acknowledge that AWS CloudFormation might require the following capability: CAPABILITY_AUTO_EXPAND.
- Click on Create stack as shown below.
- Select the following options:
-
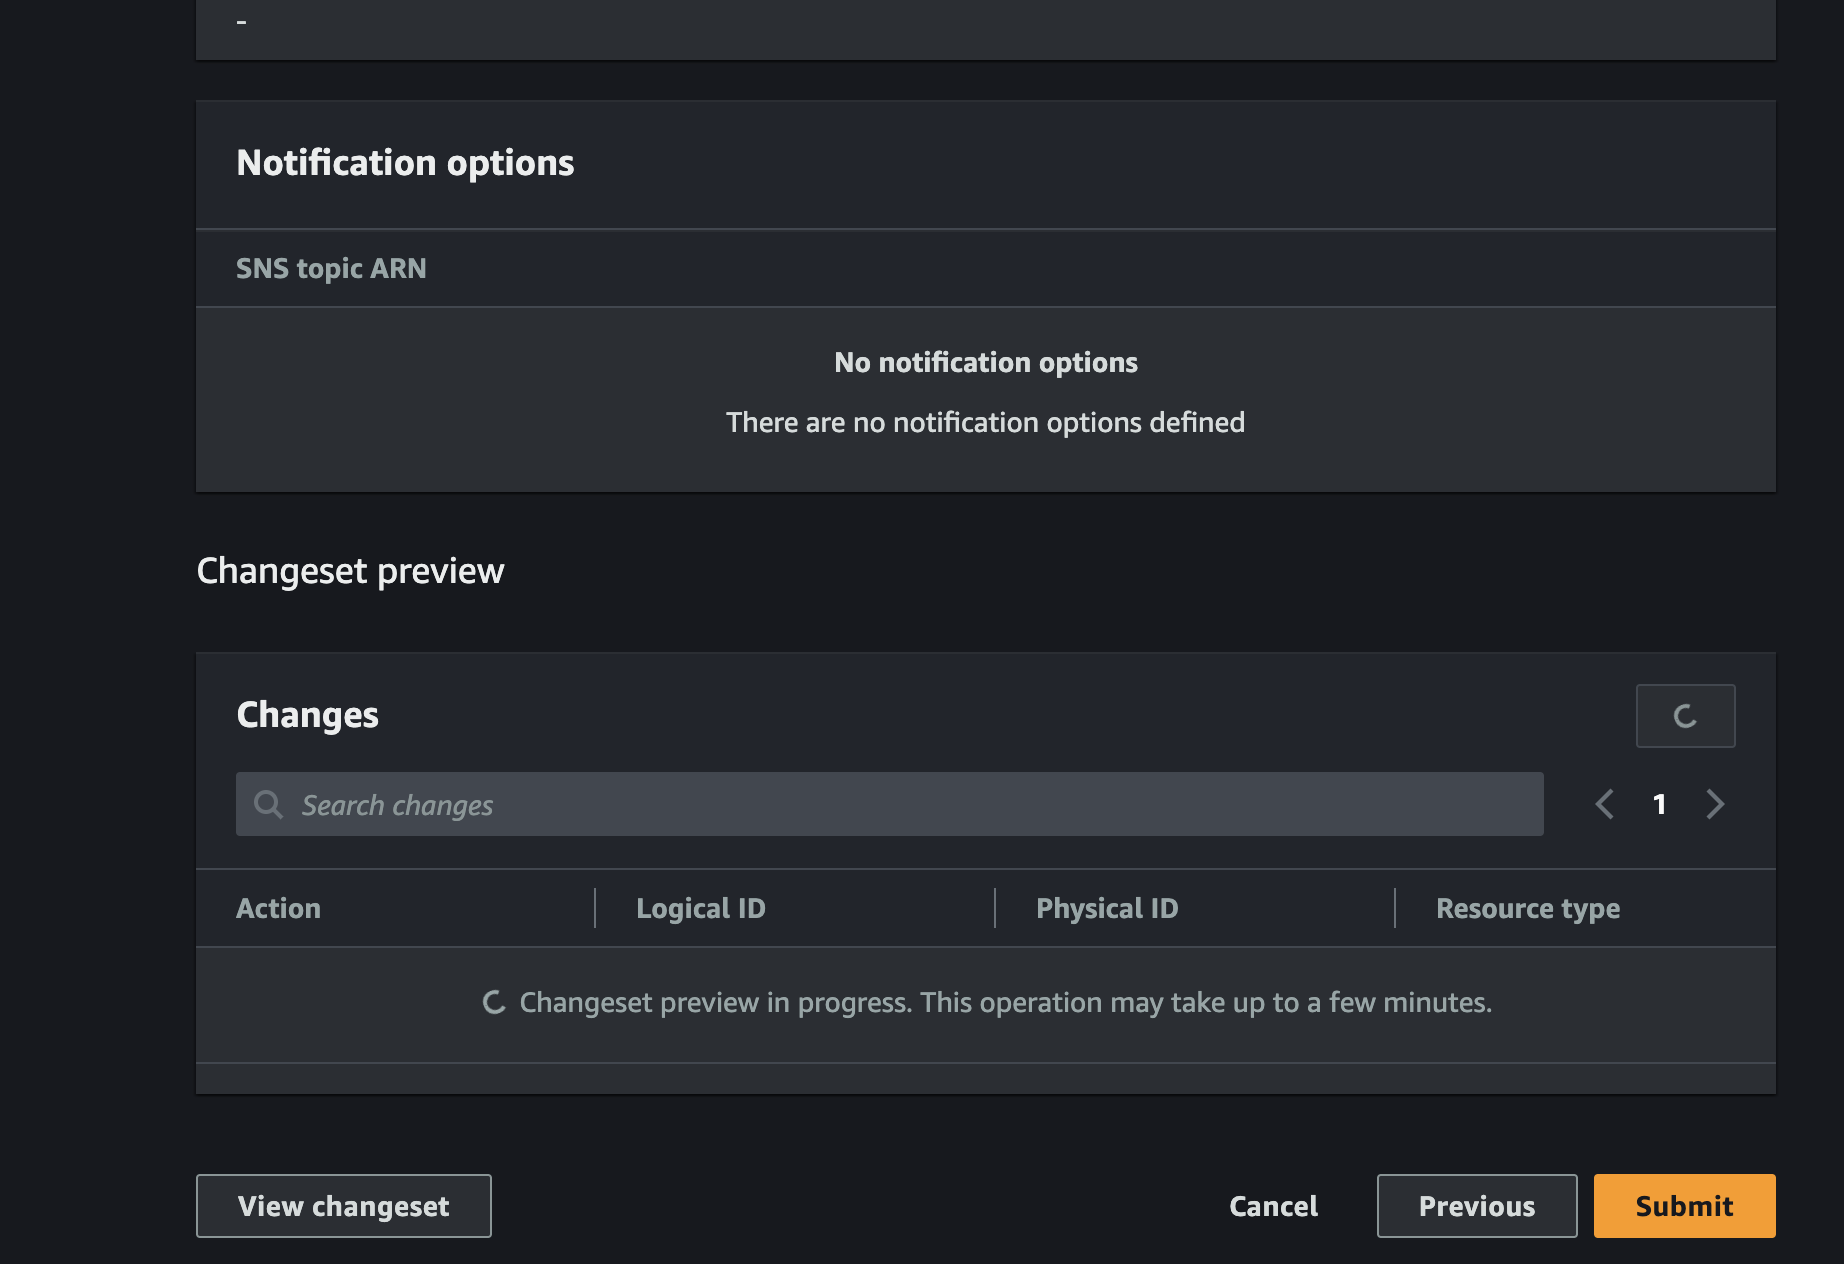
Review and Submit
- Review the stack details and click on Submit.
-
Wait for Completion
- Wait for the stack to be created. For Screenshot and completion time refer the specific stack sections.
ESP-Rainmaker-Base
Follow the Common Steps for Creating a CloudFormation Stack.
For step 3(Select Template):
-
Construct the S3 URL Template from here
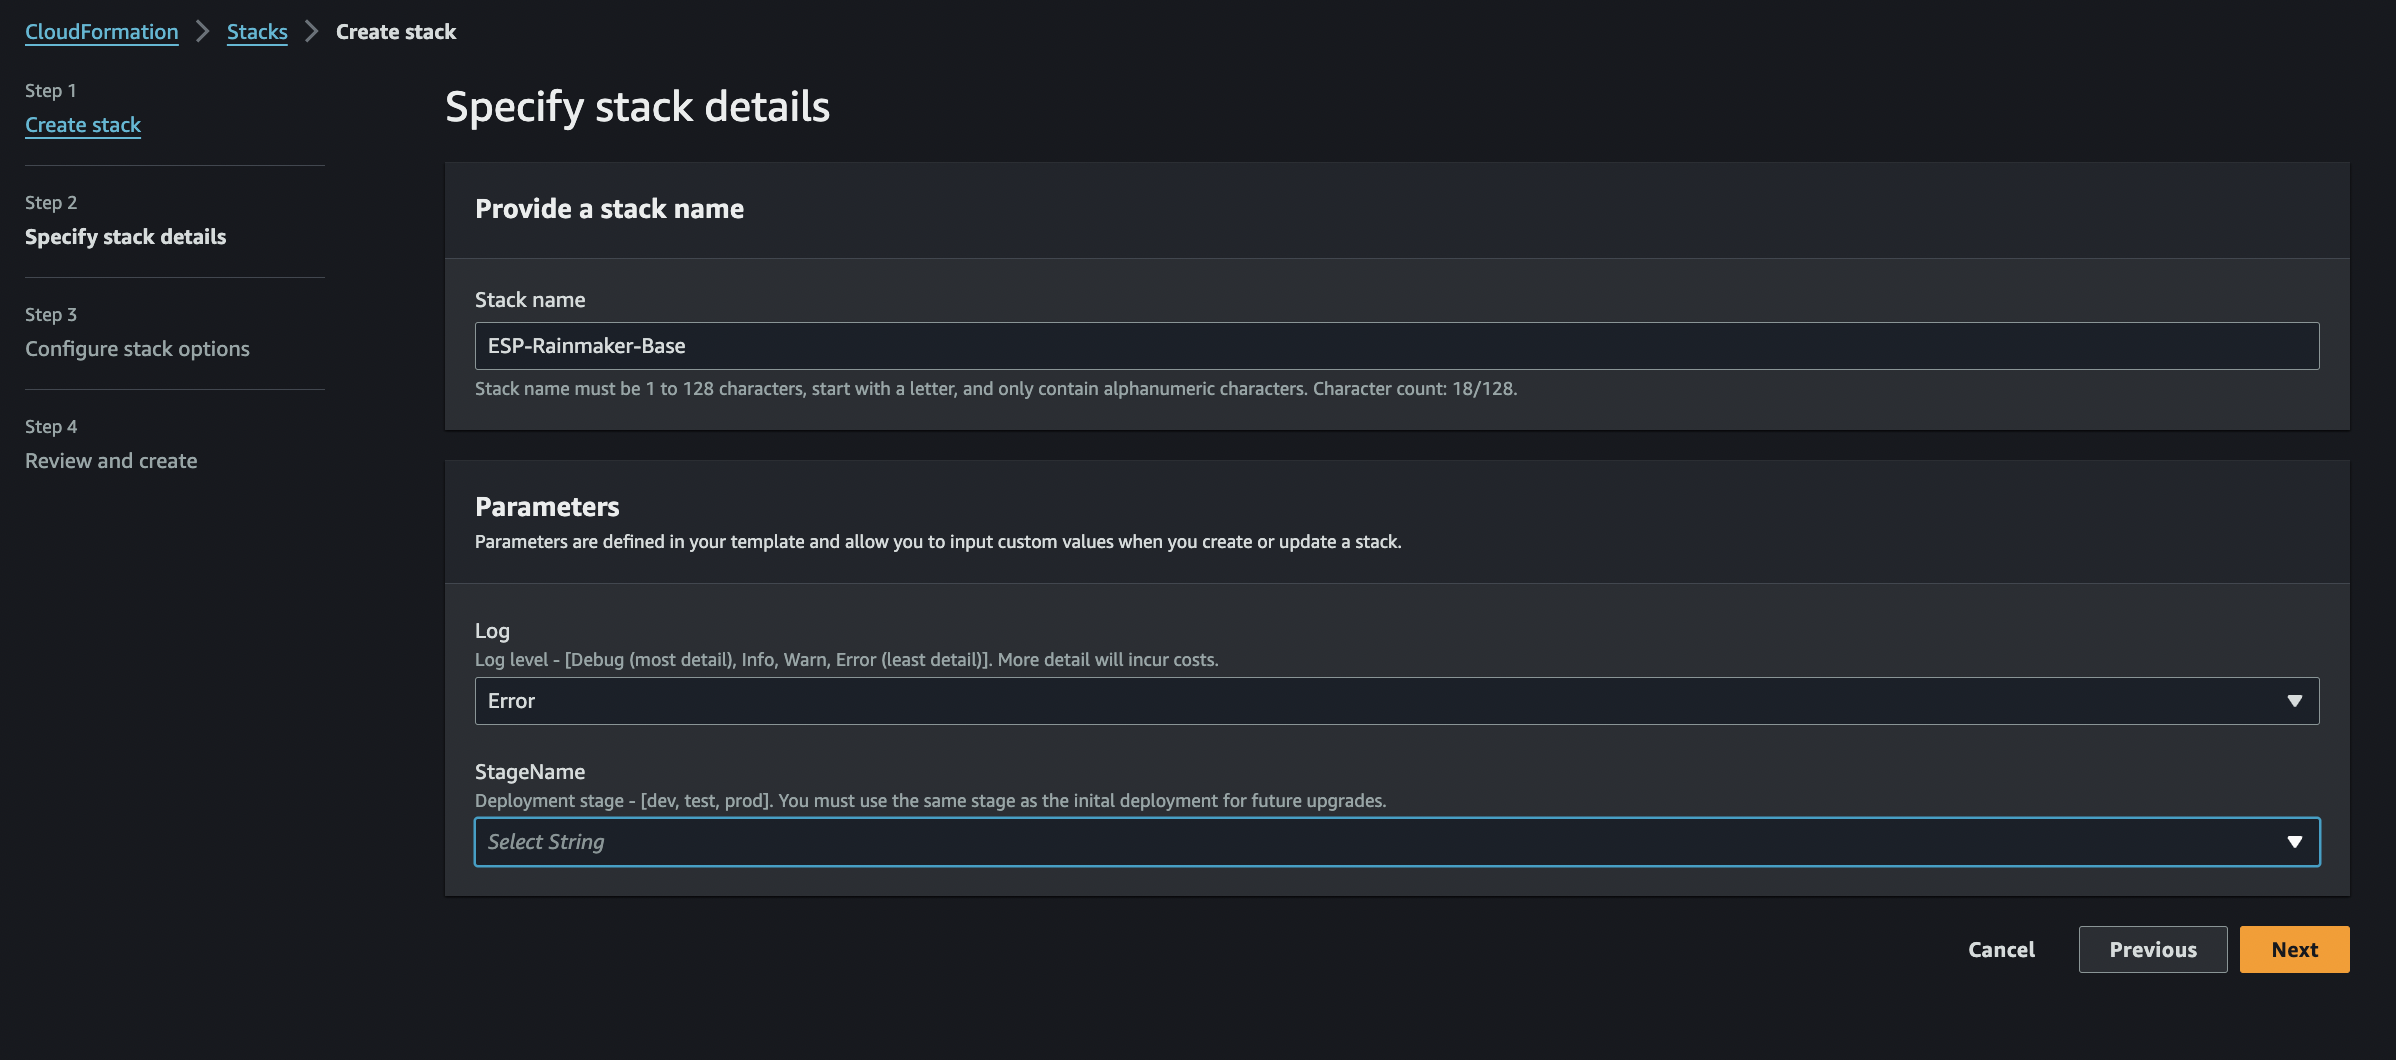
For step 4(Configure Stack):
- Enter stack name as ESP-Rainmaker-Base.
- Set the following parameters:
- Log: Log level - [Debug (most detail), Info, Warn, Error (least detail)]. More detail will incur costs.
- StageName: Deployment stage - [dev, test, prod]. You must use the same stage as the inital deployment for future upgrades.
For step 7(Wait for Completion)
- This will take around 15-20 minutes.

ESP-Rainmaker-Core
Follow the Common Steps for Creating a CloudFormation Stack.
For step 3(Select Template):
-
Construct the S3 URL Template from here

For step 4(Configure Stack):
-
Enter stack name as ESP-Rainmaker-Core.
-
Set the following parameters:
- Email - Email Address for sending user notifications. When a new user signs-up, they will receive the verification code from this email address. Please note that this email address should be verified by AWS Simple Email Service, as mentioned in the Section - “ Configuring the Email Sending Service”
- Username - Email address to create the super-admin user. User with this email will automatically get created after deployment is successful. The login credentials and deployment details will be sent to this email after successful deployment.
It is not recommended to use personal mail ID for the super-admin user, Please use a generic mail ID instead. Access to this generic email should be limited to very few set of people as this user will be the most privileged user in RainMaker deployment. e.g. service@<company_domain_name>
- Note - This user, which will be created during the deployment will have Super-Admin privileges. Only this user will have access to services like RainMaker Admin CLI.
For step 7(Wait for Completion)
-
This will take around 1 hour.

-
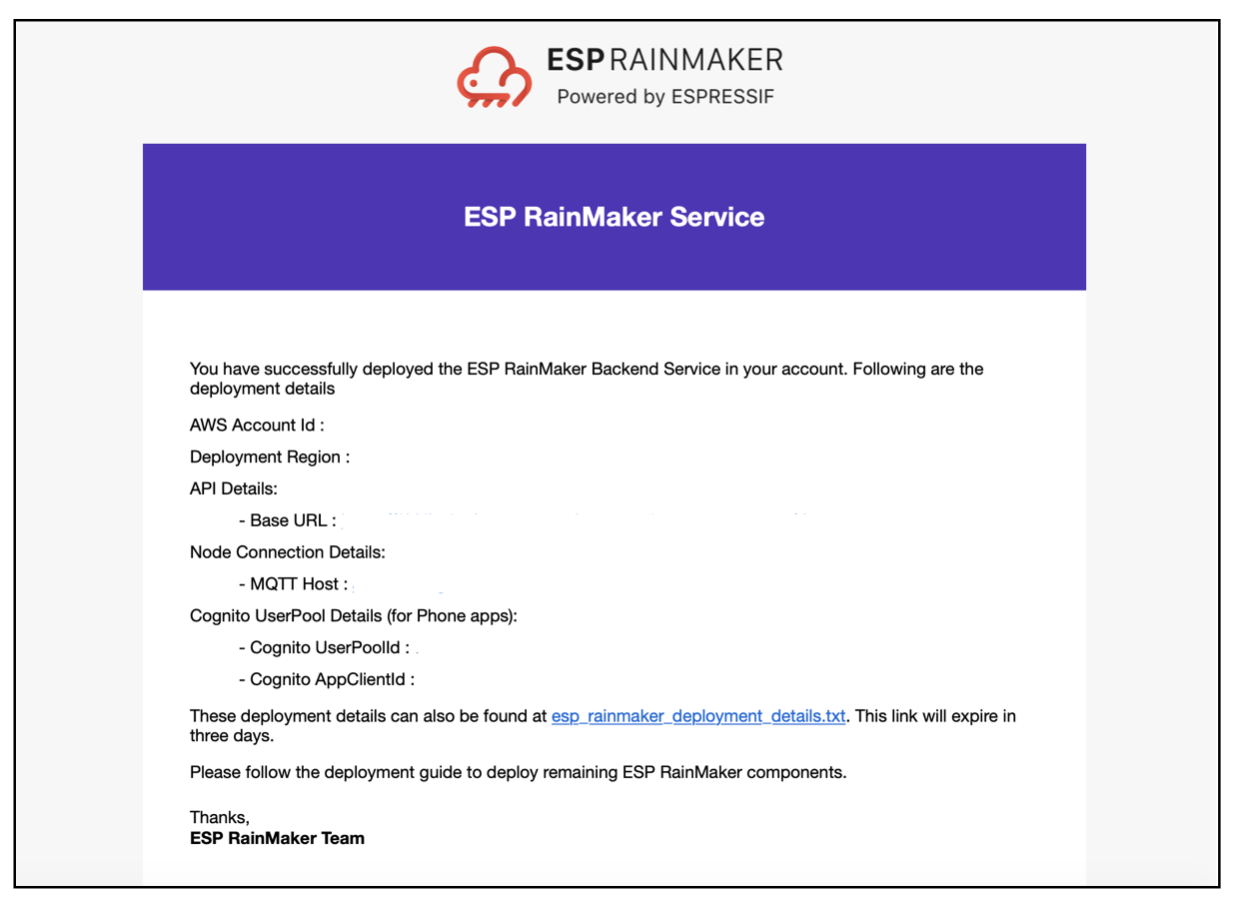
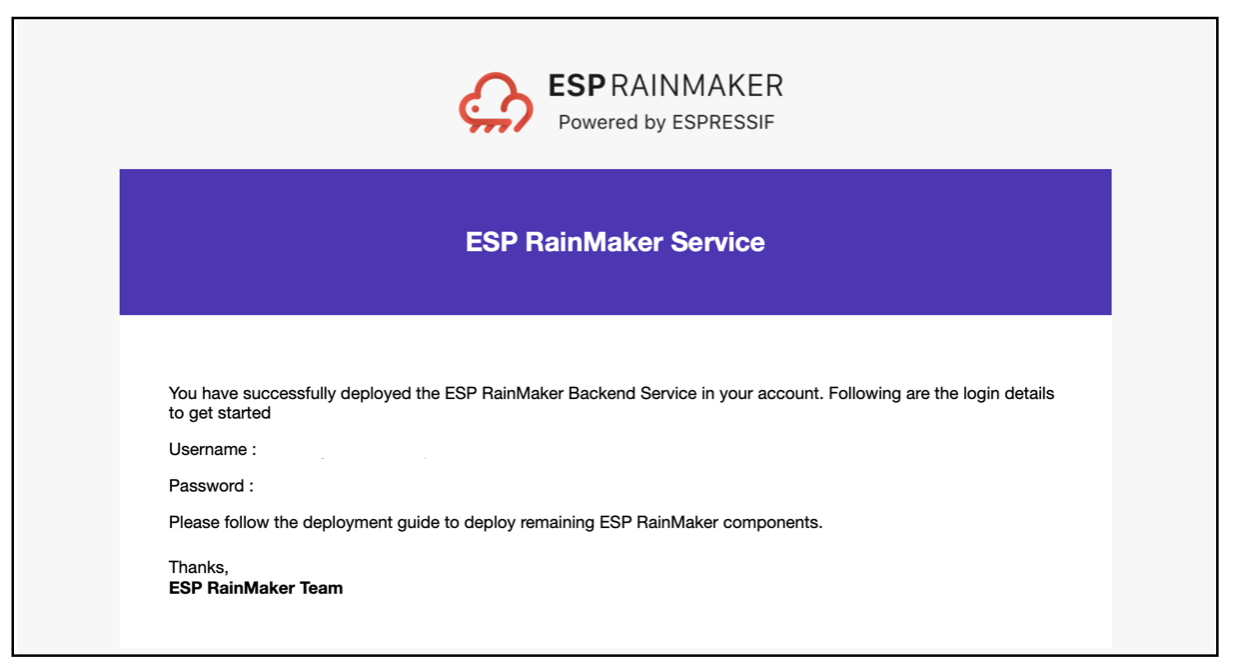
An email containing the credentials for the RainMaker super-admin user will be sent to the email address which was configured during deployment of the stack. These credentials will be required for login to the RainMaker dashboard.
- Another email which contains the deployment details of the RainMaker platform will be sent after sometime. This email contains the details about the Base API URL and other details.