Push Notifications
Push notifications help send notifications to users about RainMaker events. It is required to set up FCM and APNS environments for Android and iOS notifications respectively.
Configuring Push Notifications for Android
Configure your Android app for Push Notifications
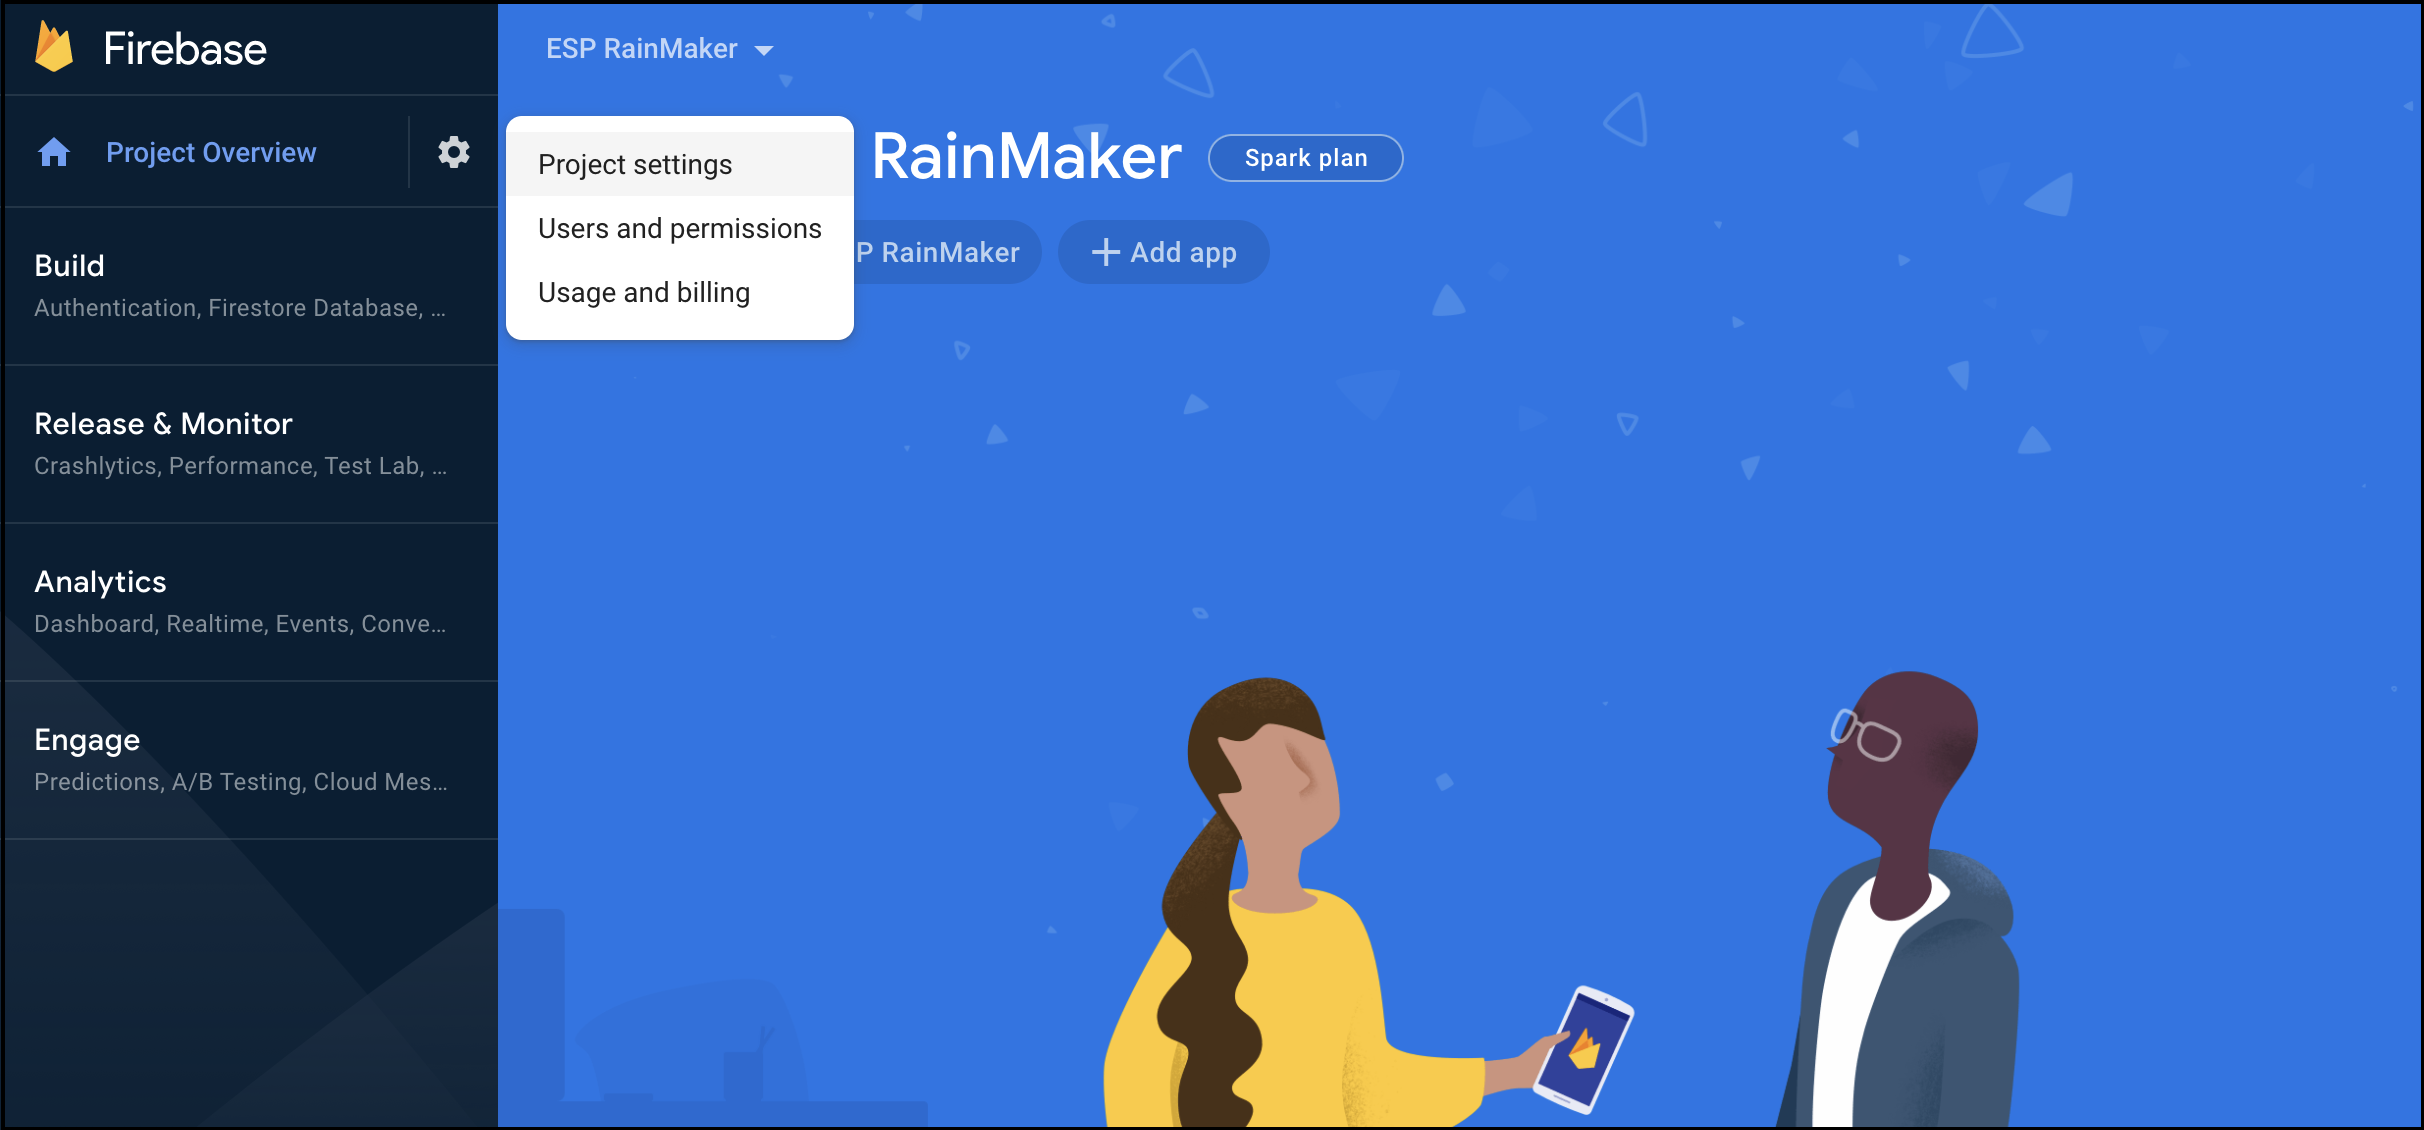
In the Firebase console, choose your project. In the left navigation pane, choose the gear icon, and then Project settings.
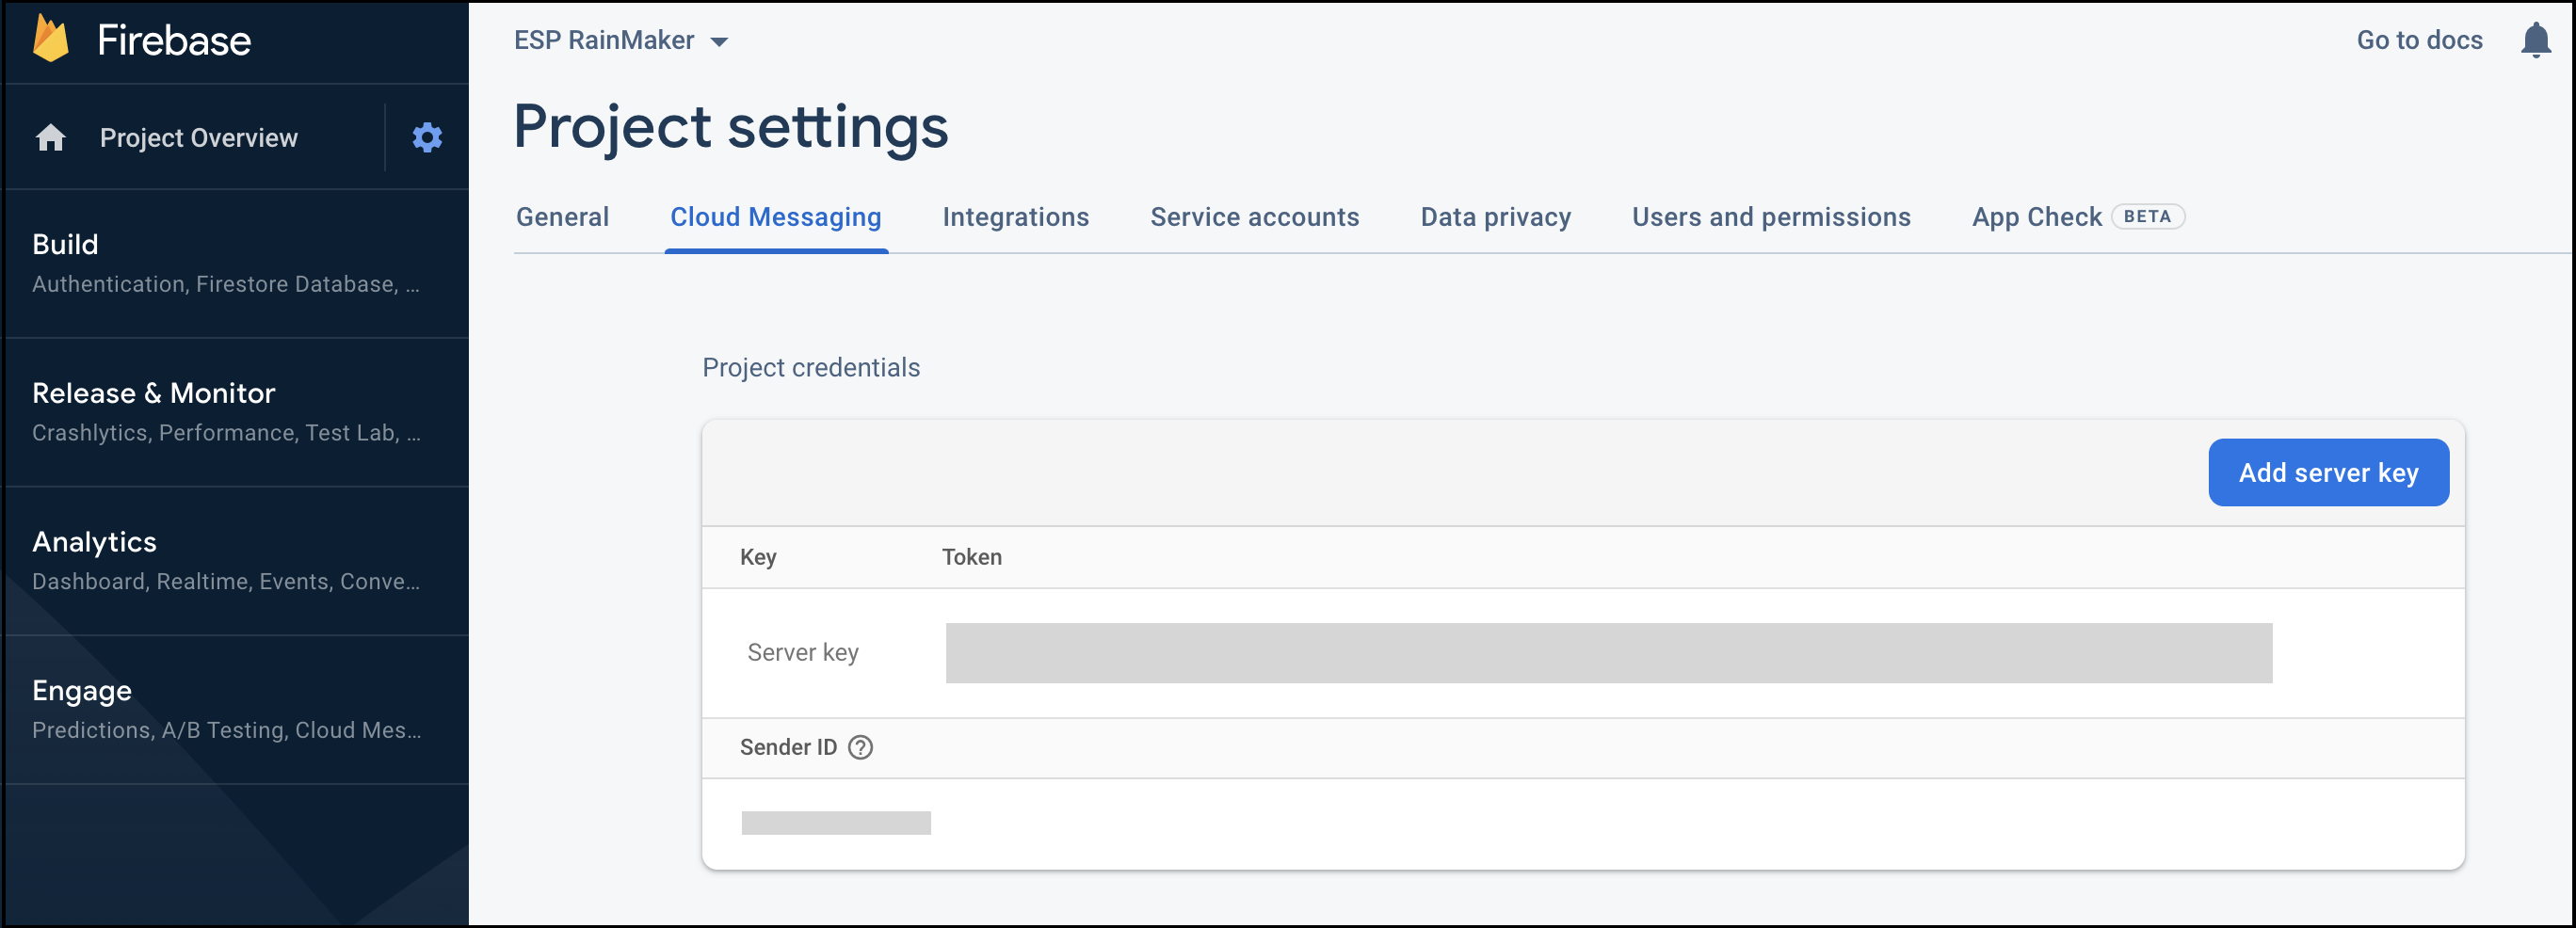
Choose Cloud Messaging. Under Project credentials, find the Server key. This is your FCM project's API Key. Copy it to your clipboard.
Log in to Rainmaker Dashboard with your admin account. Go to deployment settings, then go to the Push Notifications tab.
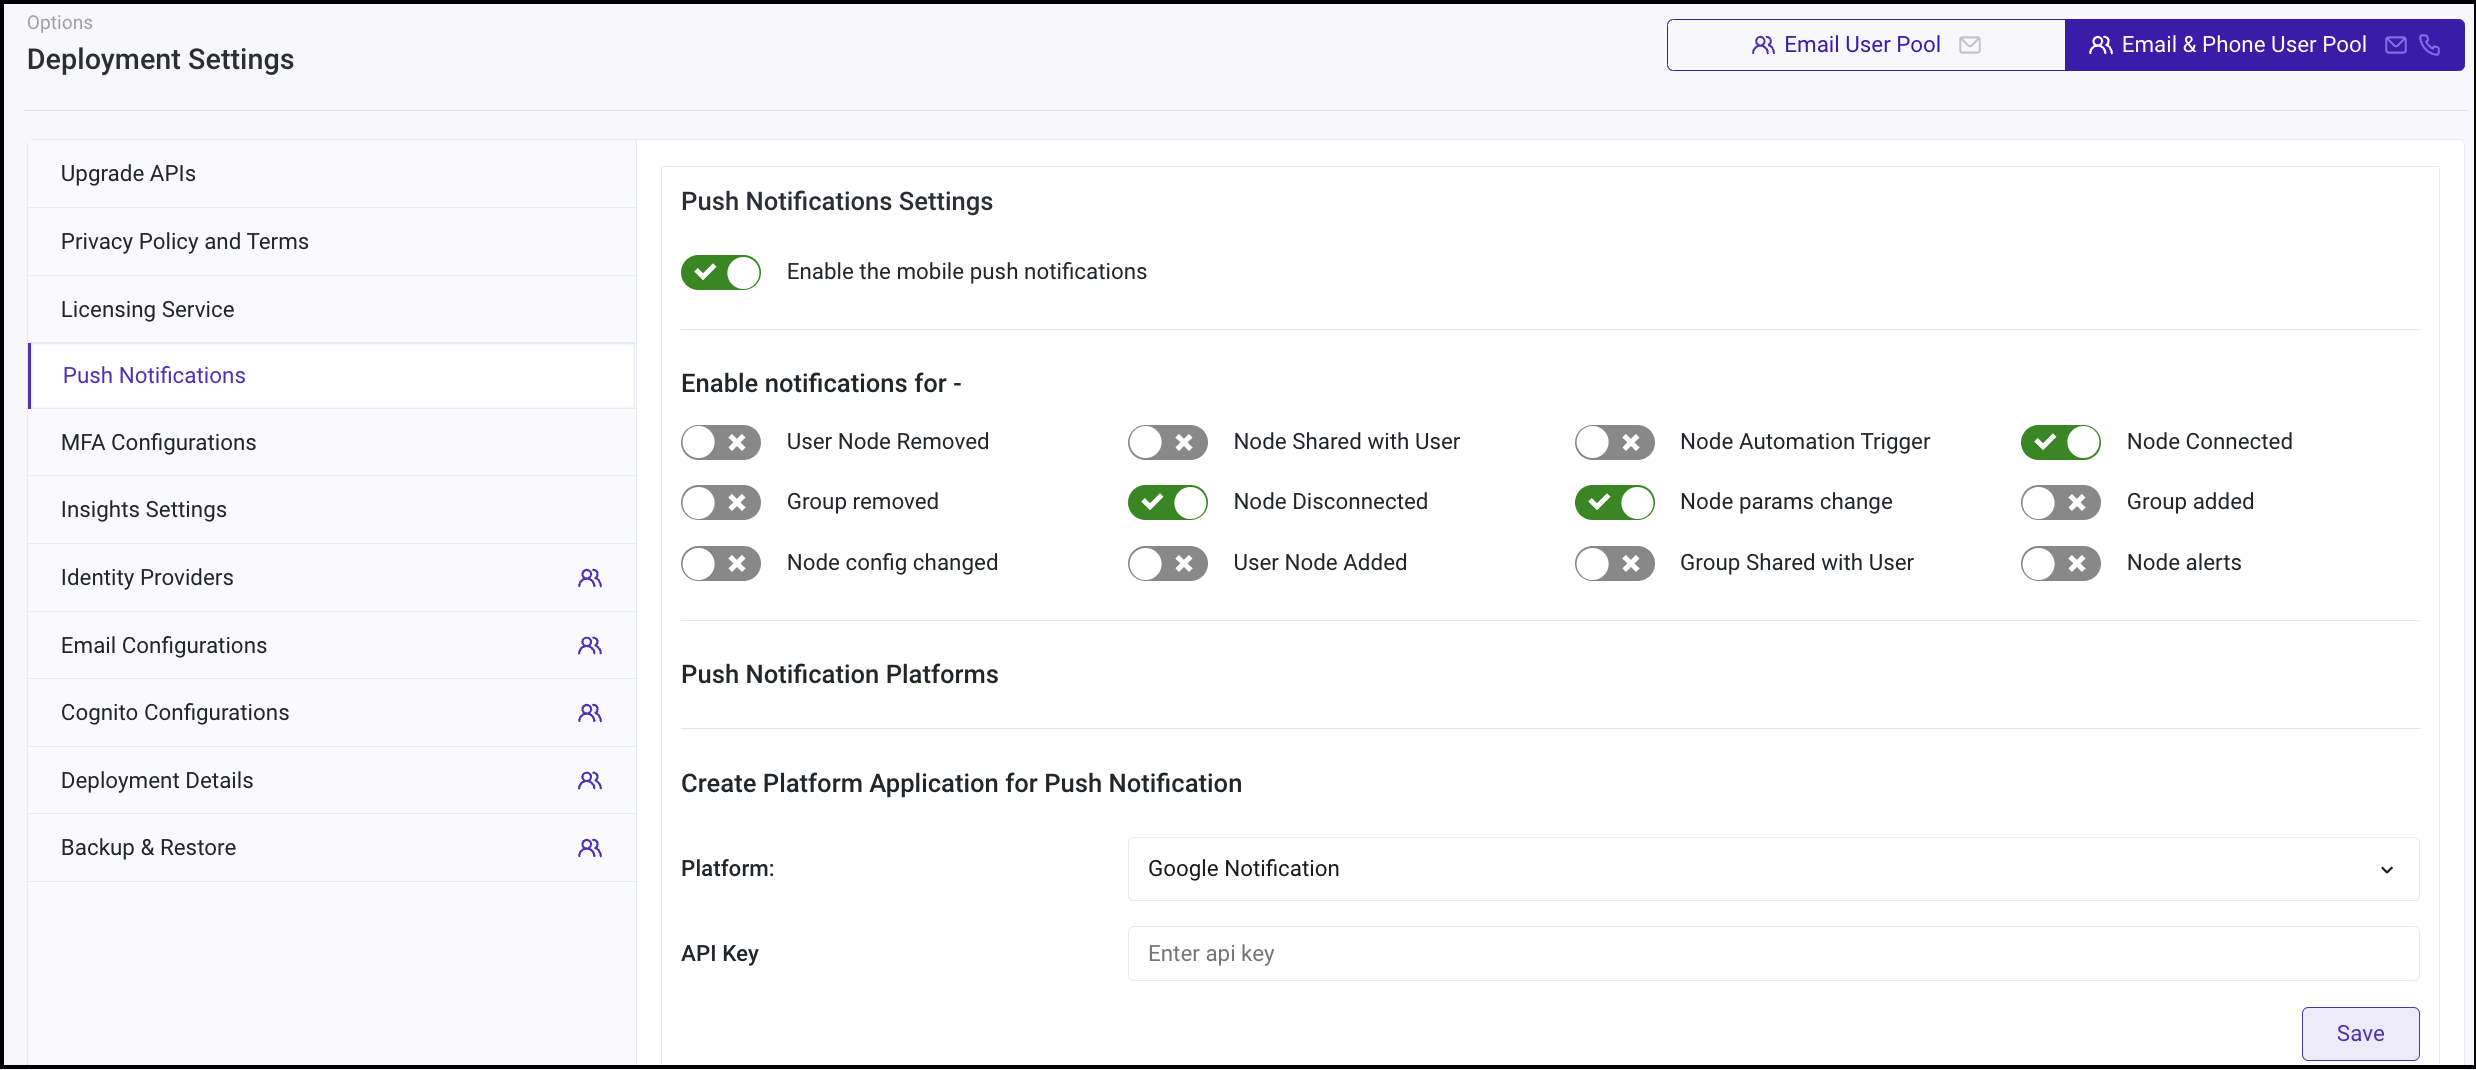
Create a new platform application. Choose type - Google Notification

Paste the API Key that you copied in step 3. Click Save.

You can now enable Push Notifications.
Configuring Push Notifications for iOS
Log in to your Apple Developer account
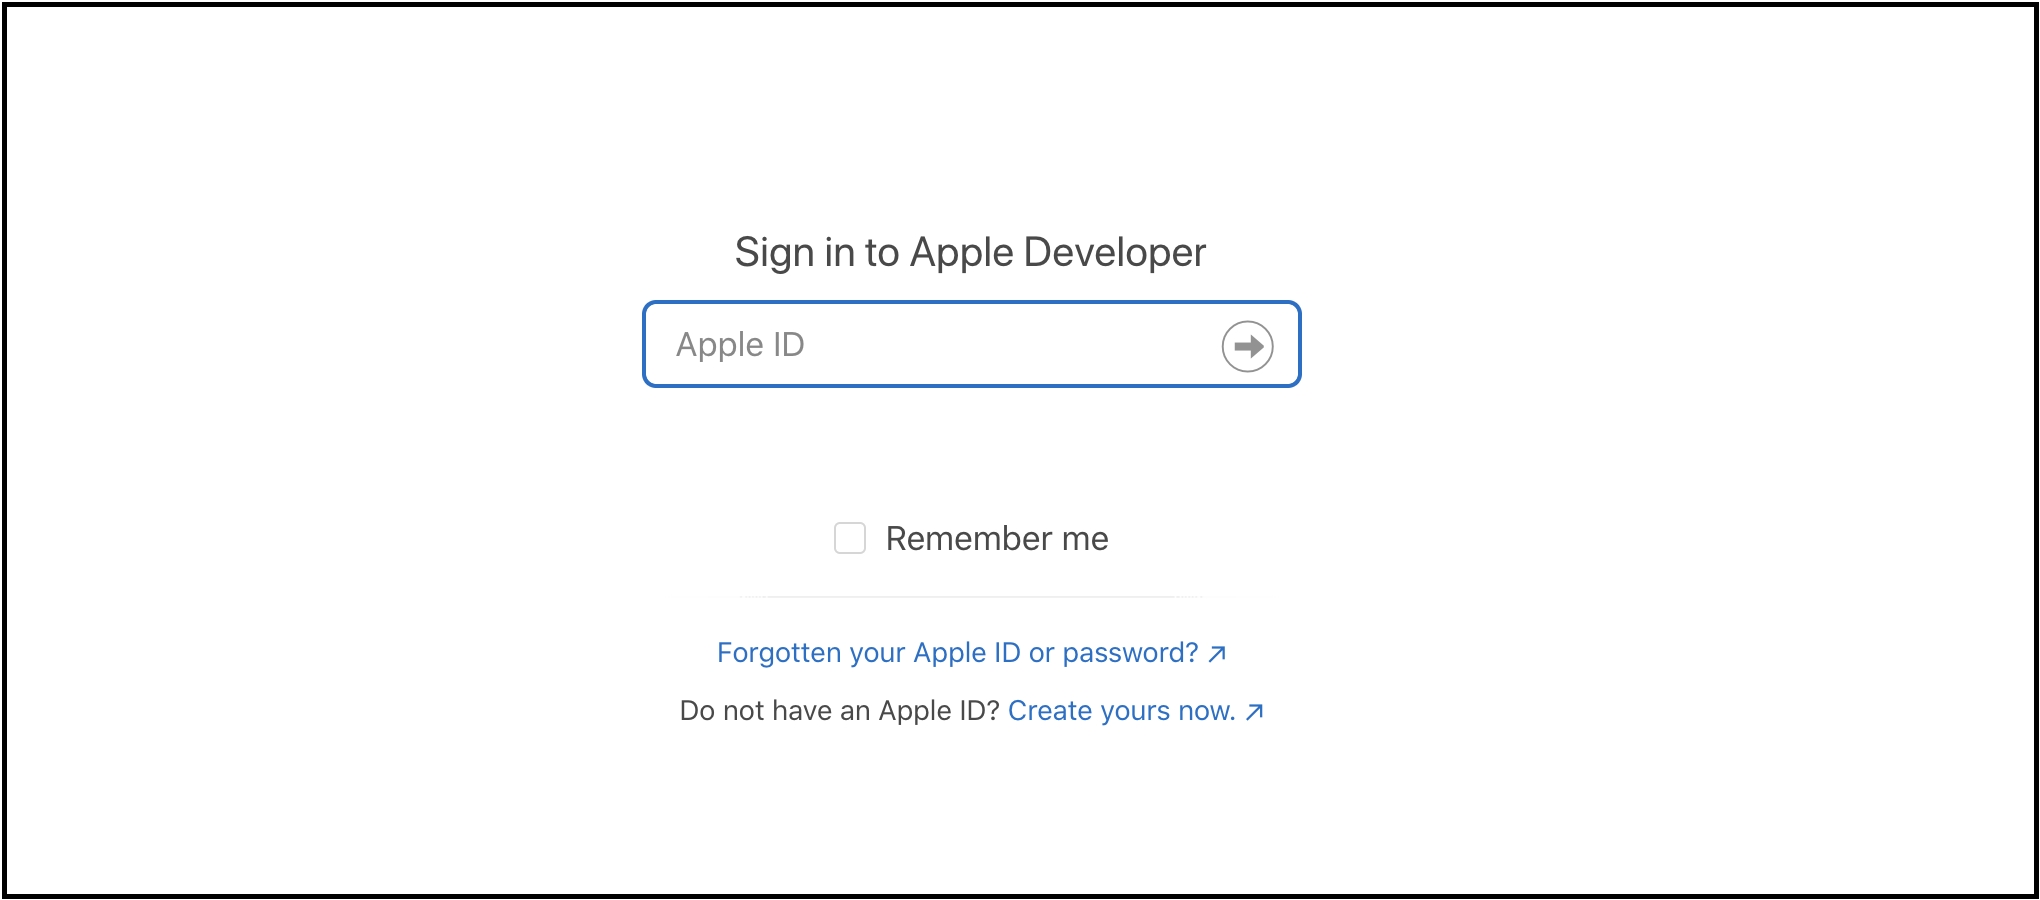
App Id is required for push notifications to work. Create an App ID from Apple Developer console, if not created already.
Then go to the Certificates tab. Click on +.

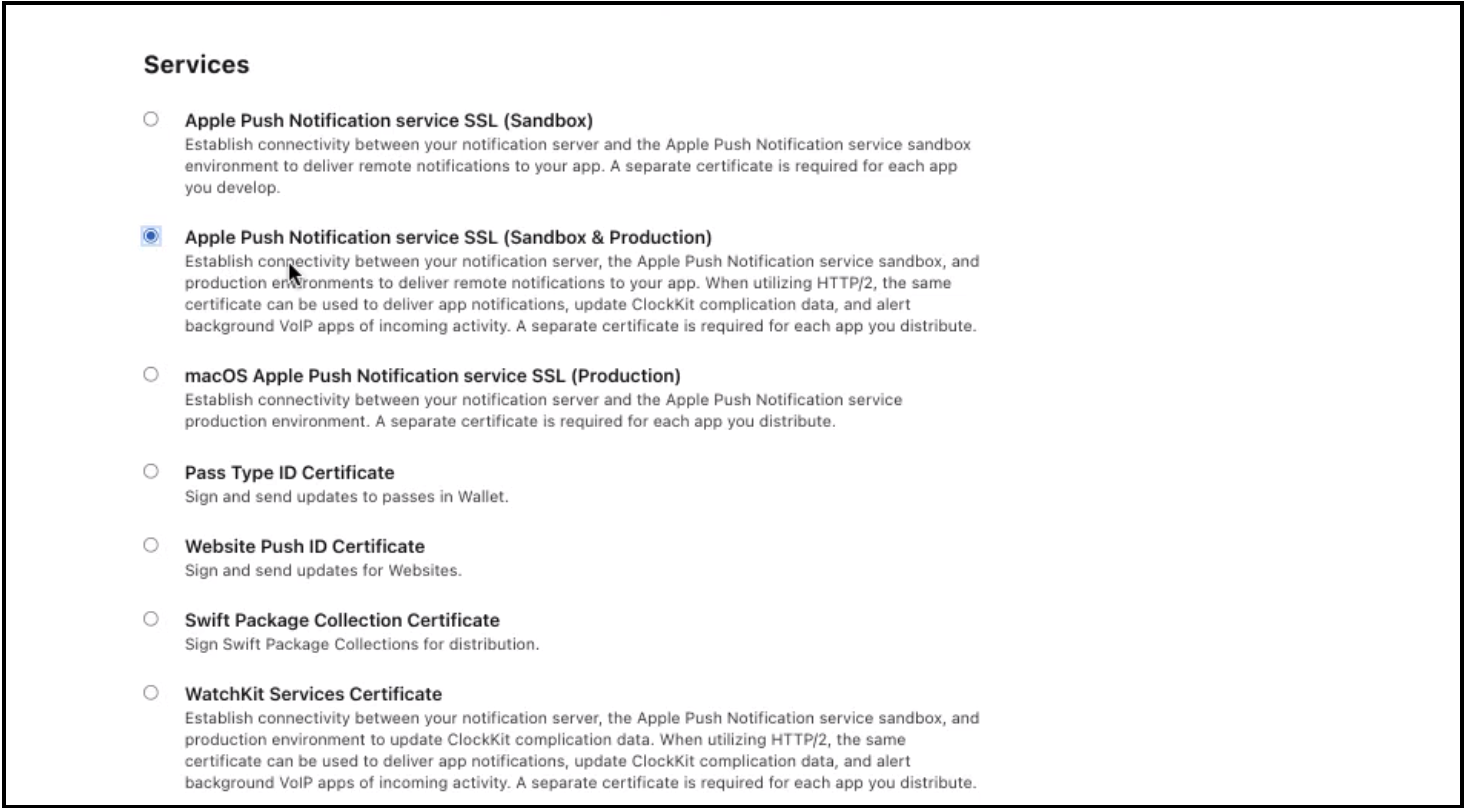
Create a new certificate for Service - Apple Push Notification service SSL (Sandbox & Production). Click on Continue.
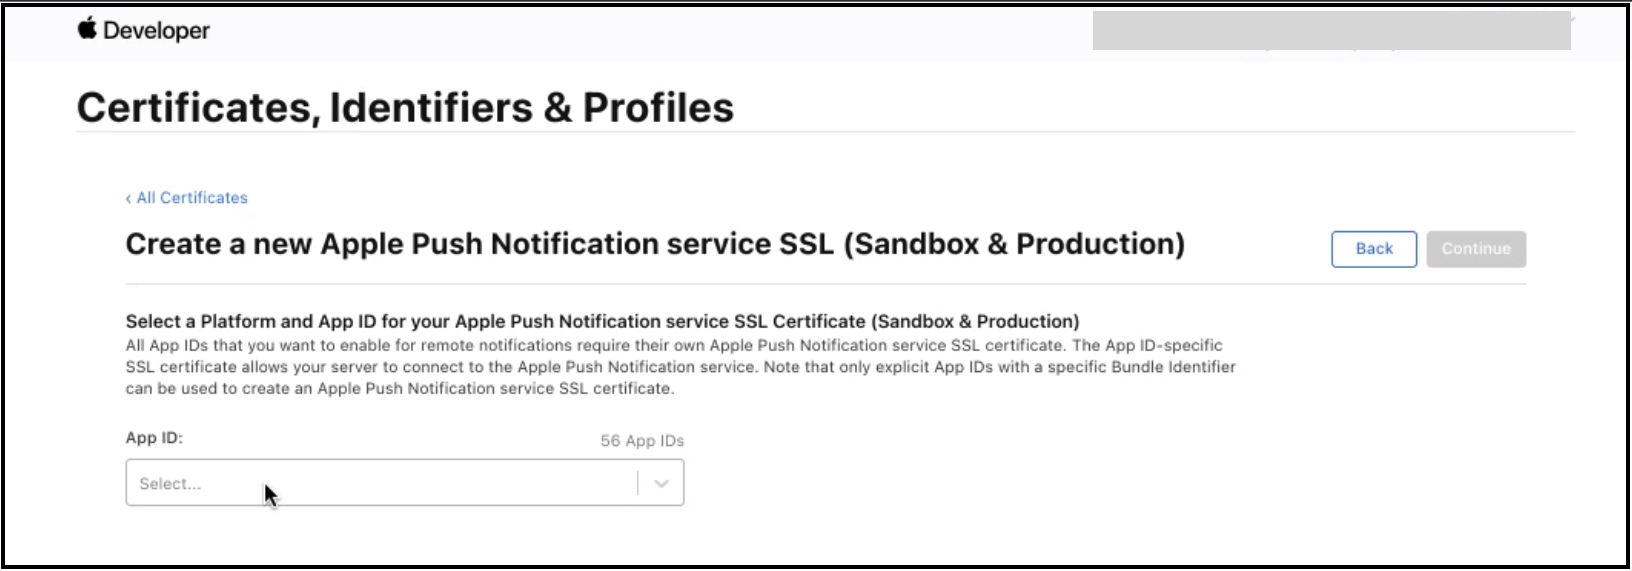
Select the App Id of your app. Click on Continue.
Now you will have to create Certificate signing request (CSR)

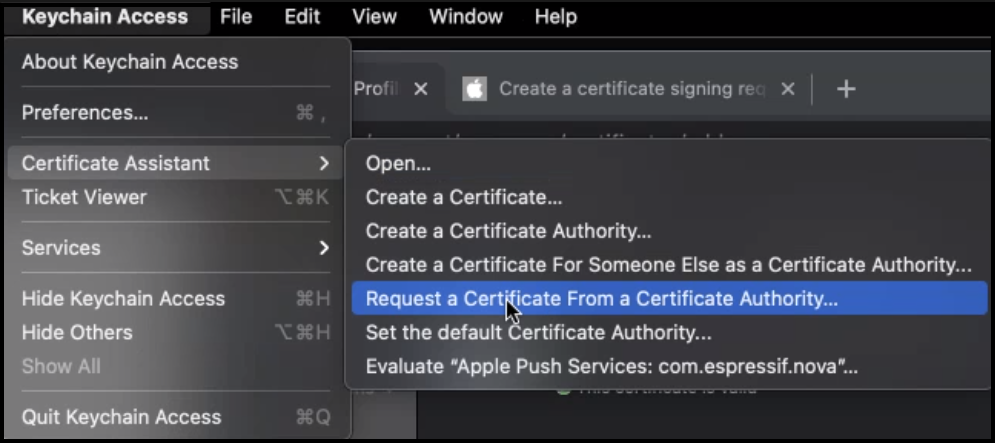
Open the Keychain Access utility. Then go to the Certificate Assistant -> Request a certificate from a Certificate Authority.
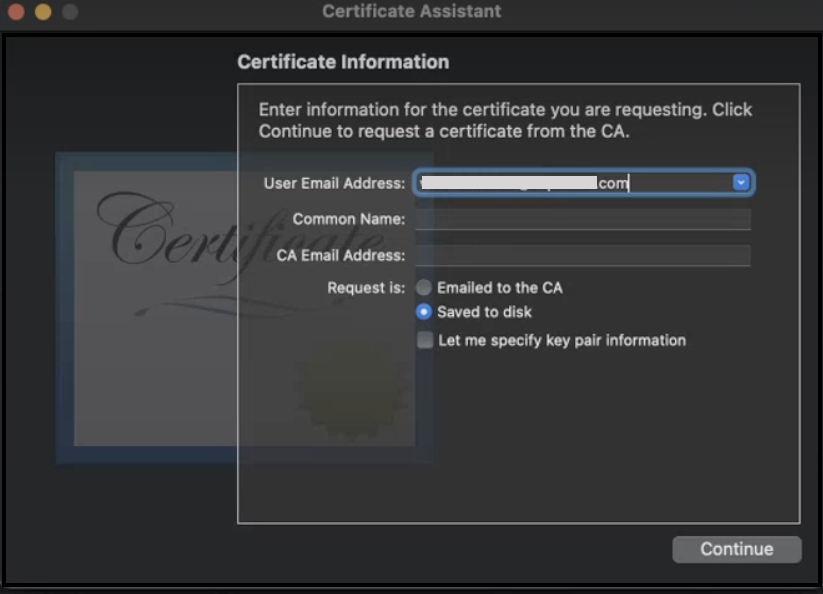
In the Certificate Assistant dialog, enter an email address in the User Email Address field. Leave the CA Email Address field empty. Choose “Saved to disk”, and click Continue. Save the certificate.
Upload a Certificate signing request (CSR)

The certificate is created. Download and view it using Keychain Access.

Export your certificate from Keychain Access in p12 format.
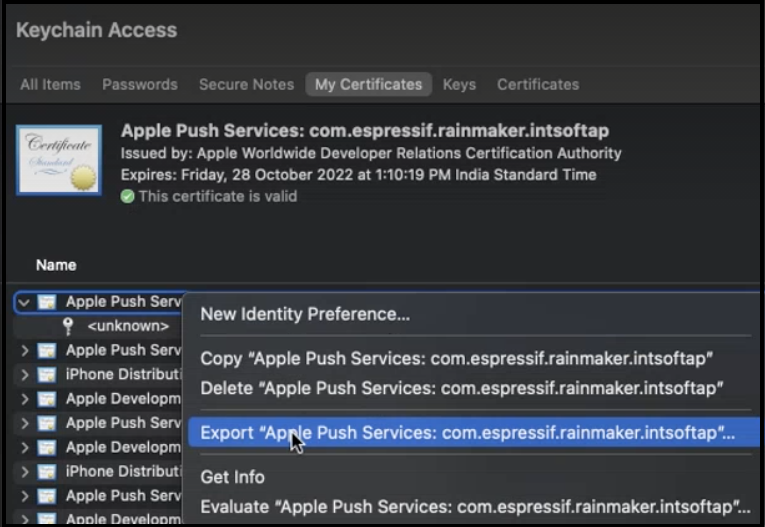
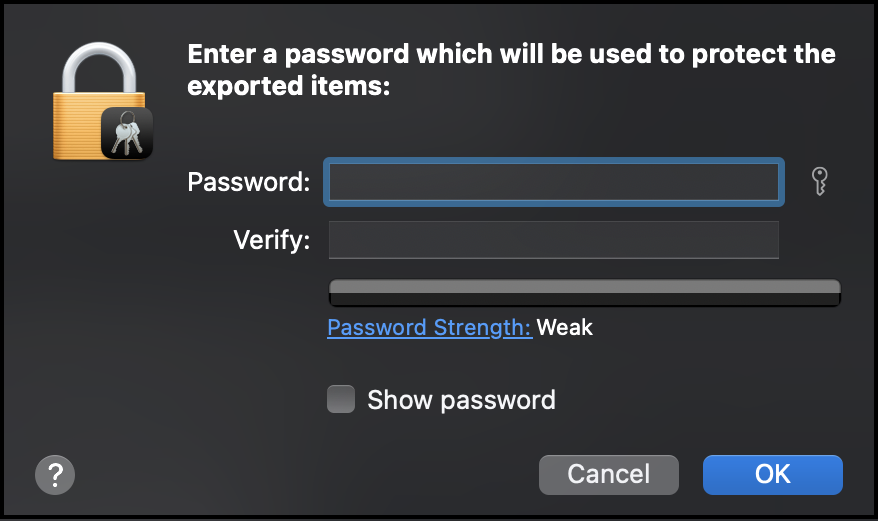
Do not provide any password to protect the exported certificate.
You would require SSL Certificate and Private Key for enabling push notifications. To extract the SSL Certificate you can use the command:
openssl pkcs12 -in yourP12Certificate.p12 -clcerts -nokeys
To extract the Private Key you can use the command:
openssl pkcs12 -in yourP12Certificate.p12 -nocerts -nodes
Log in to Rainmaker Dashboard with your admin account. Go to deployment settings, then go to the Push Notifications tab.

Create a new platform application. Choose type - Apple Notification (APNS)

Paste the SSL Certificate and Private Key that you extracted in step 12. Click Save.
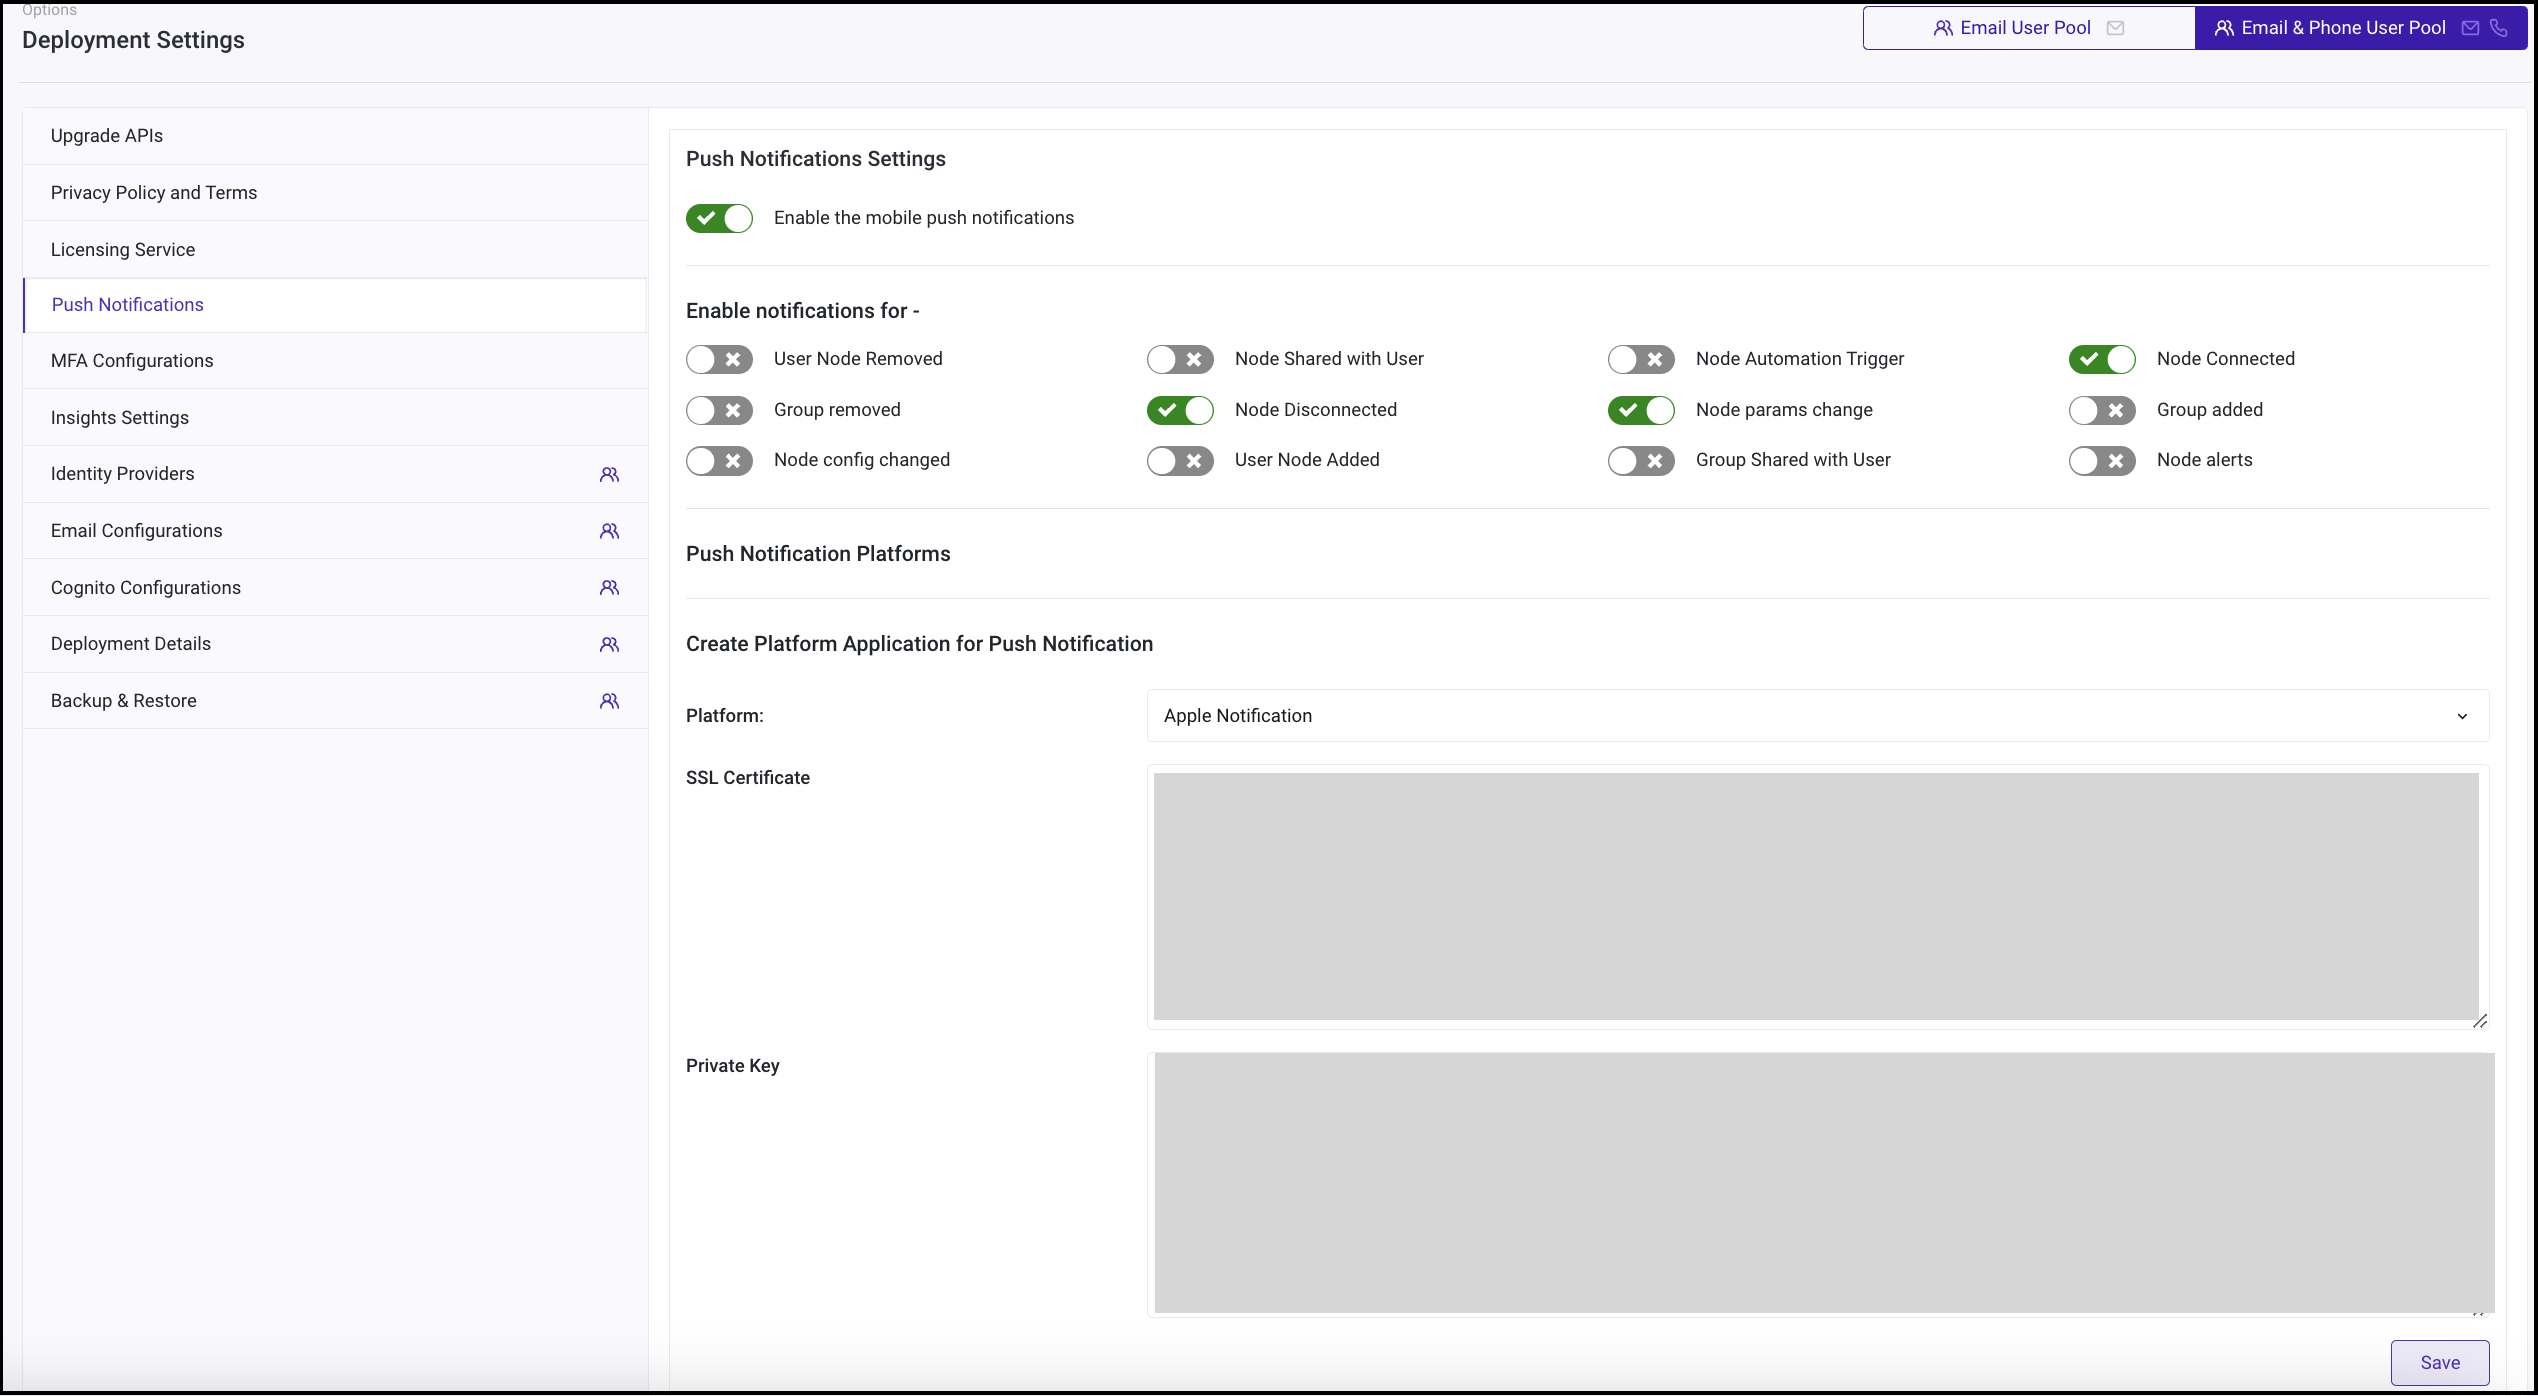
Note - The same certificate can be used for both SandBox and Production environment. SandBox environment is used to test notifications and debugging. While, APNS is used for distribution. You may repeat steps 13 and 14. Select type - Apple SandBox (APNS_SANDBOX) to set push notifications for SandBox environment.
You can now enable Push notifications.
Enabling Push Notifications
Log in to Rainmaker Dashboard with your admin account. Go to deployment settings, then go to the Push Notifications tab.

Enable push notifications using the toggle. You may also customize the events for which you wish to enable push notifications.

Note - You can disable push notifications using the same toggle.