Sign-in with Facebook (Optional)
The end users might want to use their Facebook accounts to login to RainMaker Mobile apps.
This section describes the steps required to configure the Facebook sign-in for the end users.
Pre-Requisites
- Facebook Developer Account is already created. (Reference: https://developers.facebook.com)
- ESP-RainMaker-Core is deployed.
- Custom domain is created. (Reference: Configuring customer Domain)
Steps to Configure Facebook Sign In
Steps to create Facebook Login App
- Sign in to the Facebook Developer Account
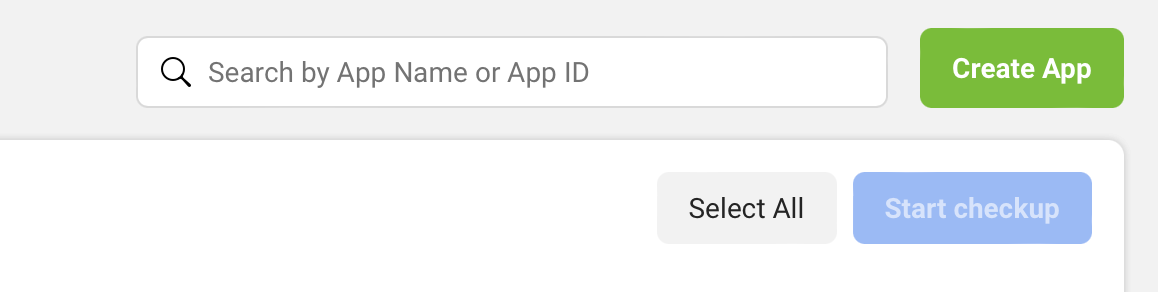
- From the My Apps menu, choose Create App.
- Select an App Type.
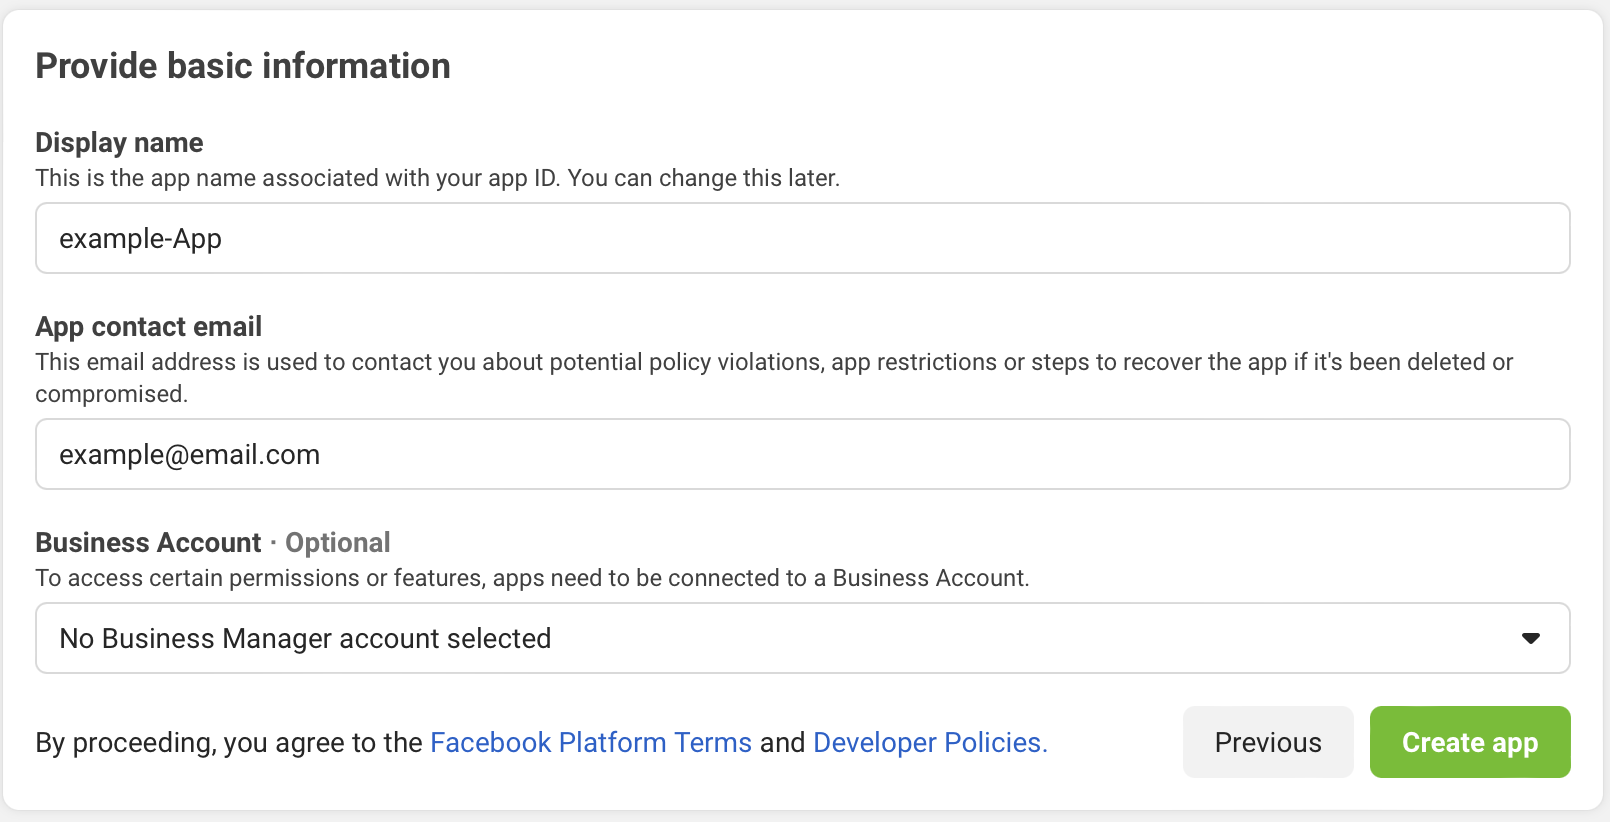
- Enter a name for your Facebook app, and then choose Create App.
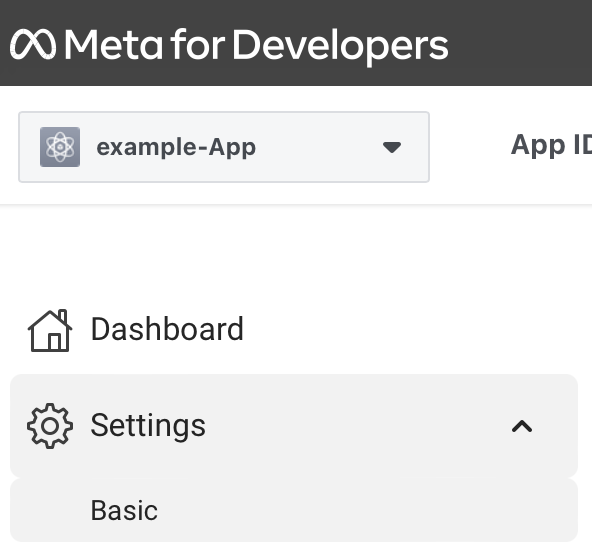
- On the left navigation bar, choose Settings, and then Basic.
- Note the App ID and the App Secret. You will use them in the next section.

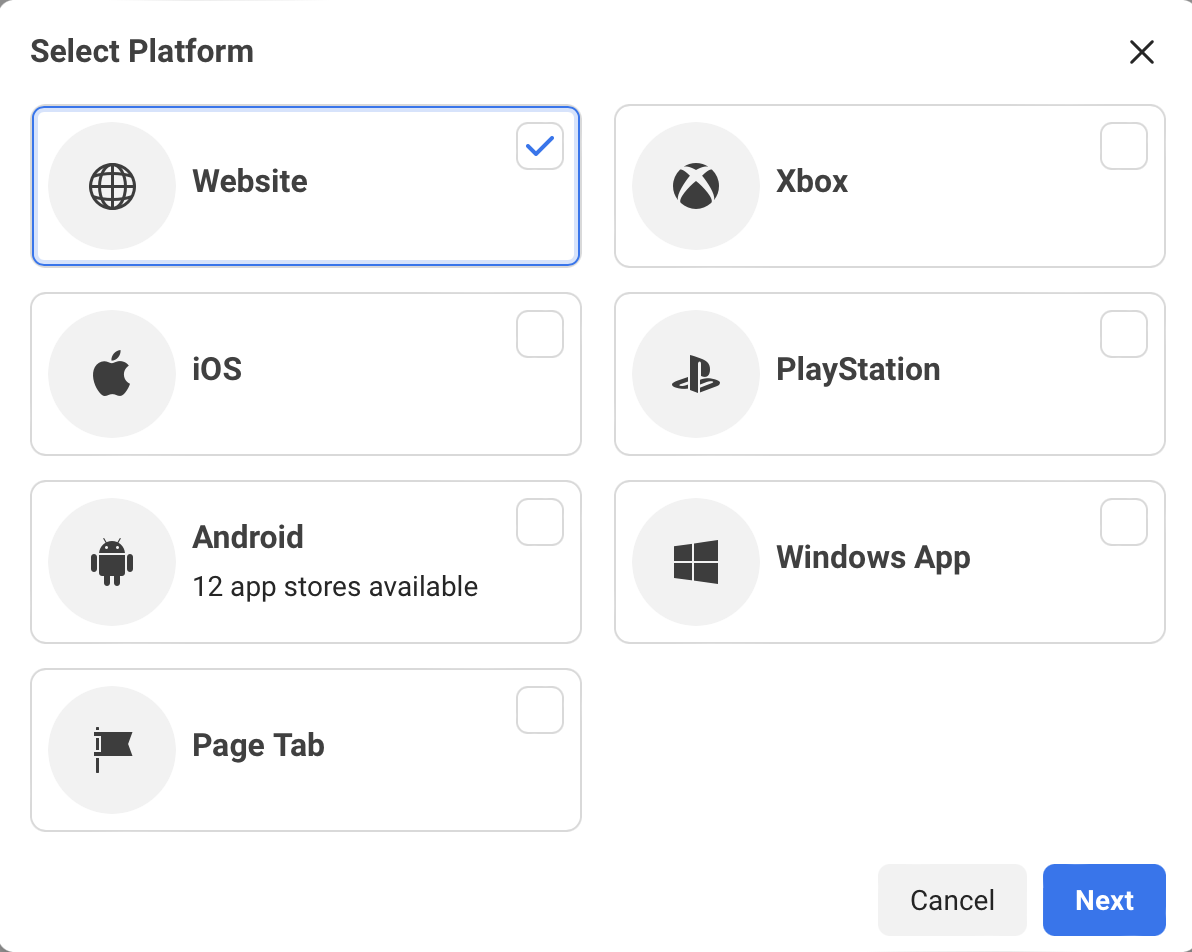
- Choose + Add Platform from the bottom of the page.

- Choose Website.
- Under Website, enter the path to the sign-in page for your app into Site URL. It should look like the following.
https://<your_user_pool_domain>/login?response_type=code&client_id=<your_client_id>&redirect_uri=https://www.example.com
- Choose Save changes.
- Enter the path to the root of your user pool domain into App Domains.
https://<your_user_pool_domain>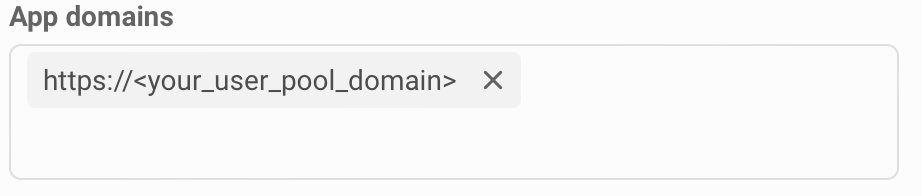
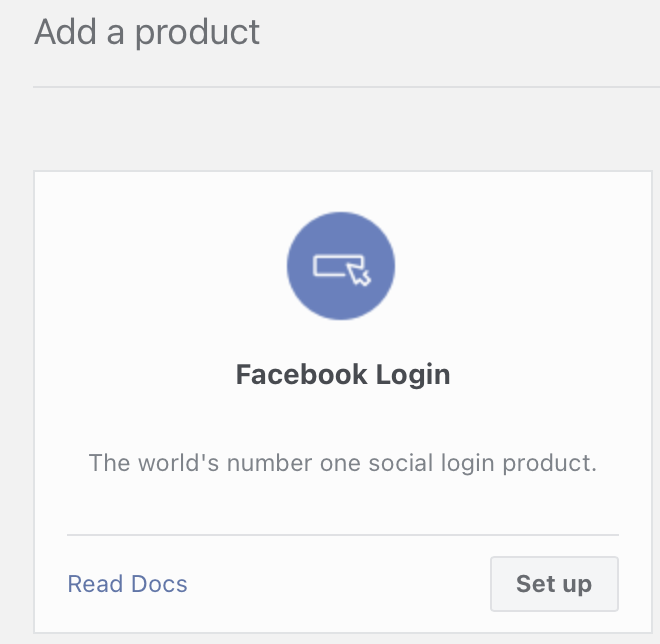
- From the navigation bar choose Add Product and choose Set up for the Facebook Login product.
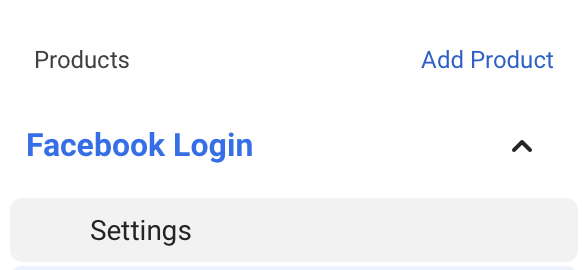
- From the navigation bar choose Facebook Login and then Settings.
- Enter the path to the
/oauth2/idpresponseendpoint for your user pool domain into Valid OAuth Redirect URIs.https://<your_user_pool_domain>/oauth2/idpresponse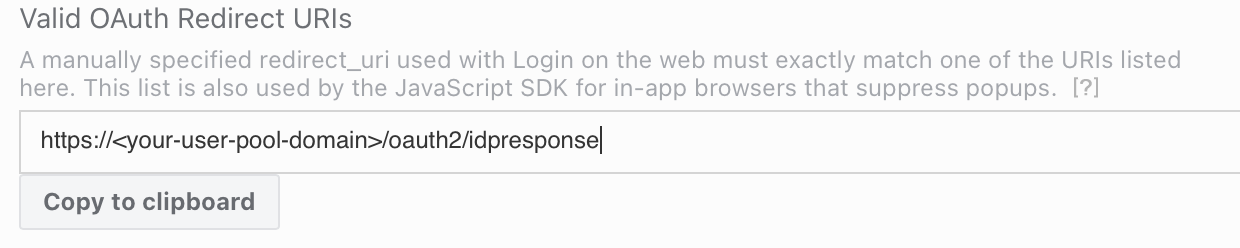
- Choose Save changes.
Steps to configure Facebook Identity Provider via RainMaker Dashboard
- Log in to RainMaker Dashboard with your admin account. Go to Deployment Settings.

- Go to the Identity Providers tab.
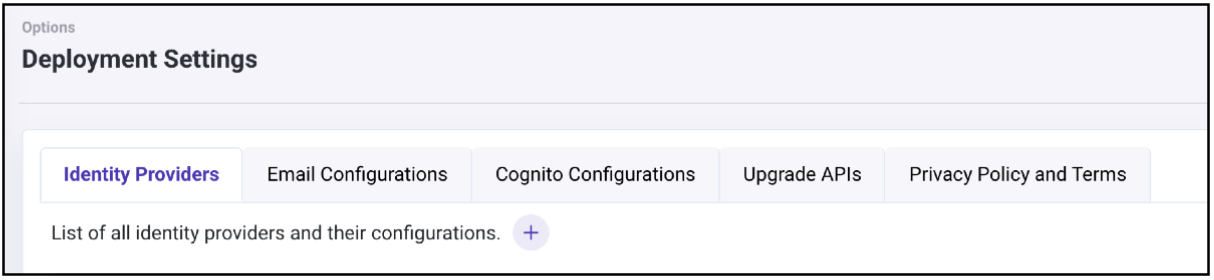
- Click on '+' icon to add Identity providers configuration.
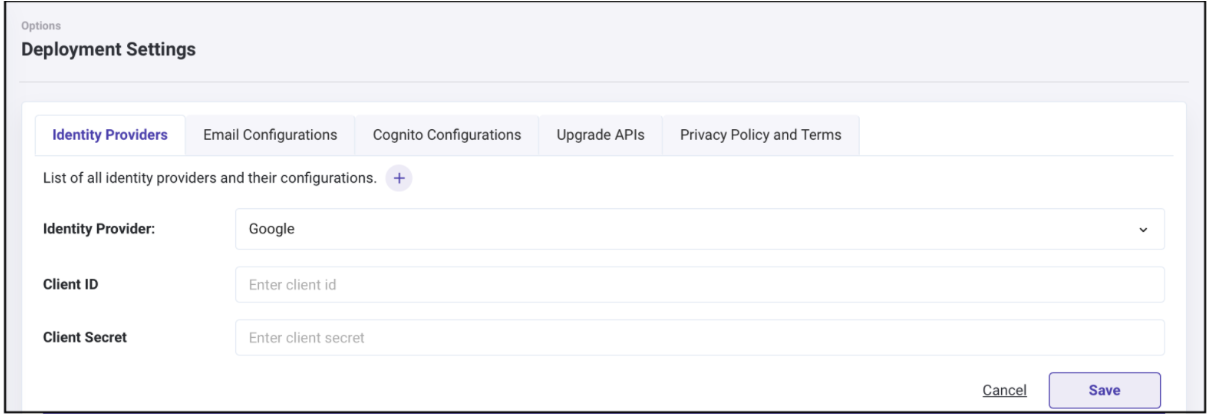
- Choose "Facebook" from "Identity Provider" dropdown.
- Add client ID and client secret noted in the previous section.
Configuring callback URL(Redirect URIs)
Callback URL indicates where the user is to be redirected after a successful sign-in using third party authenticating services. After the user successfully signs-up using one of these third party authenticating services, the user will be redirected to one of these URLs.
If users are to be redirected to your phone app, you should form the callback URL for your app. To form the callback URLs(redirect URIs) for phone apps, please check below sections:
Configure the callback URLs in RainMaker dashboard with steps given here: Configuring callback URL
Verifying Sign-in With Facebook
This section describes the steps to verify if the Sign-in with Facebook is configured correctly.
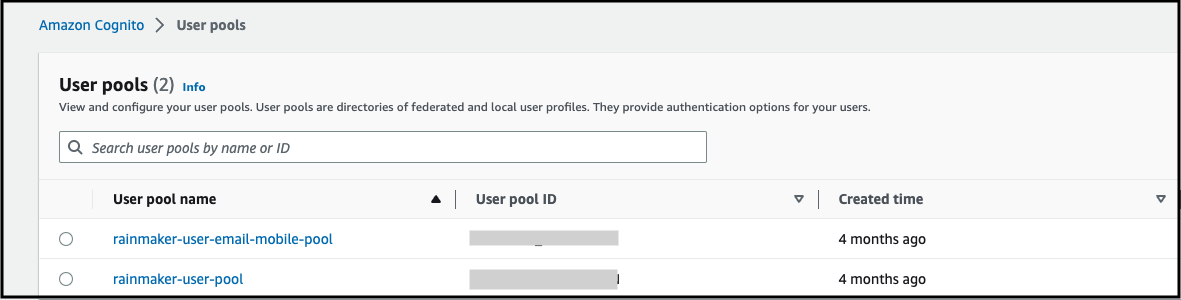
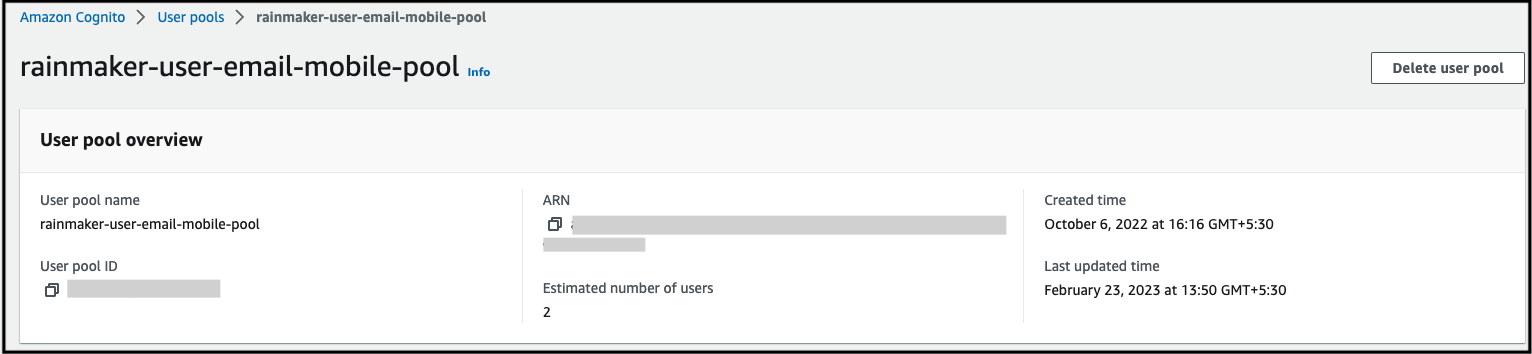
- Login to AWS Console, Go to Cognito Service and click on the “rainmaker-user-email-mobile-pool".
- Click on App Client Settings from the left hand side menu.
- Look for the App client “rainmaker-user-email-mobile-pool-client”.
- Enable Facebook in Identity Providers.
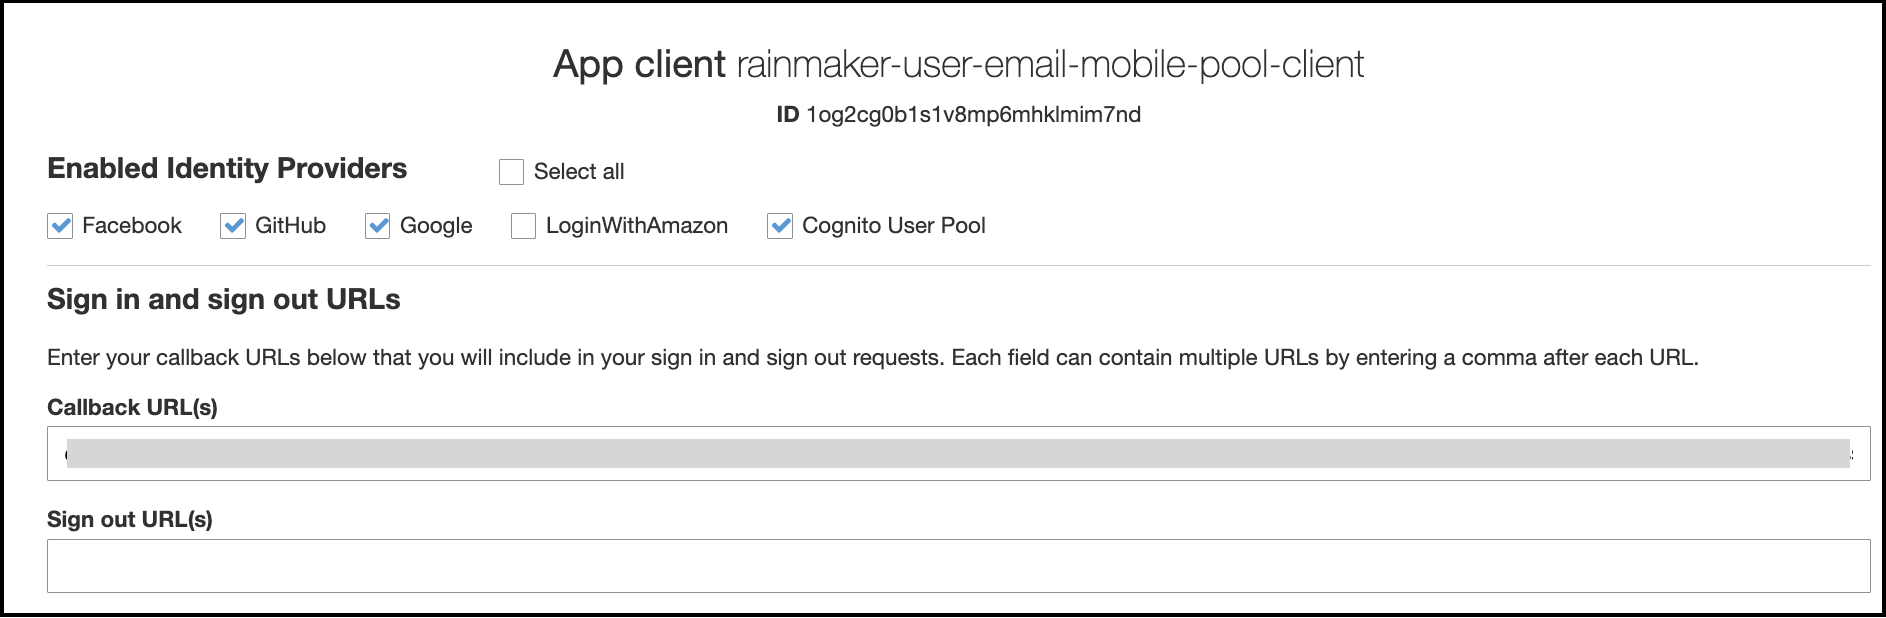
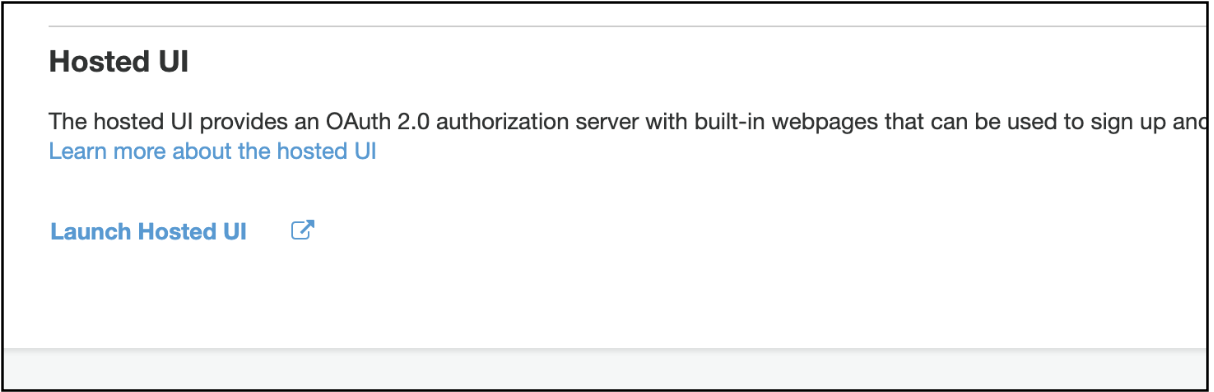
- Scroll down and click on Launch Hosted UI.
- In the launched hosted UI, you will be shown multiple options as shown below:
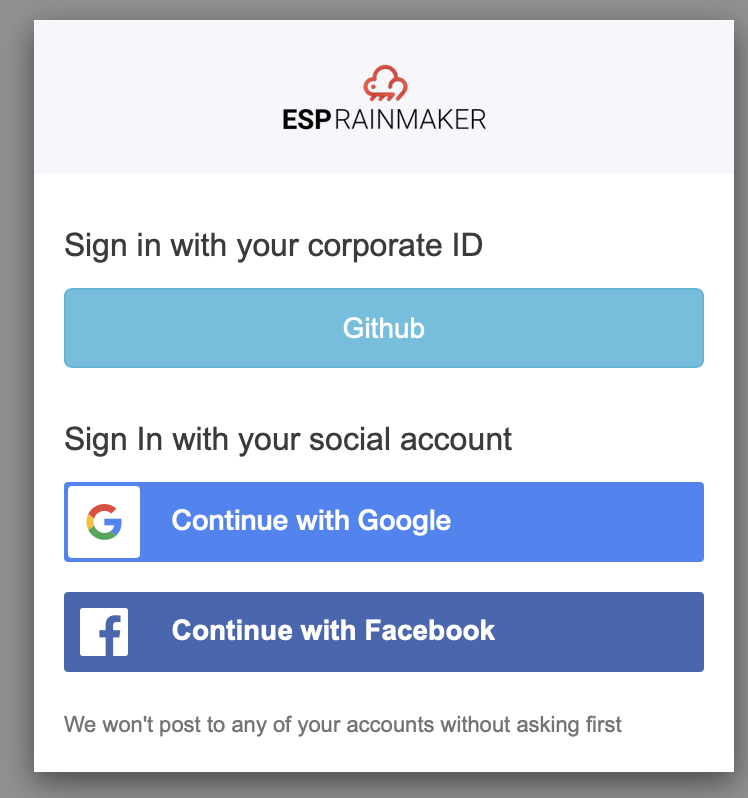
- Click on Continue with Facebook.
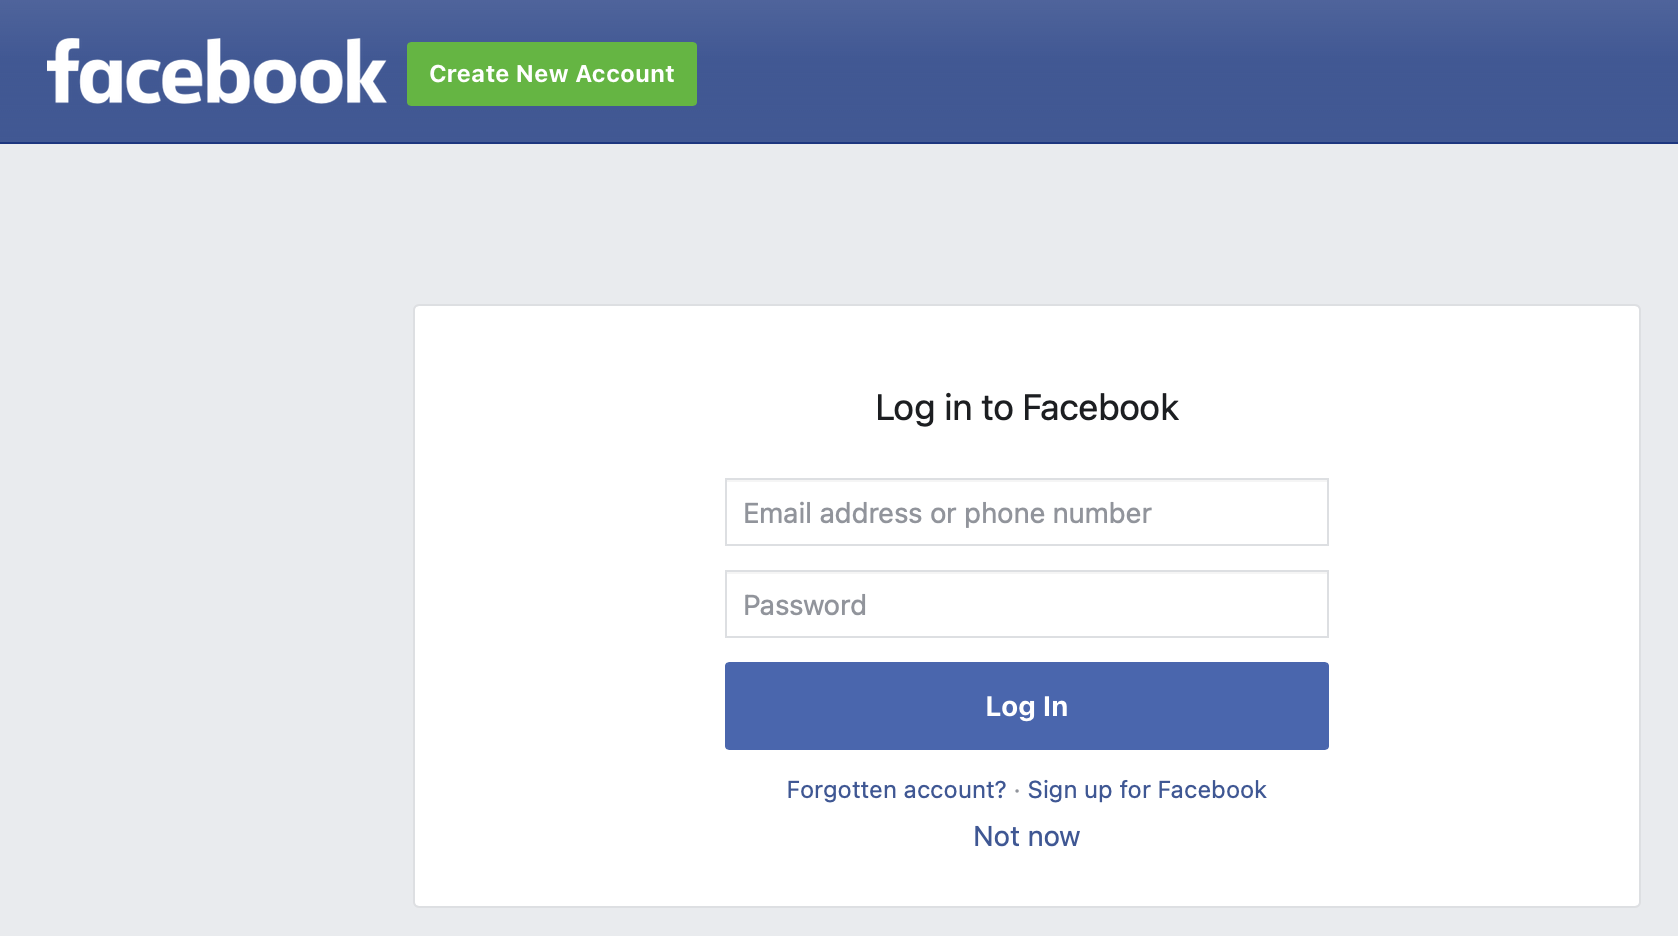
- Complete Facebook Sign-In
- After you click the Next button, you will be redirected to the callback URL configured in the Cognito App client settings and you will see an authorization code in the browser URL.

Note - In this example, we have configured Espressif’s home page, so the redirection happened to this page.